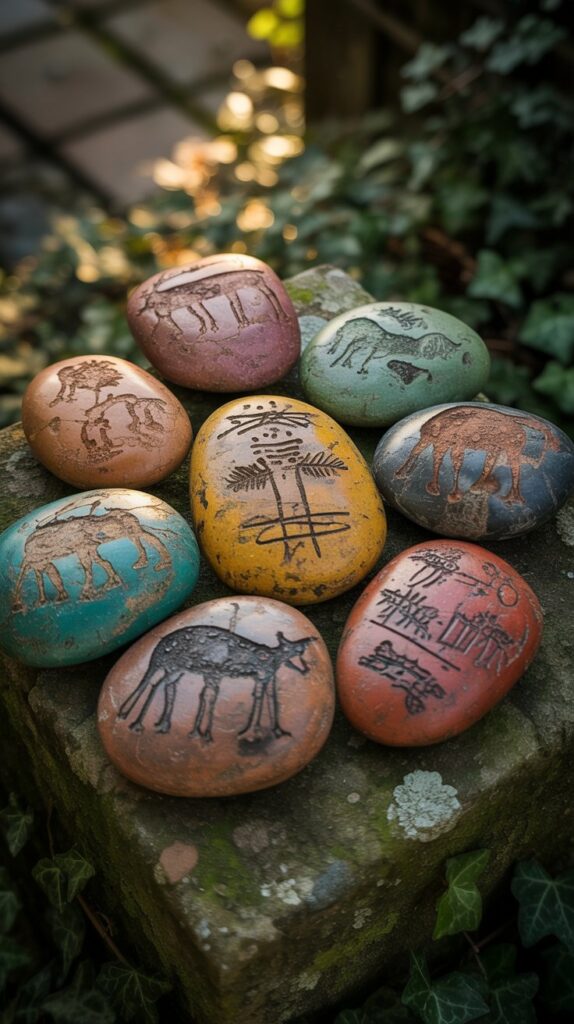
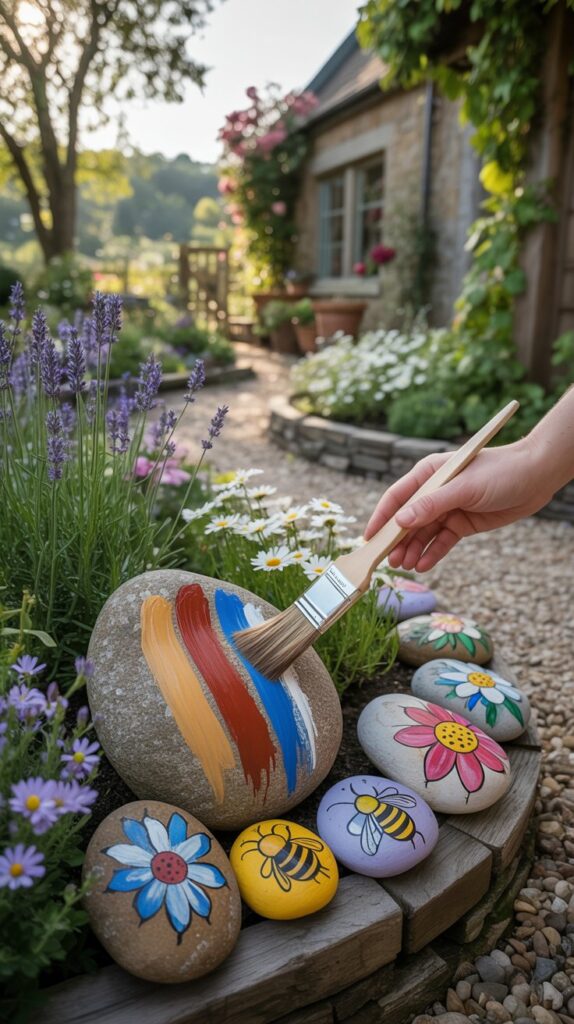
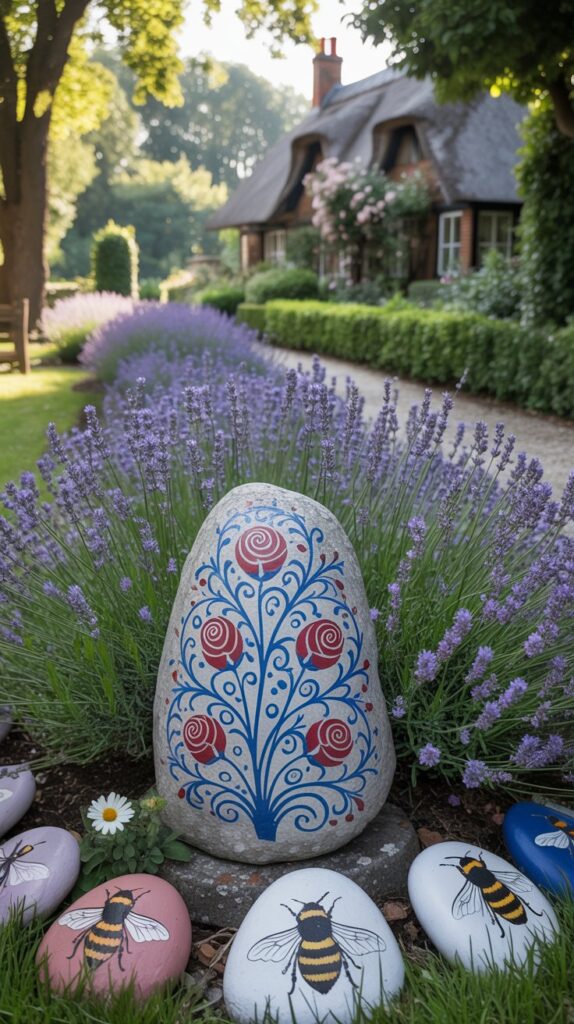
Ever wondered why some painted rocks crumble after a single season while others thrive for years? The secret lies not just in creativity, but in preparation and technique. Whether you’re crafting garden markers or decorative pieces, creating weather-resistant designs ensures your hard work survives rain, frost, and blazing sun.
Start by selecting smooth, rounded stones – ideal for outdoor projects. Cleaning removes dirt and oils, while primers like Dulux All Surface help paint adhere better. For dark rocks, a light-coloured base coat makes colours pop. Avoid thick layers: thin applications of Rust-Oleum 2X Ultra Cover prevent peeling and ensure even drying.
Sealing is non-negotiable. A quality varnish shields against UV rays and moisture, letting your designs endure harsh conditions. Pair these steps with acrylic paints, and you’ll craft pieces that elevate modern front yard landscapes or indoor displays alike.
Key Takeaways
- Properly clean and prime stones to enhance paint adhesion.
- Light-coloured primers improve vibrancy on dark surfaces.
- Use thin layers of acrylic paints to avoid cracking.
- Seal designs with UV-resistant varnish for long-term protection.
- Invest in rounded craft rocks for better durability outdoors.
Preparation and Priming: The First Step to Lasting Rock Art
Creating rock art that endures starts long before the first brushstroke. A smooth, well-prepared surface ensures your acrylic paints stick properly and resist flaking. Think of priming as building a foundation – skip it, and your masterpiece might not survive its first rainy season.
Why Cleaning and Priming Matter
Dirt or oils left on stones cause paint to peel. Wash rocks with warm water and mild soap, then let them dry fully. A primer like Rust-Oleum Universal fills tiny pores, creating an even surface for better adhesion. For dark stones, a light coat of white or grey primer makes colours pop brilliantly.
Choosing the Right Primer for Indoor and Outdoor Use
Indoor projects suit water-based primers – they’re low-odour and dry quickly. Outdoor garden pieces need tougher formulas like Dulux Weather Shield. Spray primers work well for textured rocks, while brush-ons offer precise control. Always apply two thin layers, waiting 30 minutes between coats.
Pro tip: Batch-clean several rocks at once to save time. Store primed stones in a dust-free spot until you’re ready to paint. With the right materials, even beginners can achieve professional results that last years.
How to Make Rock Art That Withstands Any Weather
Crafting outdoor rock art requires strategic material choices and smart techniques. Start by picking stones with smooth surfaces and minimal cracks – these handle temperature changes better. River rocks or slate work brilliantly for garden displays, as they’re naturally dense and less porous.

Selecting Weather-Resistant Materials
Opt for acrylic paints labelled “lightfast” or “outdoor use” – brands like Liquitex Professional withstand UV exposure. Pair them with paint pens designed for rough surfaces (Posca markers are a crowd favourite). For sealers, choose between spray options like Mod Podge Outdoor or brush-on polyurethane for intricate designs.
Step-by-Step Process for Outdoor Rock Art
1. Wash stones with water and let them dry overnight.
2. Apply a base coat using light-coloured acrylic to enhance vibrancy.
3. Work in thin layers, allowing 20 minutes drying time between colours.
4. Use paint pens for crisp details once backgrounds are fully dry.
5. Seal with two coats of varnish, waiting 1 hour between applications.
Pro tip: Paint in shaded areas to prevent premature drying. If dew threatens your project, bring pieces indoors overnight. For craft ideas, try stencilling seasonal motifs or creating stone pathways with colour-coordinated painted rocks.
Techniques for Vibrant and Durable Rock Painting
Achieving eye-catching rock art that lasts involves more than just a steady hand. The magic happens when you combine quality materials with smart application methods. Let’s explore how to elevate your designs while ensuring they withstand the test of time.

Mastering Acrylic Paints and Paint Pens
Thin layers are your best friend with acrylic paints. Start with a light base coat to enhance colour vibrancy, especially on darker stones. For intricate details, Posca paint pens offer precision without bleeding. Anne’s top tip: “Let each layer dry completely before adding new elements – rushing causes smudging.”
Creating Detailed Patterns and Designs
Use stencils or masking tape for crisp lines in geometric patterns. When freehand painting, work from the centre outward to maintain balance. Life of Colour experts recommend testing designs on paper first: “It saves time and prevents costly mistakes on your actual surface.”
Practical Tips for Even Coverage and Colour Pop
Soft-bristle brushes prevent streaking – synthetic options work well for smooth application. Rotate your stone while painting to avoid thick patches. For outdoor projects, always finish with two coats of sealer. Spray versions suit flat surfaces, while brush-on varnish protects textured areas better.
Remember: proper priming process makes colours pop. A glossy finish adds depth, but matte options blend beautifully in natural garden settings. Experiment fearlessly – every stroke brings you closer to mastering this colourful way of expression.
Choosing Sealer and Finishing Touches for Longevity
The final shield between your masterpiece and the elements isn’t luck – it’s your choice of sealer. Whether you’re protecting garden decorations or indoor displays, the right varnish determines whether colours fade in weeks or dazzle for years.

Spray Versus Brush-On: Which Wins Outdoors?
Spray sealers like Rust-Oleum Clear Acrylic offer quick, even coverage – perfect for smooth stones. They dry in 15 minutes, making them ideal for projects with tight deadlines. Brush-on options like Liquitex High Gloss suit textured surfaces, giving better control over intricate designs. Anne’s experiments show spray versions last 18 months in direct sunlight, while brush-ons endure 24+ months.
Testing and Applying Like a Pro
Always test new sealants on spare stones first. Life of Colour recommends:
- Apply one thin layer with a soft brush or 30cm spray distance
- Wait 45 minutes between coats (60 for humid conditions)
- Check for yellowing or cloudiness after 48 hours
Pro tip: “Shake aerosol cans for 90 seconds – proper mixing prevents blotchy finish,” advises Anne. For painting rocks exposed to water, use polyurethane-based sealers. Two thin layers protect better than one thick coat that might reactivate acrylic paint.
Finish with UV-resistant options if your art lives outdoors. A glossy finish intensifies colour, while matte versions blend into natural settings. Your way forward? Match the sealer to your stone’s texture and environmental challenges.
Conclusion
Transforming ordinary stones into lasting treasures requires more than creativity. Proper preparation and protection make all the difference. Start by thoroughly cleaning your rocks with water and soap, then apply primer to ensure paint adhesion. Thin layers of quality acrylic paints prevent cracking, while UV-resistant varnish shields against sun and rain.
Choosing between spray and brush-on sealers depends on your project. Sprays suit smooth surfaces, while brush-ons handle textured details. Testing products on spare stones first saves time and prevents disappointment in harsh weather.
These techniques adapt beautifully, whether enhancing your garden or crafting indoor art projects. Experiment with colours and finishes to match your style. Revisiting the priming and sealing steps in this guide helps maintain that professional finish.
With the right approach, your painted rocks will brighten spaces for years – come rain or shine.


