
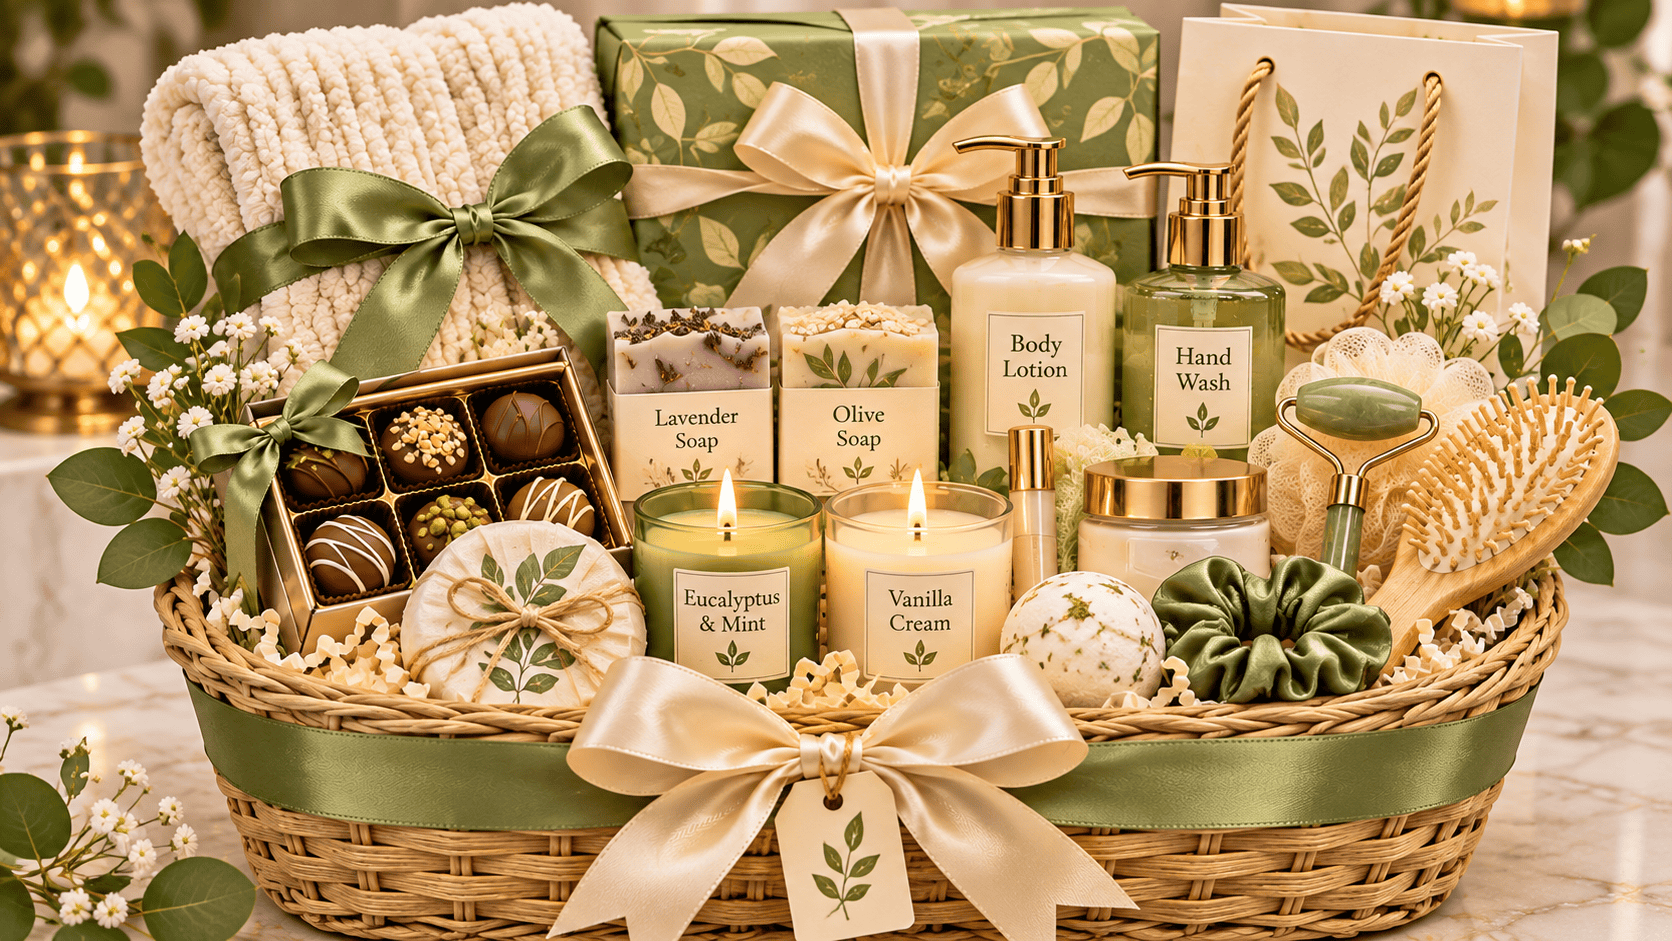
10 Easy Steps to Pack a Gift Basket That Looks Professional
Want to make a beautiful gift basket but aren’t sure how to arrange everything? It’s easier than you might think! With a few simple supplies and the right packing method, you can turn everyday gifts into a beautifully presented basket that looks professionally made.
Whether you’re creating a birthday gift, Christmas hamper, thank-you present, or self-care basket, this easy tutorial will walk you through how to pack a gift basket step by step. From choosing your container to tying the final ribbon, you’ll know exactly what to do.
What You’ll Need Before You Start
Gather everything on a table before you begin. This makes arranging your basket much easier.
- A sturdy gift basket or decorative gift box
- Your chosen gifts (around 4–8 items is a good starting point)
- Tissue paper in your chosen colors
- Crinkle-cut paper or shredded paper filler
- Clean packing paper or sturdy lightweight base support, if needed
- Clear cellophane wrap or a gift basket bag
- Satin ribbon, wired ribbon, or a ready-made bow
- Scissors and clear tape
- Twist tie or string
- A gift tag or small greeting card
Budget tip: You can find many of these supplies at Dollar Tree, Walmart, Target, and craft stores. You don’t need expensive materials to create a beautiful result.
Step 1: Choose a Basket That Fits Your Gifts
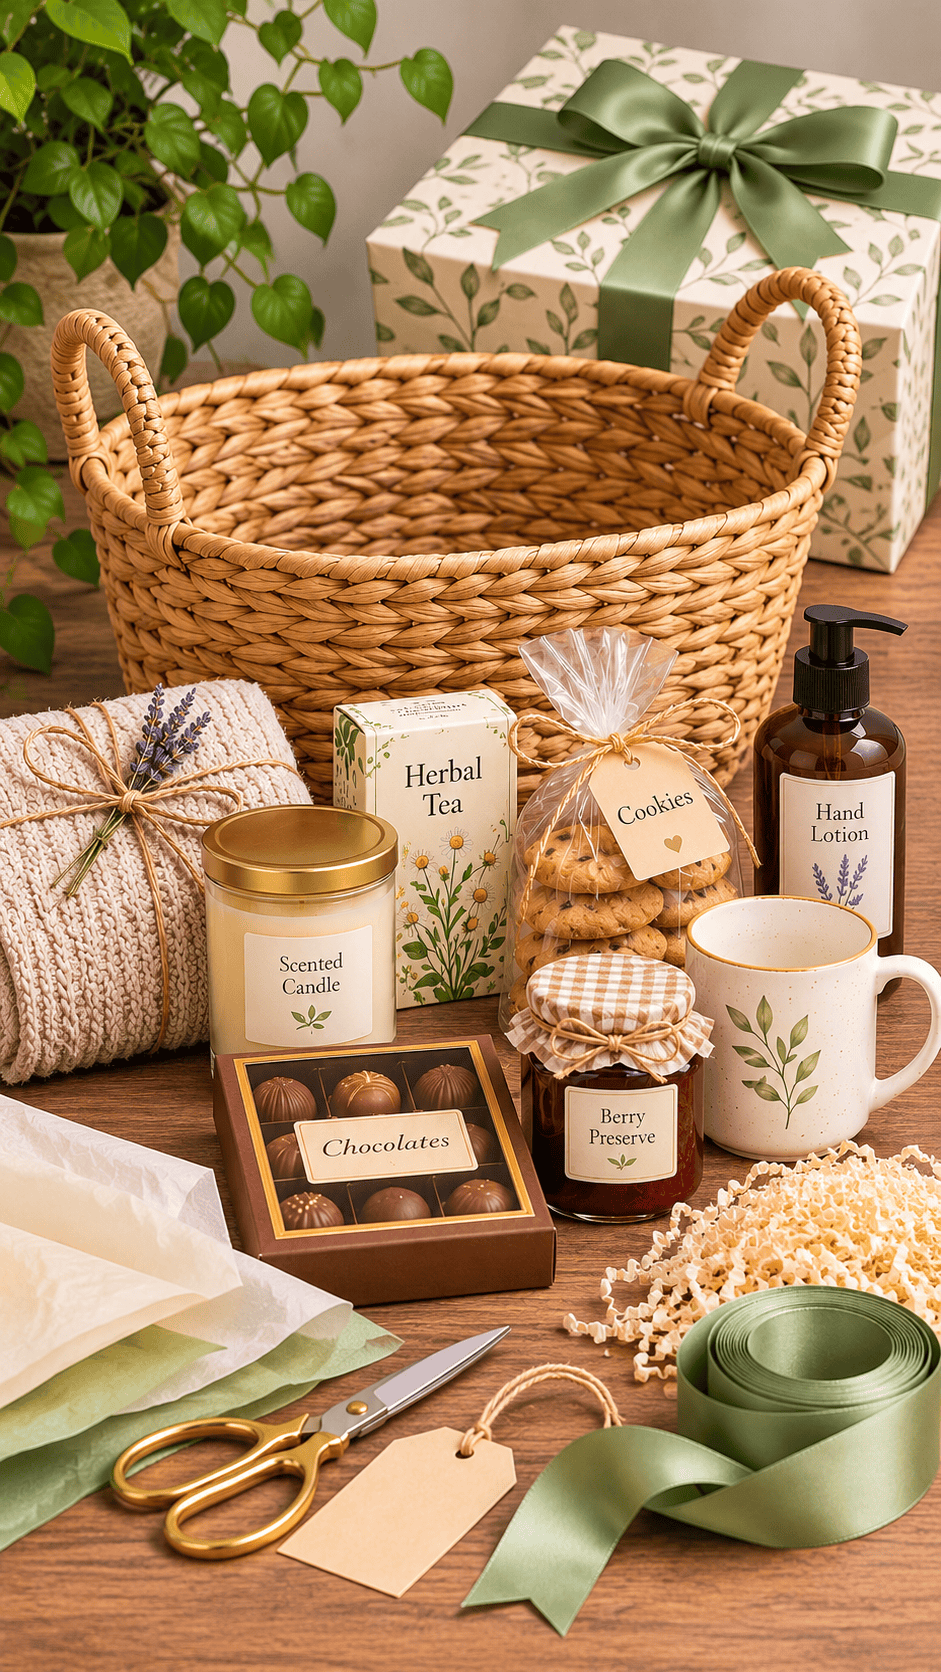
Start with your empty basket. The size matters because a basket that’s too big can look empty, while one that’s too small will be difficult to arrange.
- Place all your gifts on the table so you can see what you have.
- Choose a basket that’s wide enough to hold everything without squeezing the products together.
- Put the largest item inside temporarily to check that it fits comfortably.
- Remove the item again so you can prepare the basket.
Quick tip: A rectangular basket is often easiest for beginners because you can create clear rows of gifts from back to front. A round basket works well too, especially for smaller presents.
Step 2: Choose Two or Three Matching Colors
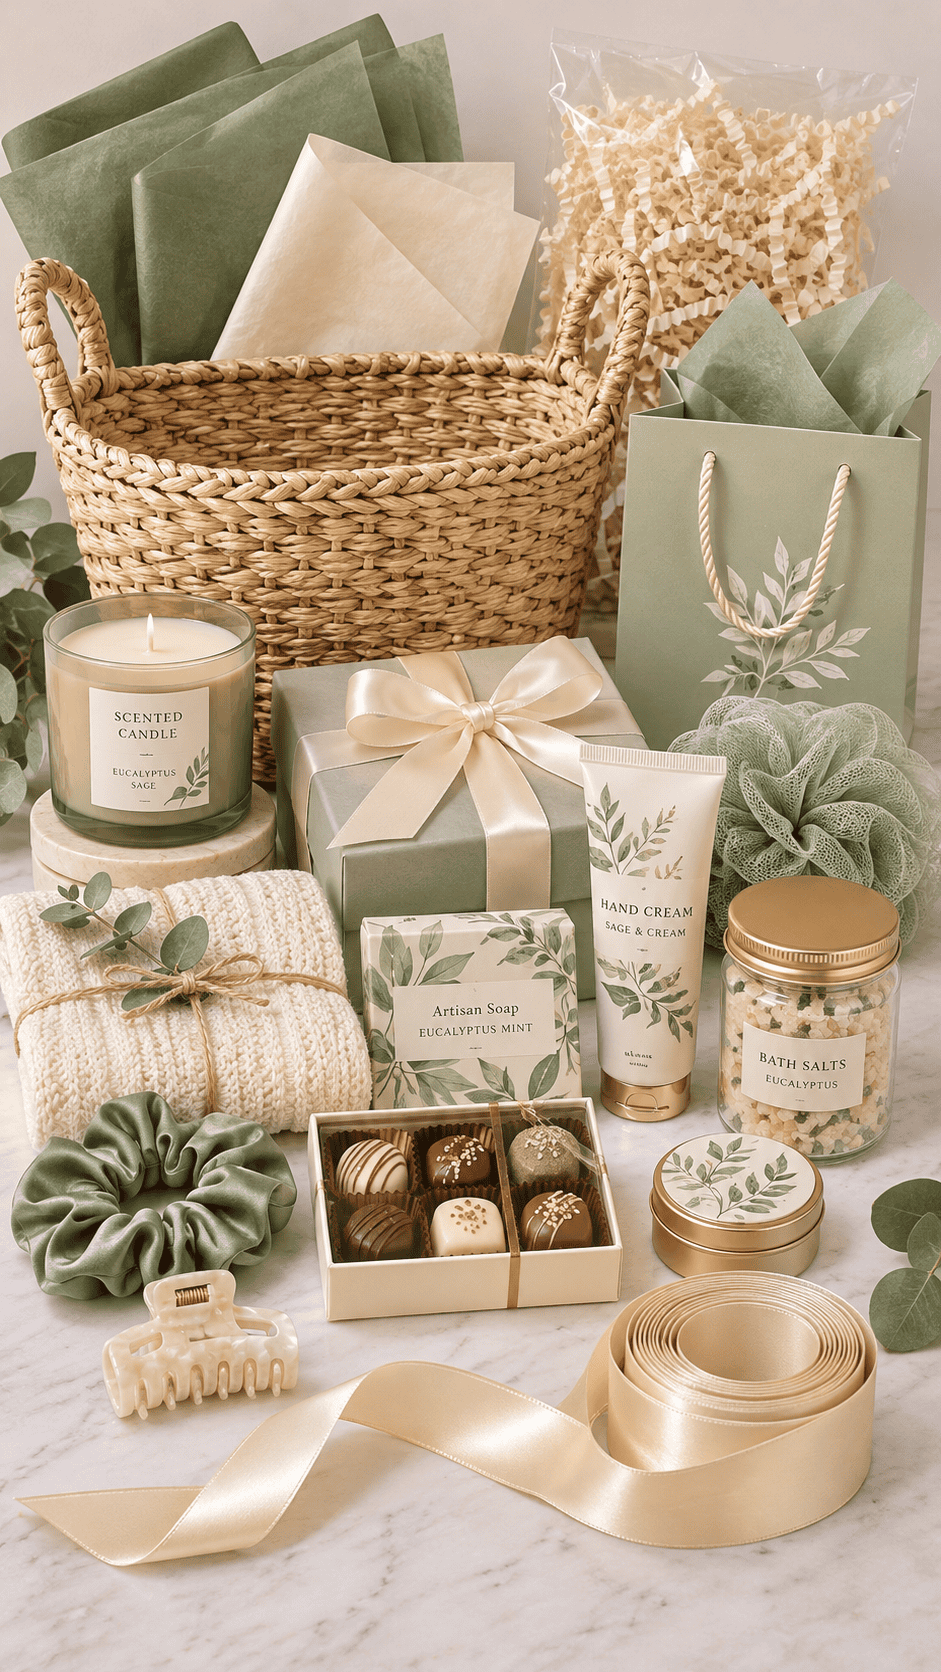
Before filling your basket, decide how you want it to look. Using matching colors is one of the simplest ways to make a homemade gift basket look expensive.
- Look at the packaging colors of the gifts you’ve bought.
- Choose two or three colors that work well together.
- Select tissue paper, filler, and ribbon that complement those colors.
Some easy combinations include cream and gold for an elegant basket, blush pink and ivory for a self-care gift, sage green and beige for a natural look, or red and gold for Christmas.
Remember: Your products don’t all need matching packaging. Coordinating ribbon and tissue paper will help everything look like one beautiful gift.
Step 3: Add Tissue Paper and Create a Raised Base
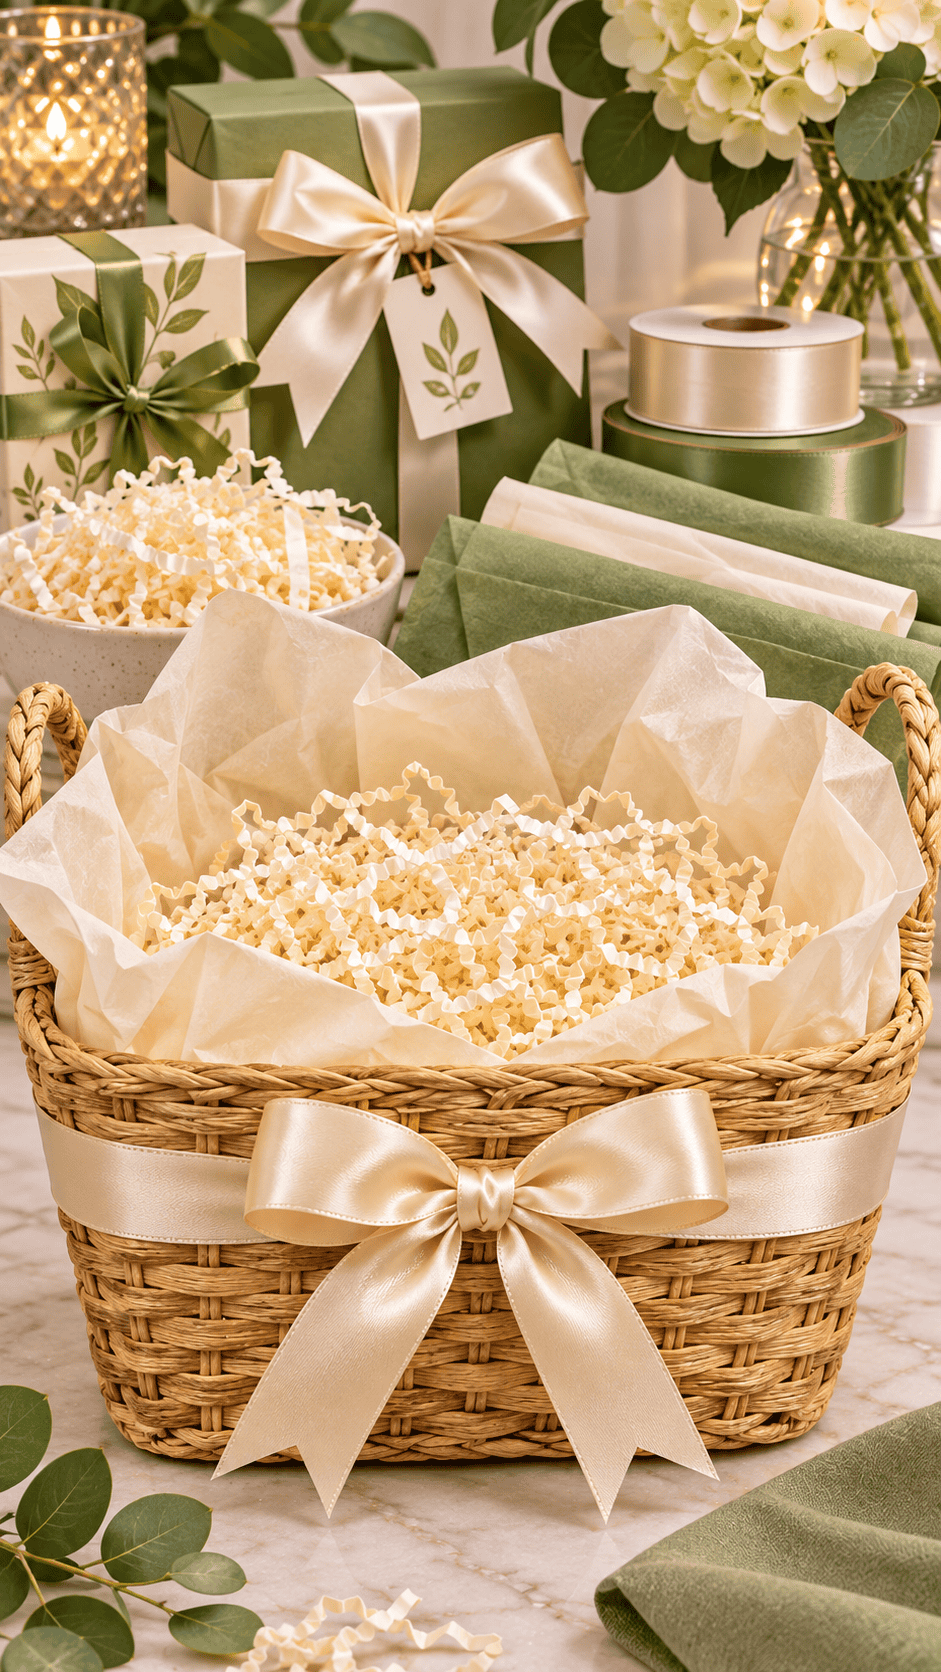
Now it’s time to prepare the inside of your basket. The aim is to stop smaller gifts from sinking out of sight and to give the arrangement a neat, full appearance.
- Open two or three sheets of tissue paper and place them inside the empty basket, allowing a little to show around the edges.
- If your basket is deep, add a firm, flat support or tightly packed clean paper underneath the decorative filler.
- Pour crinkle-cut paper or shredded filler over the base.
- Spread the filler evenly, then gently press it down to create a stable surface.
How high should the filler be? High enough to lift your gifts so their labels can be seen above the basket rim. You can adjust the height once you start arranging the products.
Important: Heavy bottles and jars must rest on a firm, weight-bearing base. Don’t balance heavy items on loose or unstable paper.
Step 4: Put the Tallest and Heaviest Gifts at the Back
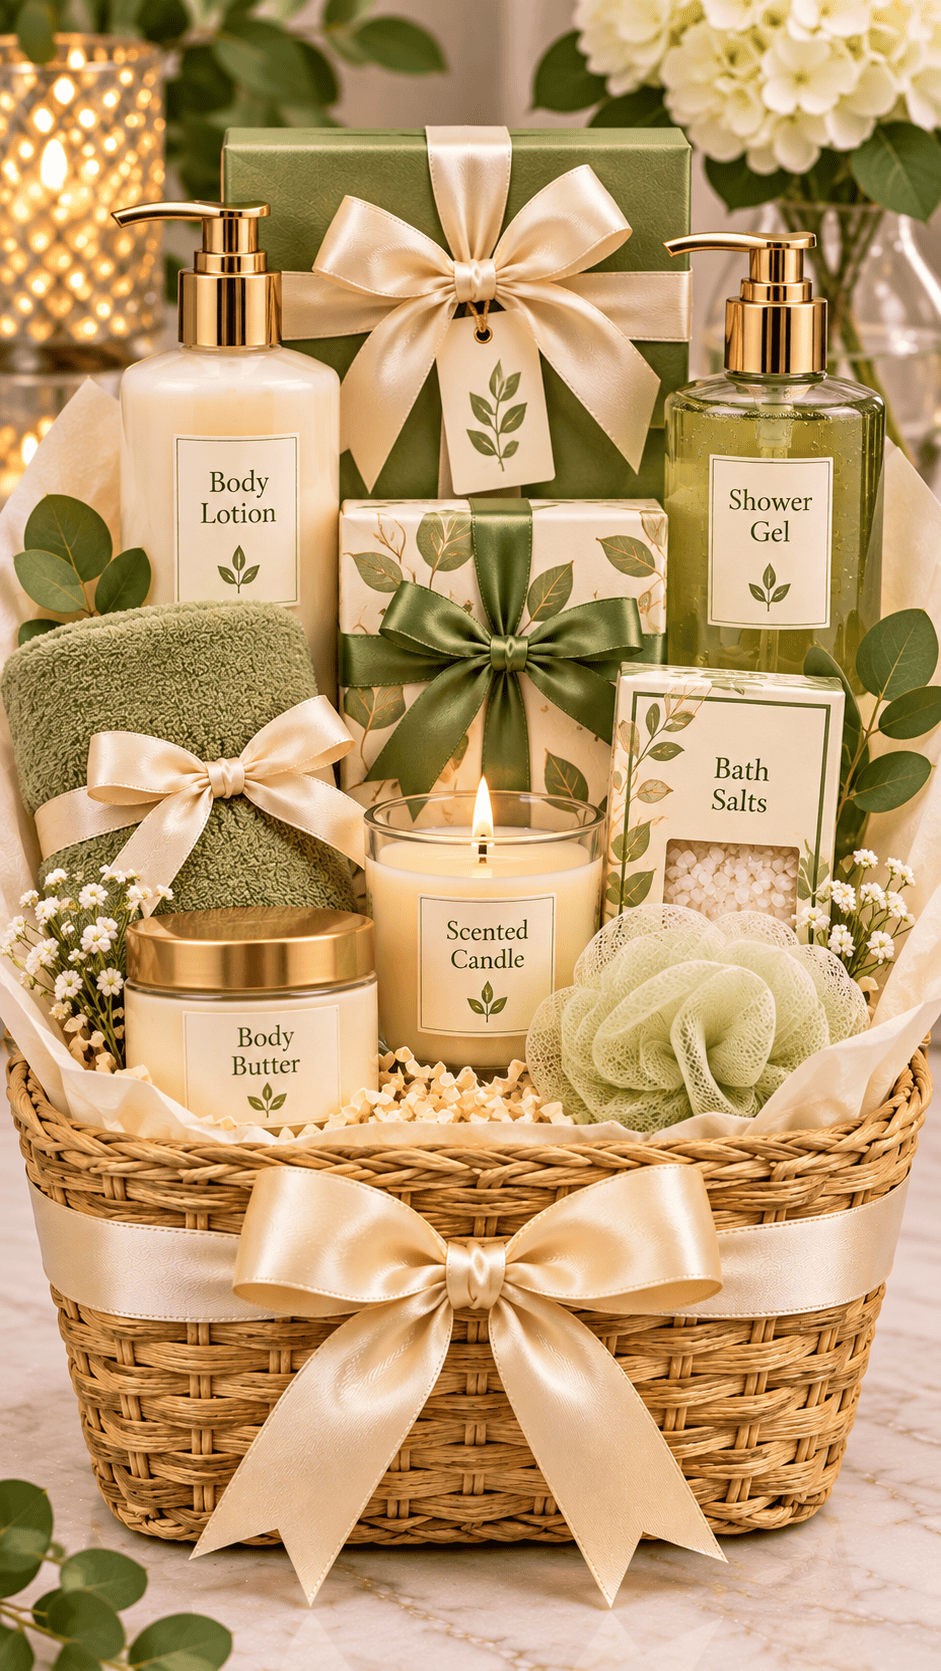
This is where your gift basket starts taking shape. Begin with the biggest items because they create the background for everything else.
- Take your tallest gift, such as a lotion bottle, coffee bag, candle box, or packaged treat.
- Place it toward the back of the basket with the front label facing outward.
- Position your next tallest items beside it.
- Keep heavy items low and firmly supported so they cannot tip over.
Look at your basket from the front. You should be able to see the taller products clearly, with room left for medium and smaller gifts.
Helpful tip: If a tall item keeps leaning forward, support it with another securely positioned product or suitable packing material behind it.
Step 5: Arrange Medium-Sized Gifts in the Middle
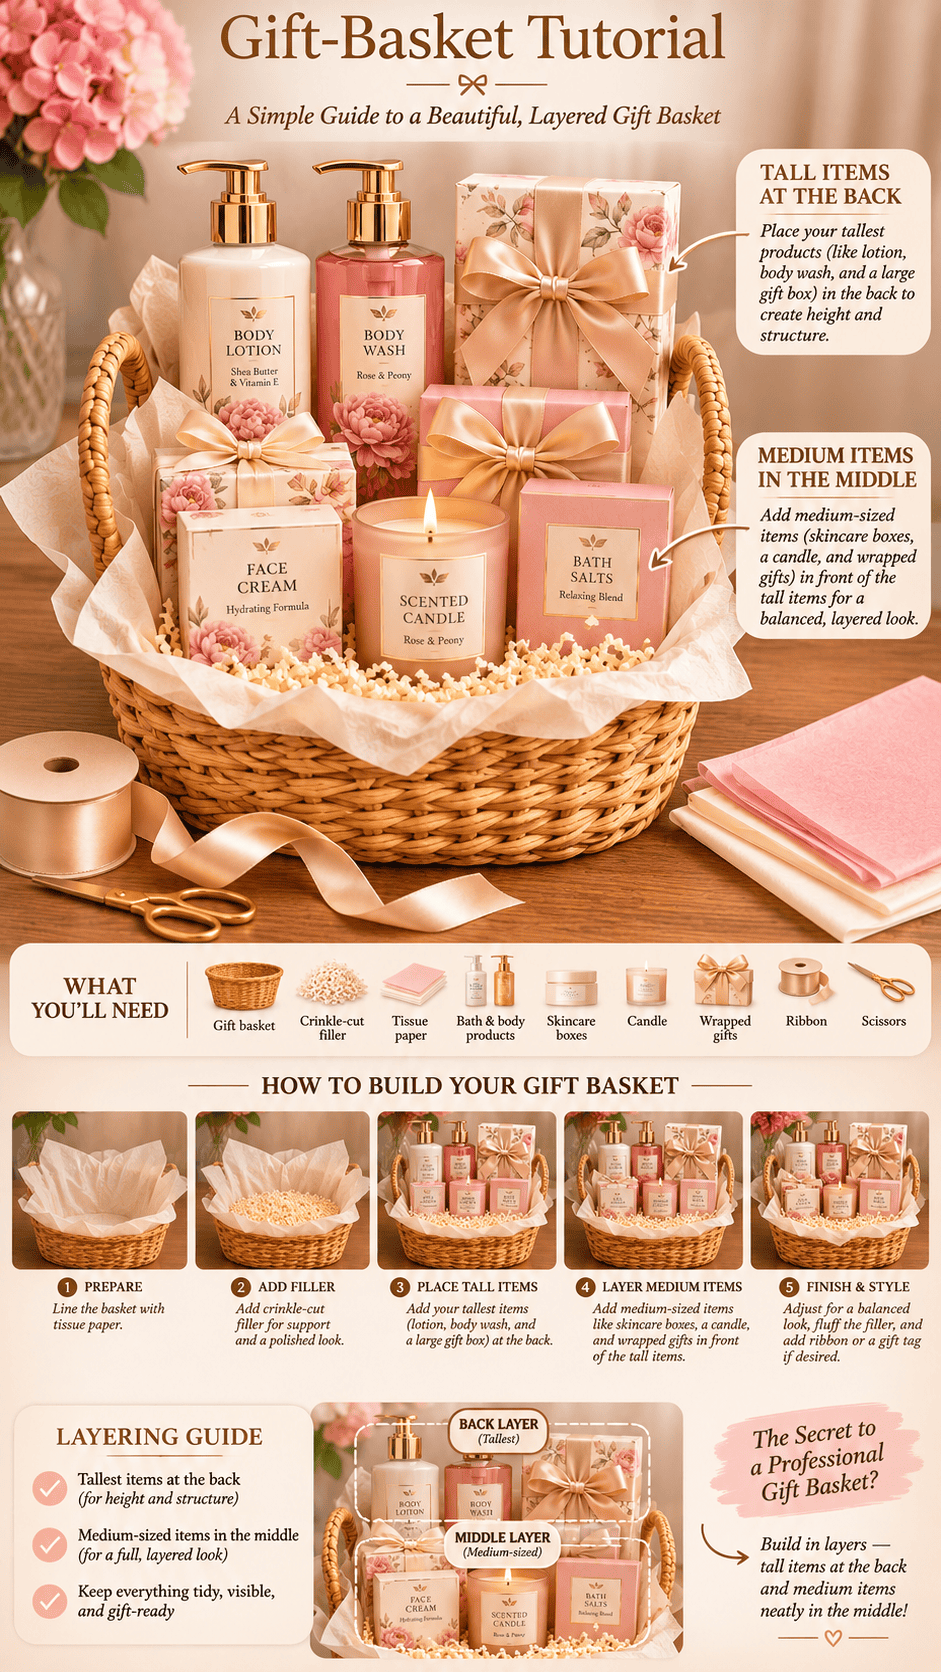
Once the tallest items are in place, use medium-sized gifts to create the next layer. This helps your basket look full without hiding what’s behind it.
- Choose your medium-sized items, such as candles, small boxes, jars, or packaged treats.
- Place them directly in front of the taller products.
- Angle each item slightly forward so the label or attractive packaging is visible.
- Move the products around until the arrangement looks balanced from the front.
Easy arrangement rule: Tall items at the back, medium items in the middle, and small items at the front.
You don’t need to make everything perfectly symmetrical. Slightly different heights create a natural, professional-looking display.
Step 6: Place the Smallest Gifts at the Front
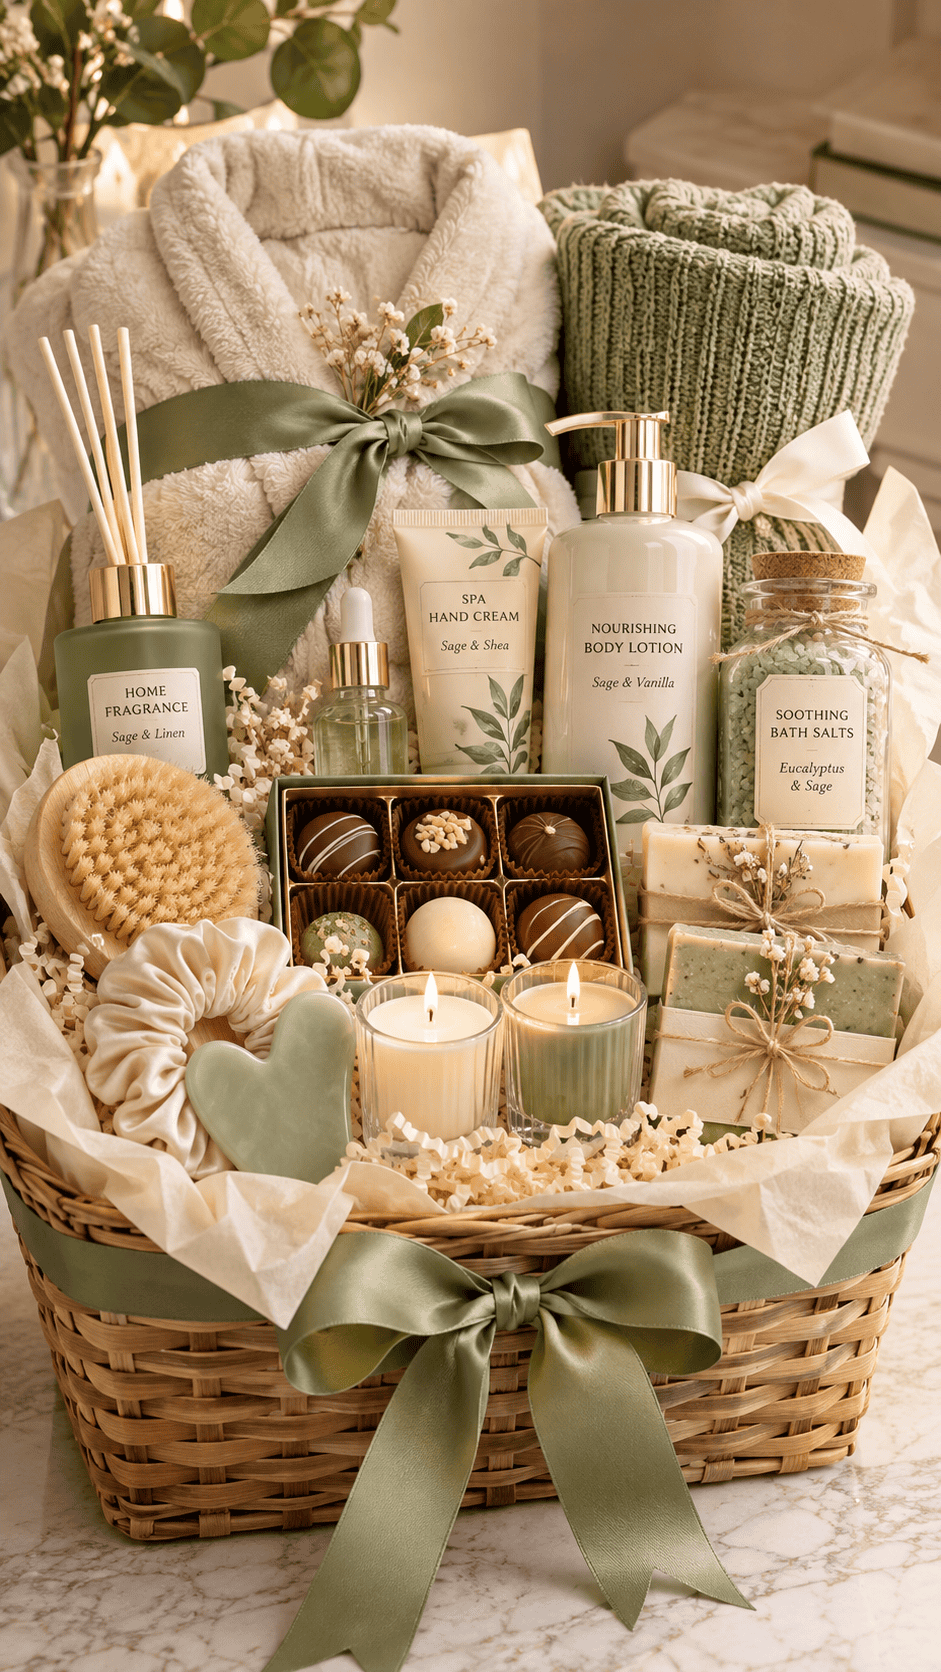
Now use your smallest items to fill the front of the basket. These little additions help make the arrangement look thoughtful and complete.
- Gather your smallest gifts, such as wrapped chocolates, soaps, tea sachets, mini candles, or small accessories.
- Place them in the open spaces at the front of the basket.
- Rest them gently against the medium-sized gifts for support.
- Adjust them until they can be seen without hiding the larger items.
Don’t overfill it! Leave enough room between products so the basket looks neat instead of cluttered.
Step 7: Tuck Decorative Filler Into the Empty Gaps
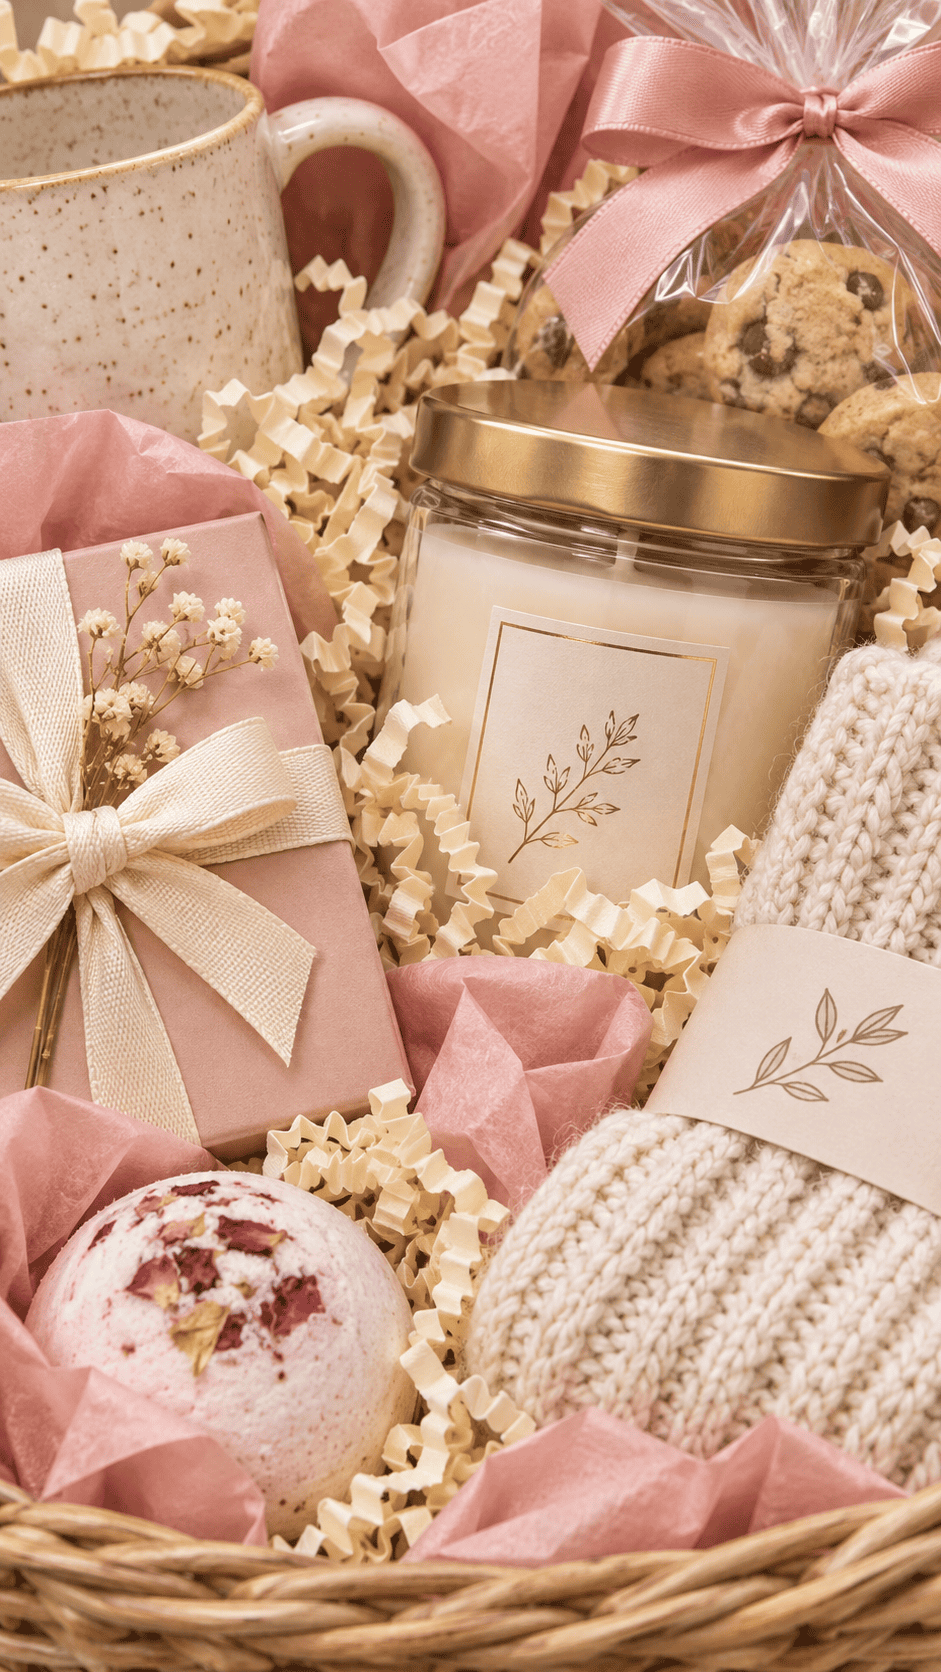
At this stage, your gifts should all be in position. You might notice little gaps between the products or around the edges. Filling these spaces gives your basket a more finished appearance.
- Take a small handful of crinkle-cut paper or shredded filler.
- Gently tuck it between the products and around the basket edges.
- Add a little extra filler beneath smaller items if they need lifting.
- Check that the filler isn’t covering labels or hiding any gifts.
What you’re aiming for: A basket that looks full and beautifully arranged, with all the gifts clearly visible.
Styling tip: Use one main filler color for a tidy, coordinated finish. Cream, natural kraft, and champagne work especially well.
Step 8: Secure the Gifts and Check That Nothing Moves
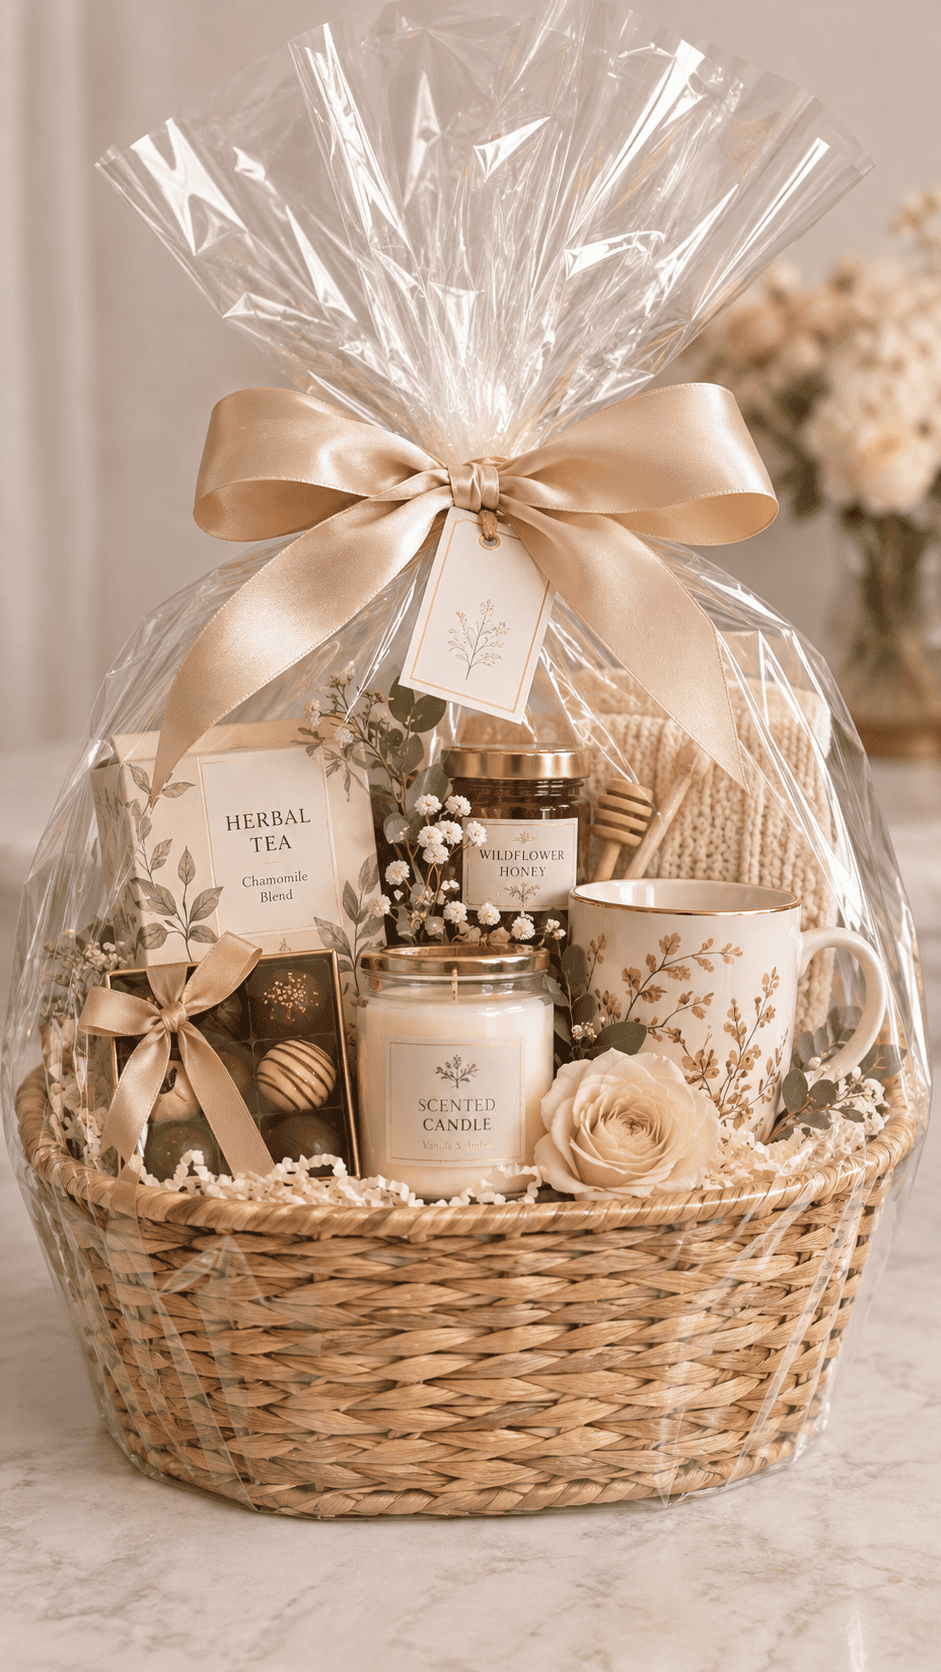
Before wrapping your basket, you need to make sure everything stays in place when it’s picked up or carried.
- Check that all bottles, jars, and boxes are sitting securely.
- Use extra packing material or suitable removable packaging adhesive where necessary to prevent items from shifting.
- Make sure fragile objects are cushioned and aren’t pressing against each other.
- Gently lift the basket a few inches off the table, keeping it level, and check whether anything moves.
If a product tips or slides, put the basket down and reposition it before continuing.
Important: Avoid sticking adhesive directly onto food, delicate labels, or packaging that could be damaged. Heavy or fragile gifts may need individual protective wrapping.
Step 9: Wrap the Basket With Clear Cellophane
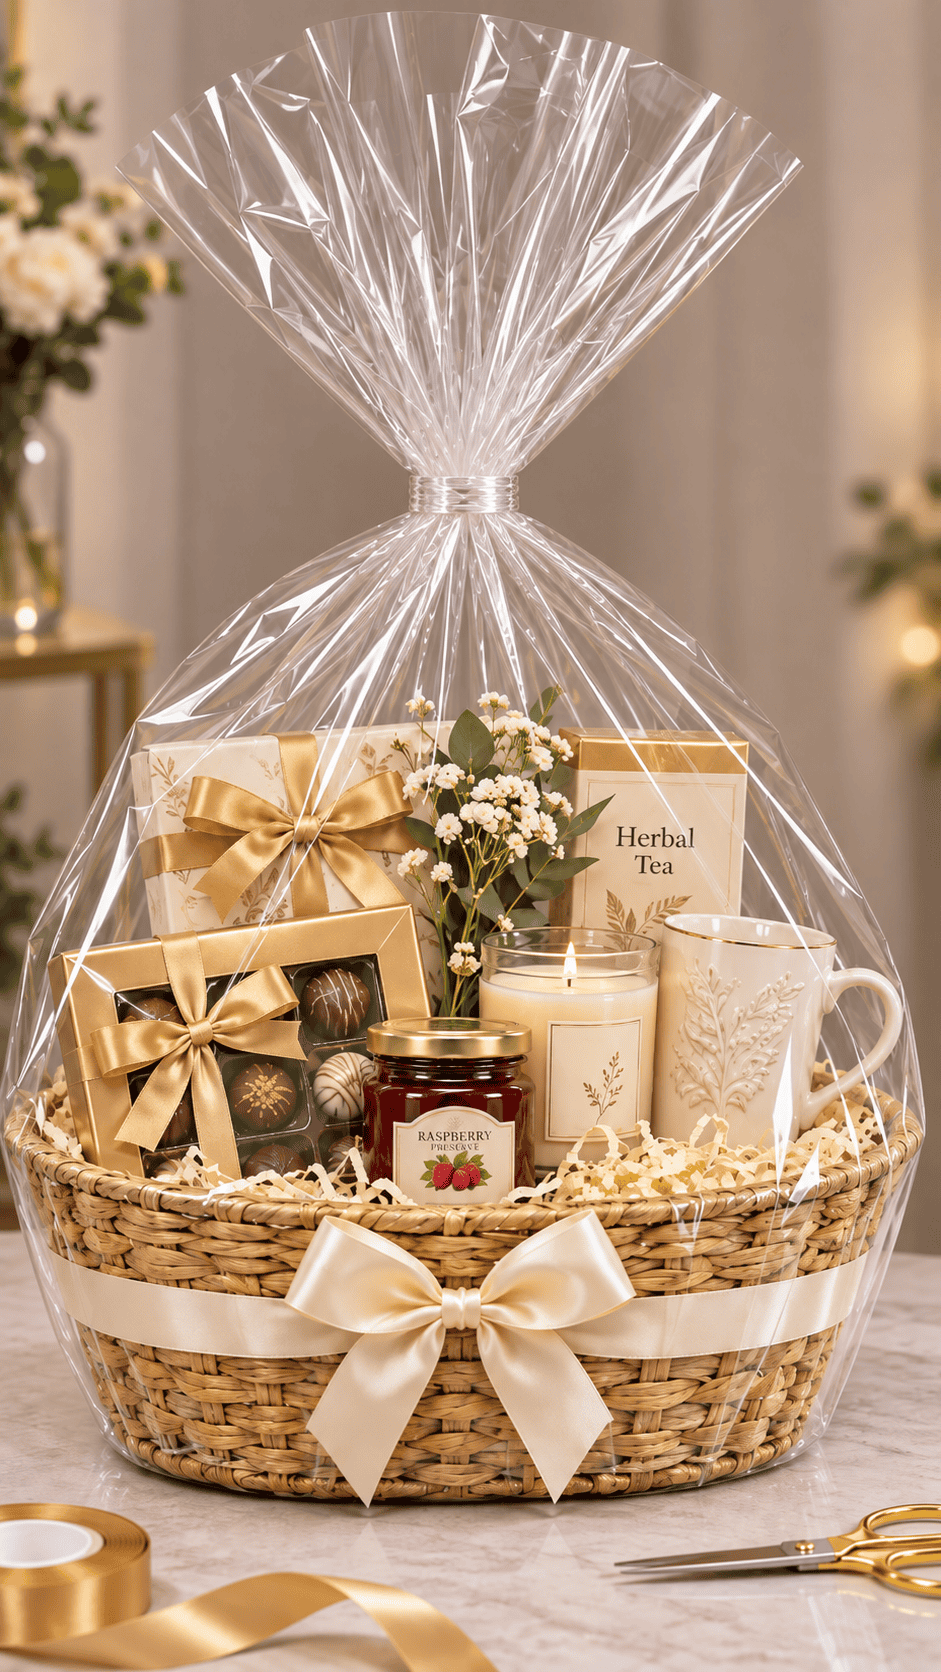
Now comes the part that makes your basket look like it came from a gift shop! Clear cellophane keeps the arrangement together and gives it a beautiful, finished appearance.
Option A: Use a Clear Gift Basket Bag (Easiest for Beginners)
- Open your clear gift basket bag fully.
- Carefully lower the basket into the bag, keeping it upright.
- Pull the sides of the bag upward around the basket.
- Gather the extra cellophane together above the gifts.
- Secure the gathered top with a twist tie or string.
Option B: Use a Large Sheet of Cellophane
- Spread a large sheet of clear cellophane across a clean table.
- Place your completed basket in the center.
- Lift the front and back edges upward, followed by the sides.
- Gather the cellophane above the tallest gift, smoothing the sides as you go.
- Secure the top with a twist tie and use a little clear tape to tidy any loose folds.
Beginner tip: A ready-made cellophane gift basket bag is usually the quickest option because you don’t have to measure and fold a large sheet of wrapping.
Whichever method you choose, make sure the wrapping has enough room around the products and isn’t pulling them out of position.
Step 10: Add a Ribbon, Bow, and Personal Gift Tag
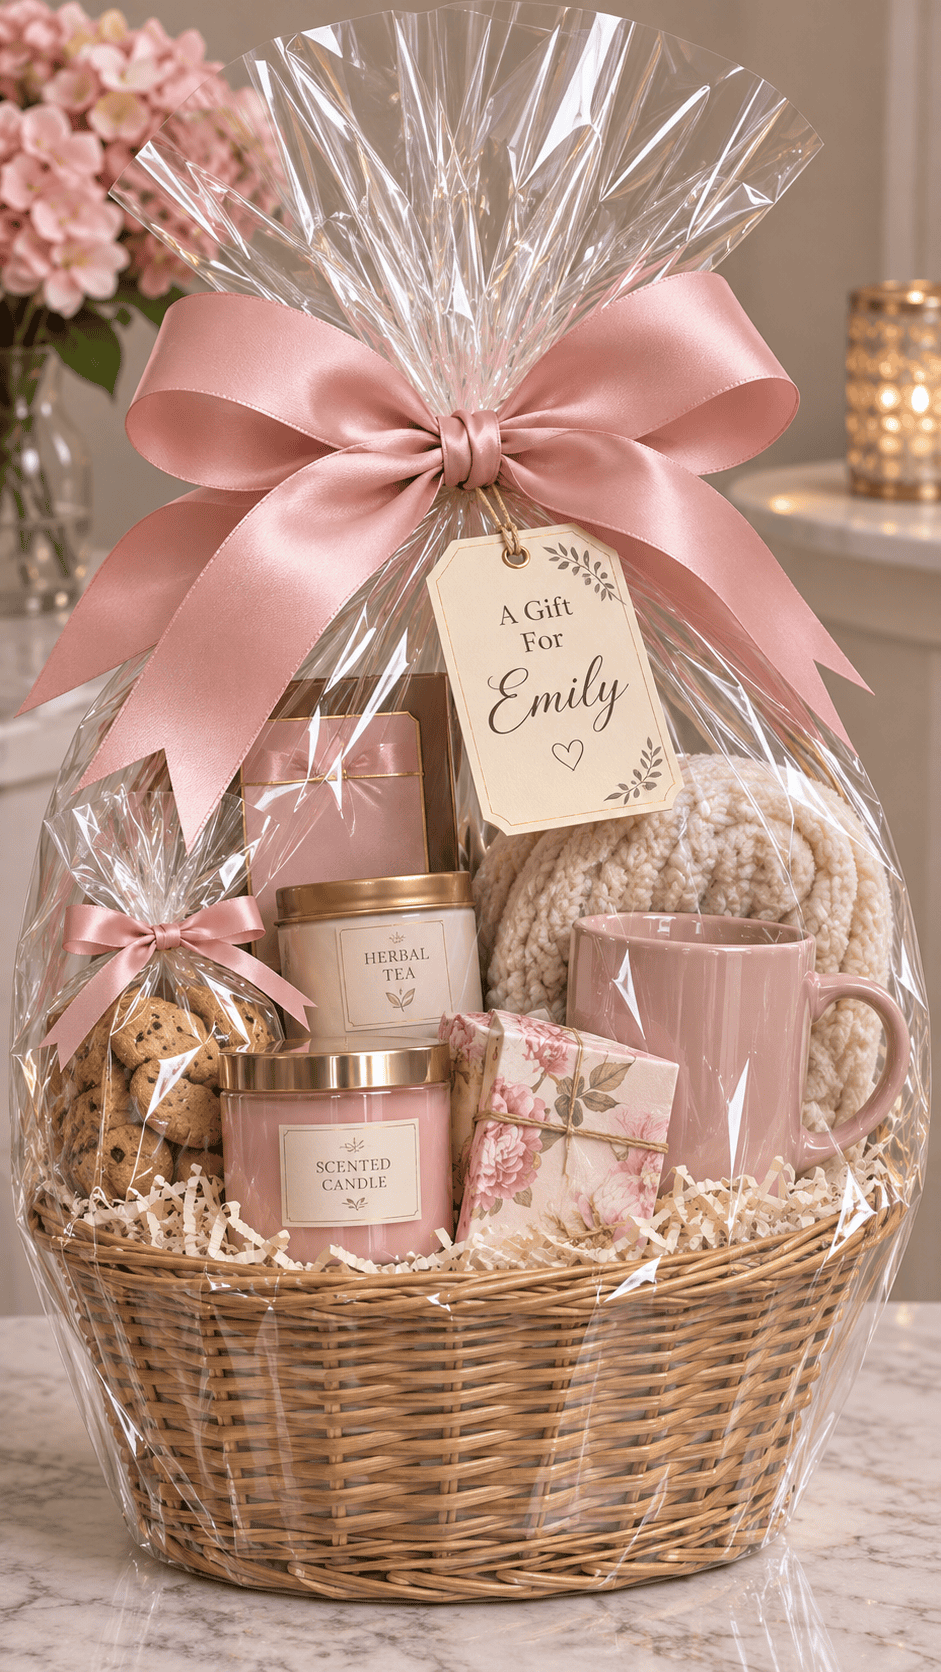
You’re almost finished! The last step is adding a beautiful bow and a personal message to complete your gift basket.
- Choose a ribbon that matches your gift basket’s color scheme.
- Wrap the ribbon around the gathered cellophane, over the twist tie.
- Tie a large bow, adjusting the loops until they look even.
- Trim the ribbon ends neatly with scissors.
- Write a short message on your gift tag and attach it to the ribbon.
Can’t tie a perfect bow? Use wired ribbon, which holds its shape more easily, or attach a ready-made decorative bow.
Finally, straighten the ribbon, smooth any untidy cellophane, and make sure the basket can still be carried safely.
And that’s it! Your beautifully packed gift basket is ready to give.
Final Gift Basket Checklist
Before handing over your finished gift, run through this quick checklist.
- ✓ The basket is sturdy and the base is stable.
- ✓ Tall gifts are at the back and smaller gifts are at the front.
- ✓ Attractive labels and packaging are visible.
- ✓ Decorative filler is tucked neatly into the gaps.
- ✓ Bottles, jars, and fragile items cannot slide around.
- ✓ Cellophane is neatly gathered and secured.
- ✓ The bow and gift tag are attached.
- ✓ The finished basket can be lifted and carried safely.
You Might Also Like
How to Make a Gift Basket Look Expensive on a Budget
You don’t need to spend a fortune to make a gift basket look professionally arranged. Often, it’s the presentation rather than the price of the gifts that makes the biggest difference.
- Choose a smaller basket: A neatly filled small basket usually looks better than a large basket with lots of empty space.
- Use matching colors: Coordinated tissue paper and ribbon instantly make different gifts look more elegant.
- Raise smaller gifts: A supportive base helps products stay visible without buying extra items just to fill the basket.
- Keep the decoration simple: One beautiful ribbon and a handwritten tag are often enough.
- Reuse containers: A clean woven basket, decorative box, or wooden crate can become part of the gift.
As a rough guide, basic gift basket packaging in the US might cost around $5–$10, depending on the size of the container and what materials you already have. The gifts themselves are extra.
How to Arrange Different Types of Gift Baskets
The same 10-step method works for almost any gift basket. You simply change the products and make small adjustments to the arrangement.
- Spa gift basket: Put tall body lotions and bath products at the back, candles and body scrubs in the middle, and smaller soaps or face masks at the front.
- Coffee gift basket: Position coffee bags or boxed coffee at the back, a securely cushioned mug in the middle, and wrapped chocolates or coffee accessories at the front.
- Tea gift basket: Arrange tea boxes behind a carefully protected teacup or honey jar, then add individually wrapped biscuits or tea accessories.
- Christmas gift basket: Place large packaged treats at the back, smaller seasonal gifts in the middle, and wrapped chocolates or festive accessories at the front.
- Beauty gift basket: Arrange taller skincare or hair care bottles behind smaller beauty products, with soft accessories tucked into the front spaces.
- Food gift basket: Place heavy jars and bottles low in the basket, with lighter packaged snacks layered above them. Check dates and storage instructions before gifting.
Safety reminder: Perishable foods must be kept at their required storage temperature. If you’re shipping your basket, protect the gifts inside a sturdy shipping box rather than relying on decorative cellophane alone.
Common Gift Basket Packing Mistakes to Avoid
If your first attempt doesn’t look quite right, don’t worry. Most packing problems are easy to fix.
- Gifts disappearing inside the basket? Add more stable support beneath the decorative filler to raise the products.
- Basket looking overcrowded? Remove one or two items or choose a slightly larger container.
- Products falling forward? Reposition heavy items lower and add firmer support behind the taller gifts.
- Too many different colors? Use matching tissue paper and ribbon to create a coordinated appearance.
- Cellophane looking messy? Smooth the sides, fold excess material neatly, and secure loose sections with clear tape.
- Bow looking flat? Try wired ribbon or use a ready-made bow for a fuller finish.
Final Thoughts
Now you know exactly how to pack a gift basket step by step, from choosing the right container to adding the finishing touches. The key is to work in the right order: prepare your base, arrange gifts from tallest to smallest, fill the gaps, secure everything, and finish with neat wrapping.
Once you’ve made your first basket, you’ll find the process gets easier each time. With a little practice, you can create thoughtful, beautifully arranged gifts for birthdays, Christmas, thank-you presents, baby showers, and almost any special occasion.
Save this easy gift basket tutorial to Pinterest! Pin it to your DIY gift ideas, gift basket inspiration, or gift wrapping board so you’ll have all 10 steps ready whenever you want to create a beautiful homemade gift.