
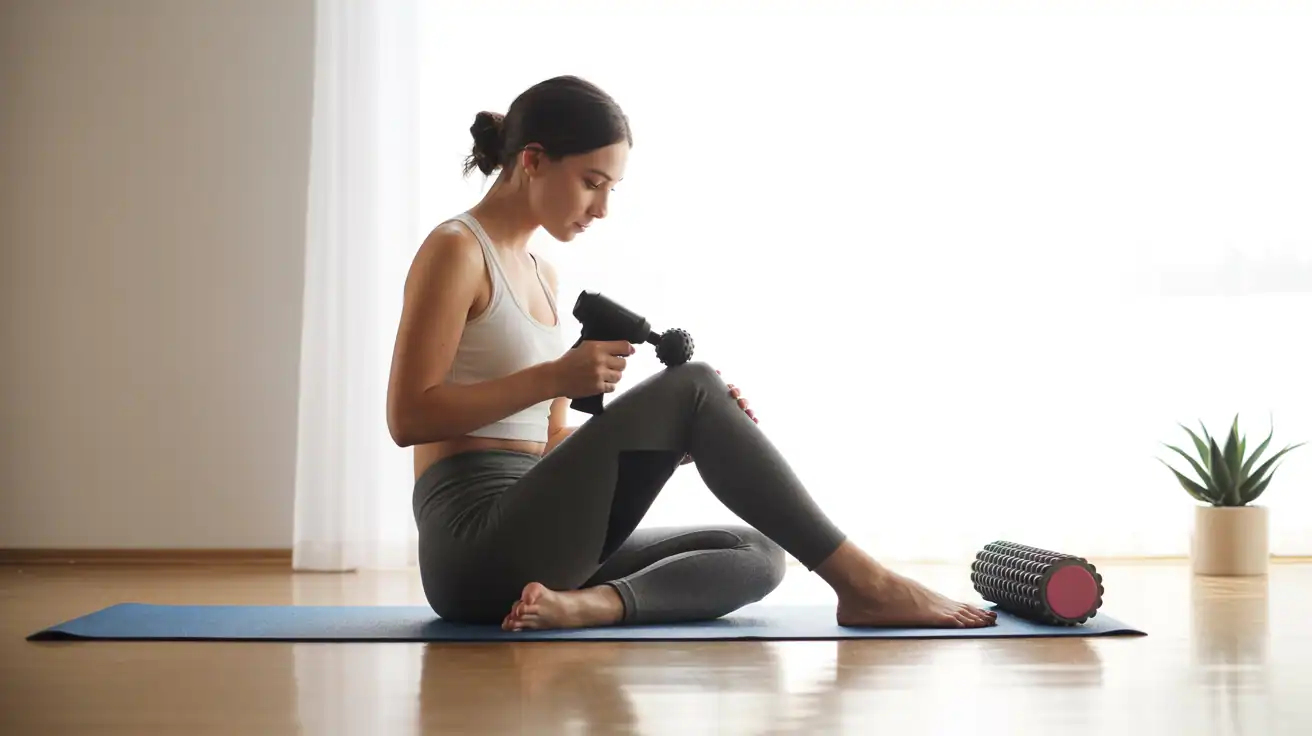
12 Best Ways to Recover Faster with Foam Rollers & Muscle Massage Guns
That familiar post-workout ache reminds you that you’ve pushed your limits—but it shouldn’t slow down your next training session. Whether you’re dealing with persistent muscle tightness, recovering from intense exercise, or simply looking to improve your mobility, the right recovery tools can make all the difference. In this guide, we’ll explore 12 proven techniques to recover faster with foam rollers and muscle massage guns, helping you bounce back quicker and perform better when it matters most.
Why Effective Recovery Matters
Your workout isn’t complete when you finish your last rep or mile—it’s just entering a new phase. Recovery is where the real transformation happens. During intense exercise, your muscles develop microscopic tears that need repair. This repair process is what makes you stronger, but it requires proper care and attention.
Without effective recovery, you risk prolonged soreness, decreased performance, and potential injury. The right recovery tools—specifically foam rollers and massage guns—can significantly accelerate this process by increasing blood flow, reducing muscle tension, and improving tissue mobility.
Both foam rollers and massage guns work through different mechanisms. Foam rollers utilize self-myofascial release (SMR) techniques to apply broad pressure across muscle groups. Massage guns deliver targeted percussive therapy with rapid pulses that penetrate deep into muscle tissue. When used correctly, these tools can help you recover faster and train more consistently.
1. Target Quad Tension with Rolling Waves
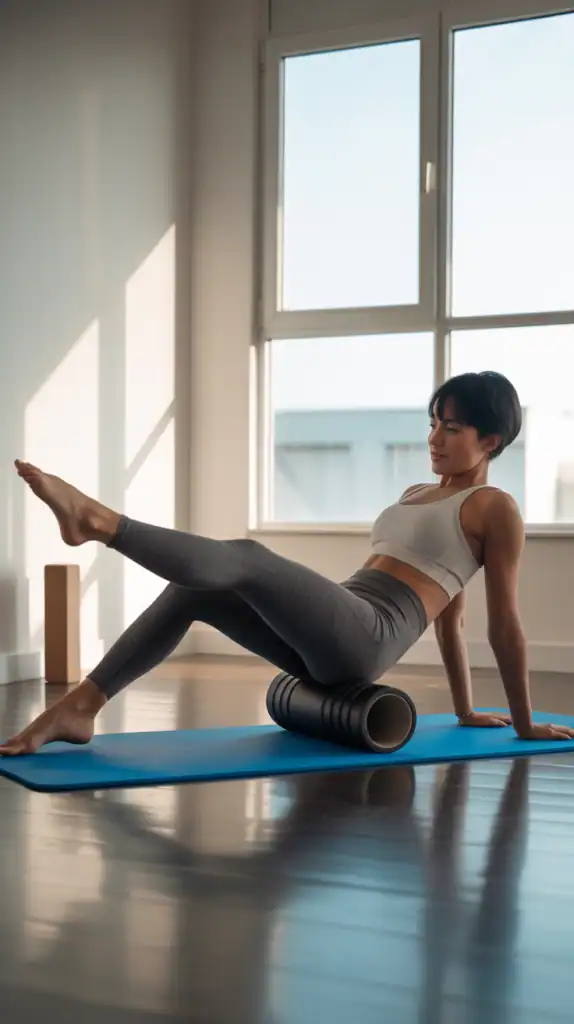
Your quadriceps take a beating during most lower-body workouts, especially after squats, lunges, or running sessions. The “Rolling Waves” technique helps release built-up tension in these large muscle groups by applying controlled pressure in a wave-like pattern. Start by positioning the foam roller under your thighs while supporting your upper body with your hands. Roll slowly from just above your knee to your hip, pausing for 20-30 seconds when you find a tight spot. Instead of rolling back and forth rapidly, create “waves” by applying pressure, slightly releasing, then applying pressure again as you move along the muscle.
This technique is particularly effective because it allows you to control the pressure while targeting specific areas of tension. For best results, perform this technique for 1-2 minutes per leg, focusing on breathing deeply throughout the process to help your muscles relax.
For this technique, a medium-density foam roller provides the ideal balance of pressure and comfort. The TriggerPoint GRID Foam Roller offers a multi-density exterior that mimics the feeling of a massage therapist’s hands, perfect for the rolling waves technique.
Get the TriggerPoint GRID Roller
2. Release Tight IT Bands in Minutes
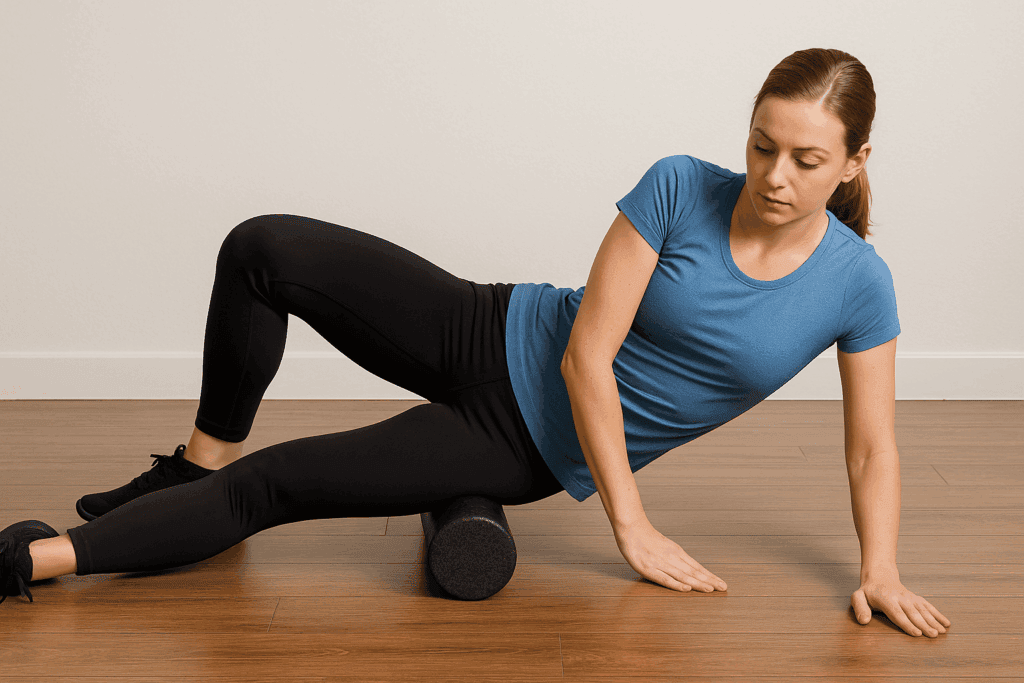
The iliotibial (IT) band—that thick band of tissue running along the outside of your thigh—is notorious for causing discomfort, especially in runners and cyclists. Unlike other muscles, the IT band requires a specific approach. Position yourself on your side with the foam roller just below your hip, placing your top leg in front for support. Slowly roll down toward your knee, focusing on the outer portion of your thigh. The key difference here is to roll in shorter segments (3-4 inches at a time) rather than covering the entire length at once.
This technique works because it allows you to apply more controlled pressure to this dense tissue. Start with 30 seconds per side and gradually build up to 1-2 minutes as your tolerance improves. Remember that IT band work can be uncomfortable at first, so begin with lighter pressure and increase gradually over time.
For IT band release, a firmer roller often works best. The RumbleRoller features textured bumps that dig deeper into tight tissue, making it especially effective for stubborn IT band tension.
3. Unlock Upper Back Mobility Fast
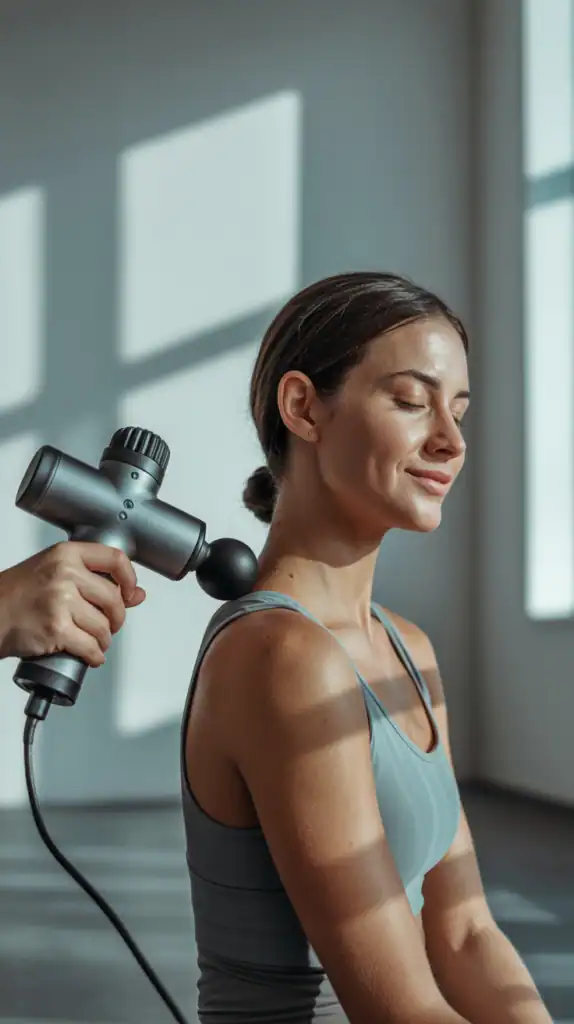
Your upper back (thoracic spine) often suffers from prolonged sitting and poor posture, leading to restricted mobility that affects your workouts. This technique focuses on using a massage gun to target the muscles surrounding your spine, particularly the rhomboids and trapezius. With the massage gun on a medium setting, place the ball attachment on the muscles beside your spine (never directly on the spine itself). Move in small circles for 20-30 seconds in each area, working from the middle of your back up toward your shoulders.
What makes this approach effective is the precision of the massage gun, allowing you to target specific knots that a foam roller might miss. The percussive therapy helps break up adhesions between muscle layers while increasing blood flow to these often-neglected areas. For best results, perform this technique for 3-5 minutes total, focusing on areas that feel particularly tight.
The Theragun Prime offers the perfect combination of power and precision for upper back work. Its ergonomic handle makes it easy to reach these difficult areas without straining, while multiple attachment options let you customize the pressure.
4. Revive Tired Calves with Precision
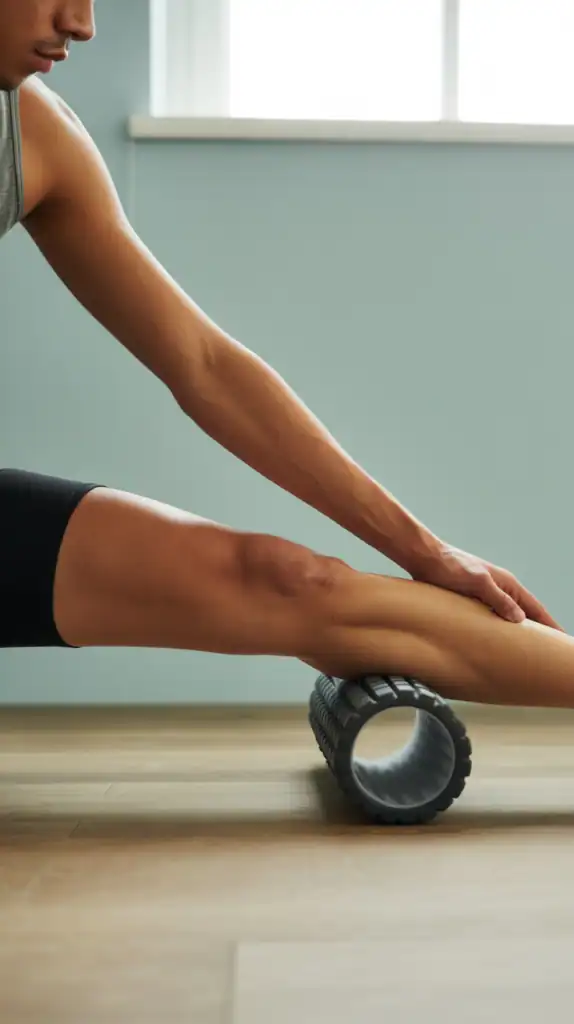
Calf muscles take a beating from running, jumping, and even walking, often becoming tight and restricted. This precision technique combines both tools for maximum effect. Start with the foam roller, positioning it under your calf while supporting your weight with your hands. Roll from ankle to knee, but with a twist—rotate your leg slightly inward and outward to target different portions of the muscle. After 1-2 minutes of rolling, switch to the massage gun with a bullet attachment to target specific trigger points you identified during rolling.
This combination approach is particularly effective because it first loosens the entire muscle group before delivering targeted pressure to problem areas. The cross-friction movement with the foam roller helps separate muscle fibers that may be sticking together, while the massage gun’s precision work helps break up deeper knots. For best results, spend 2-3 minutes per leg, focusing extra attention on areas that feel particularly tight.
For this technique, the Hyperice Hypervolt GO provides the perfect balance of power and portability. Its compact size makes it easy to maneuver around smaller muscle groups like calves, while still delivering professional-grade percussion.
5. Ease Hip Flexor Tension Effectively
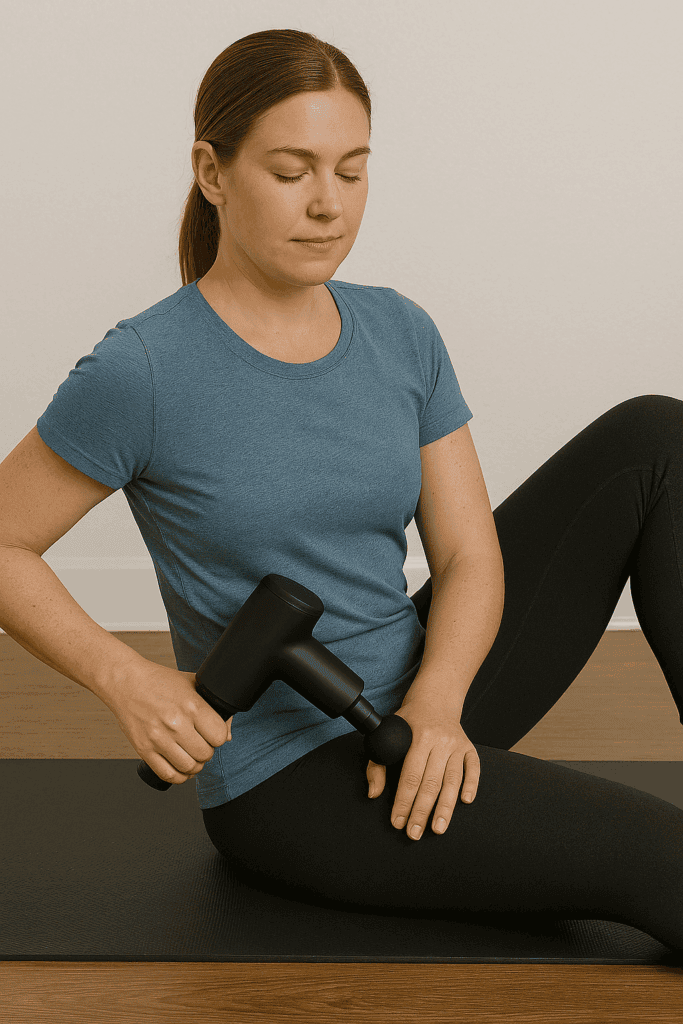
Tight hip flexors are extremely common, especially if you spend hours sitting or engage in activities like cycling and running. This technique uses a massage gun to target these deep muscles effectively. Lie on your back with your knees bent and feet flat on the floor. Place the massage gun with a flat attachment on the front of your hip where your leg meets your torso. Start on a low setting and gradually increase as tolerated, moving the gun in small circles and slightly up and down along the muscle for 1-2 minutes per side.
What makes this approach so effective is that the massage gun can reach deeper than a foam roller in this particular area. The percussive action helps release tension in the iliopsoas muscle group, which can be difficult to target with other methods. For enhanced results, follow this with a gentle hip flexor stretch to lock in the newfound mobility.
The Bob and Brad Q2 Mini Massage Gun is perfectly sized for targeting hip flexors. Its compact design and multiple attachment options make it ideal for reaching these challenging areas with precision.
6. Restore Shoulder Mobility Quickly
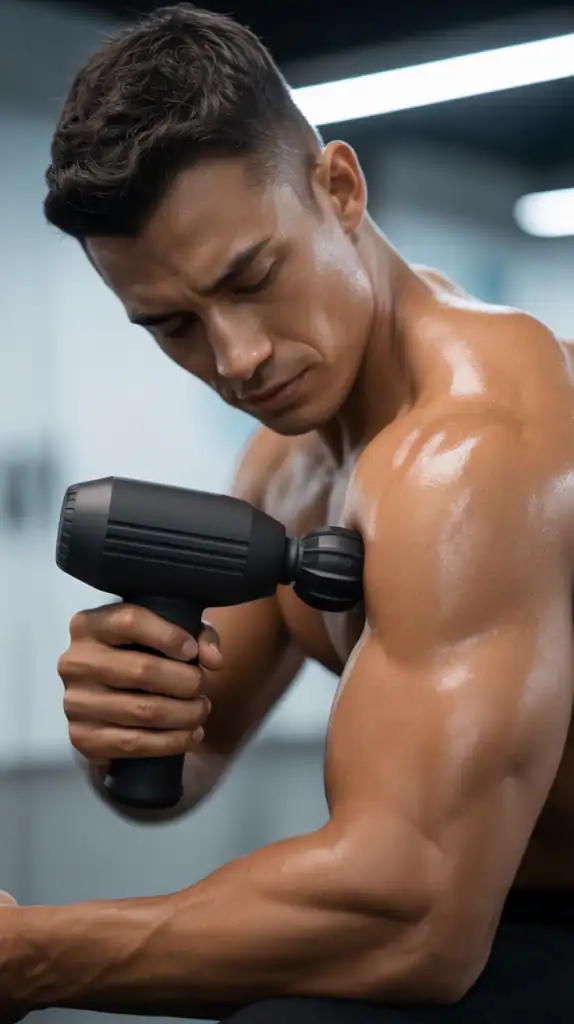
Shoulder tension can severely limit your upper body workouts and everyday movements. This technique focuses on using a massage gun to target the rotator cuff muscles and surrounding areas. With the massage gun on a medium setting, use the ball attachment to work in three key areas: the front deltoid, the lateral deltoid, and the rear deltoid/upper back. Spend 30-45 seconds on each area, moving in small circles and adjusting the angle to find tender spots. Pay special attention to the area between your shoulder blade and spine, where many people hold significant tension.
This approach is effective because the massage gun can target the smaller, deeper muscles of the shoulder complex that are difficult to reach with a foam roller. The percussive therapy helps break up adhesions while increasing blood flow to these often-restricted areas. For best results, perform this technique for 2-3 minutes per shoulder, focusing on areas that feel particularly tight or restricted.
The Ekrin B37 Massage Gun offers exceptional control for sensitive areas like shoulders. Its variable speed settings and quiet operation make it perfect for the precision work needed in this technique.
7. Release Lower Back Tension Safely
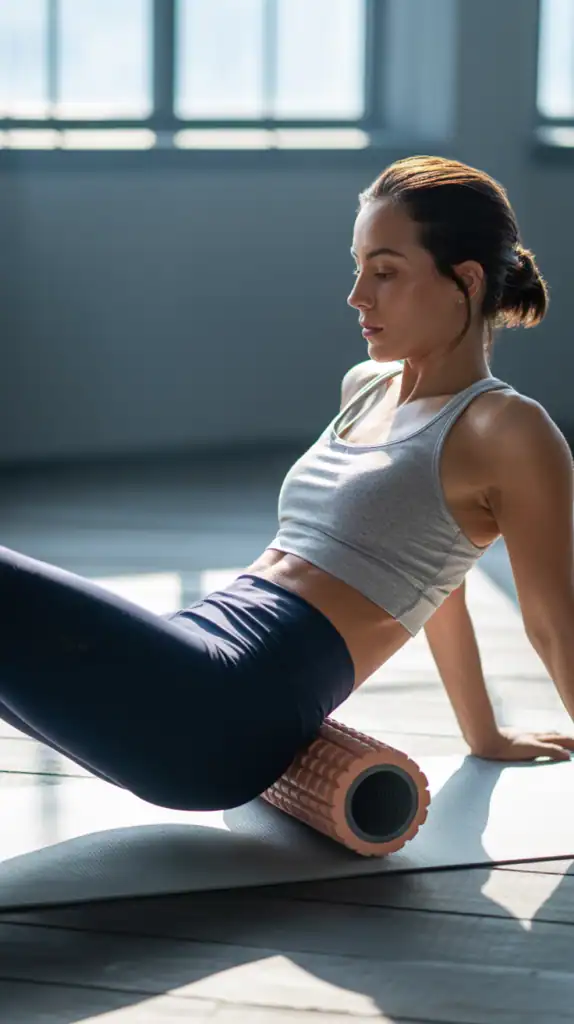
Lower back discomfort affects nearly everyone at some point, but it requires a careful approach. This technique uses a foam roller to gently release tension in the muscles surrounding your spine—never directly on the spine itself. Lie on your back with the foam roller positioned horizontally under your lower back. Bend your knees and keep your feet flat on the floor for stability. Instead of rolling up and down, which can stress your spine, gently shift your weight slightly from side to side, allowing the roller to apply pressure to the muscles on either side of your spine. Move the roller up or down an inch at a time between these side-to-side movements.
This technique works because it targets the paraspinal muscles without putting pressure on the spine itself. The gentle, controlled movement helps release tension without risking injury to this sensitive area. For best results, perform this technique for 1-2 minutes, focusing on breathing deeply throughout to enhance relaxation.
For lower back work, the OPTP Pro-Roller Soft Density Foam Roller provides the perfect balance of support and gentle pressure. Its slightly softer density makes it ideal for sensitive areas like the lower back.
8. Boost Hamstring Recovery Effectively
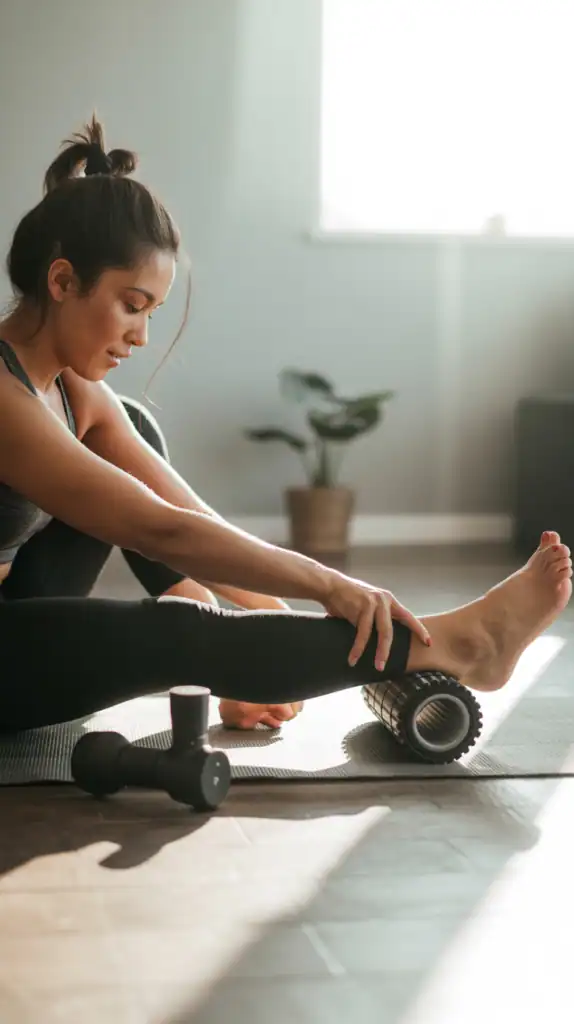
Hamstrings are prone to tightness and can limit your performance in many activities. This comprehensive technique combines both tools for maximum effectiveness. Start with the foam roller, sitting on it with one leg extended and the other foot flat on the floor. Roll from just above your knee to just below your glute, pausing on tight spots for 20-30 seconds. After 1-2 minutes of rolling, switch to the massage gun with a flat attachment. Target the same areas you just rolled, using slow, deliberate movements along the length of the muscle for another 1-2 minutes.
This combination approach is particularly effective because the foam roller first increases blood flow and prepares the tissue, while the massage gun then provides deeper, more targeted work. The sequence matters—starting with broader pressure before moving to specific areas yields better results than either tool alone. For enhanced benefits, follow this technique with gentle hamstring stretches to maintain the newfound flexibility.
The combination of a high-quality foam roller and massage gun delivers the best results for hamstrings. The Lifepro Sonic Handheld Massage Gun pairs perfectly with foam rolling, offering multiple attachments and intensity levels for customized recovery.
9. Accelerate Full-Body Recovery Circuits
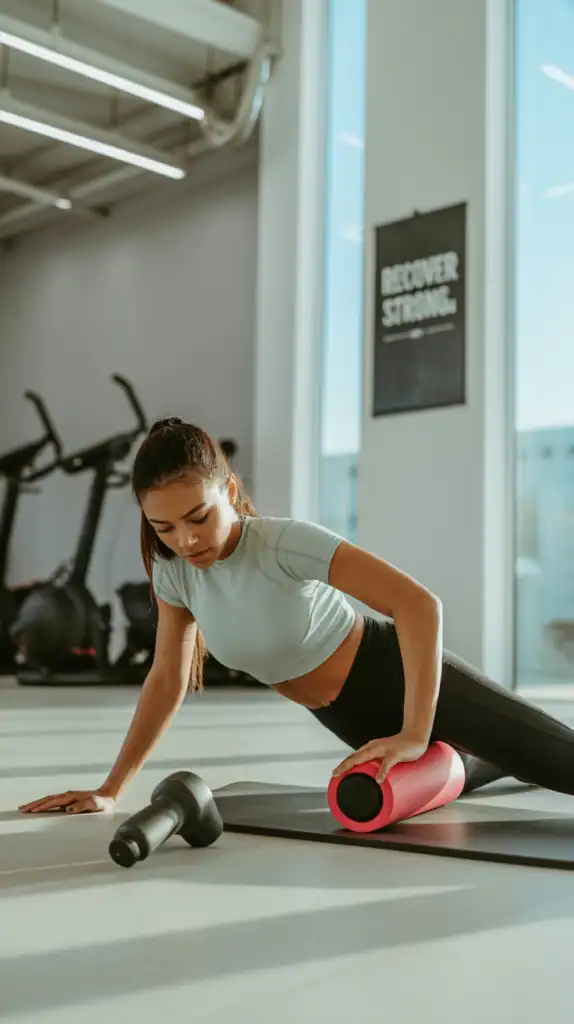
When you’re short on time but need comprehensive recovery, this circuit approach combines both tools efficiently. Create a 10-minute circuit that targets your entire body in sequence. Start with 60 seconds of foam rolling your calves, then immediately switch to 30 seconds with the massage gun on the same area. Continue this pattern—60 seconds rolling, 30 seconds massage gun—as you move up the body: hamstrings, quads, glutes, lower back, upper back, and shoulders. The key is to transition quickly between tools and body parts, maintaining a steady flow.
This circuit approach is effective because it combines the broad pressure of foam rolling with the targeted depth of the massage gun, all while keeping your heart rate slightly elevated to promote blood flow. The continuous movement helps flush metabolic waste from your entire system rather than focusing too long on one area. For best results, perform this circuit within 30 minutes after your workout when your muscles are still warm.
For an effective recovery circuit, you need tools that allow quick transitions. The Renpho R3 Massage Gun offers quick-change attachments and an intuitive interface that makes it perfect for moving efficiently through your recovery circuit.
10. Target Plantar Fascia for Foot Relief
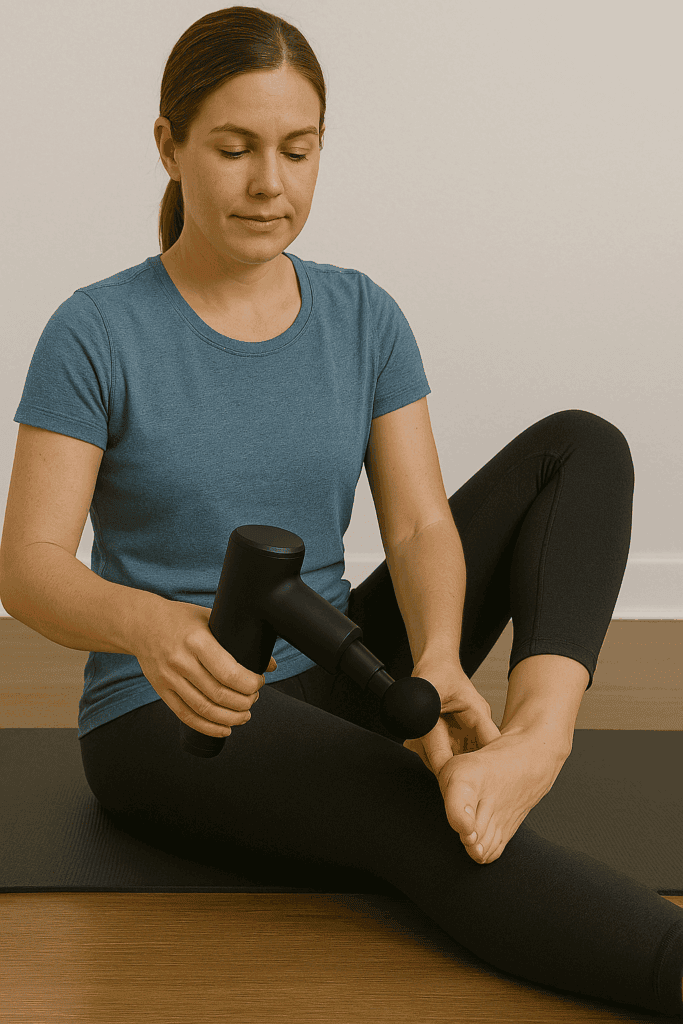
Foot pain can derail your entire training program, and the plantar fascia—the band of tissue running along the bottom of your foot—is often the culprit. This specialized technique uses a massage gun to provide relief. Sit comfortably and rest your foot on the opposite knee. Using the smallest round attachment on your massage gun at a low to medium setting, work along the arch of your foot from heel to ball in slow, deliberate movements. Pay special attention to the inner arch where tension often accumulates. Spend 1-2 minutes per foot, gradually increasing pressure as tolerated.
This technique is particularly effective because the massage gun can deliver precise pressure to this dense tissue that’s difficult to target with other tools. The percussive therapy helps break up adhesions in the fascia while promoting blood flow to this often-neglected area. For enhanced results, follow this with rolling your foot over a small, firm ball to maintain the release.
The Opove M3 Pro Massage Gun includes a bullet attachment that’s perfect for targeting the plantar fascia. Its precision and variable intensity make it ideal for this sensitive yet dense tissue.
11. Enhance Pre-Workout Activation Sequence
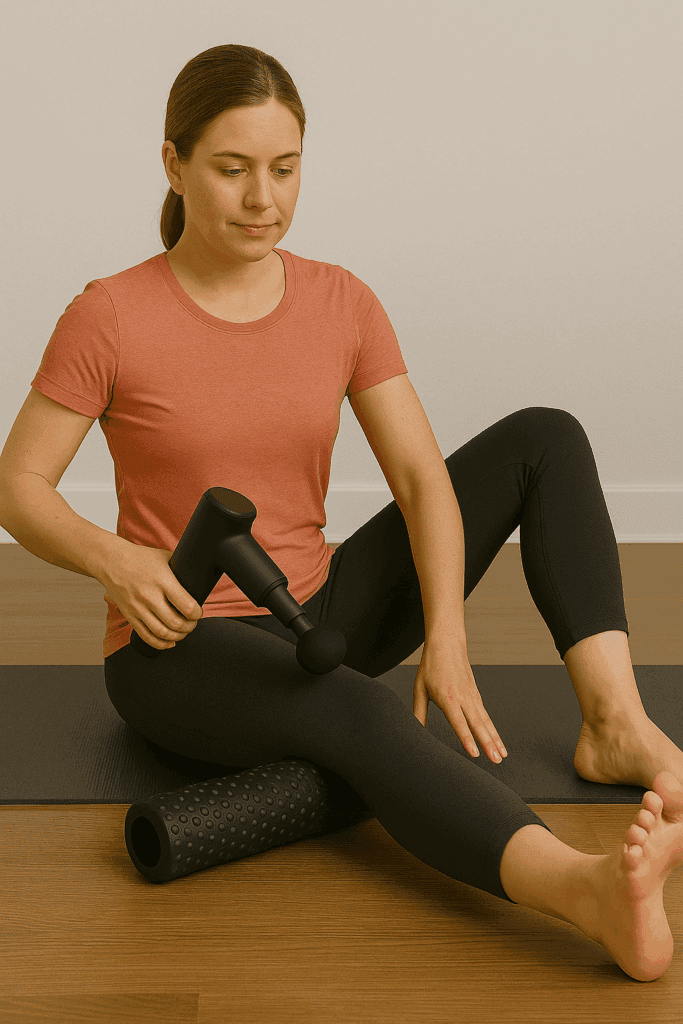
Proper muscle activation before training can significantly improve performance and reduce injury risk. This technique creates a pre-workout sequence using both tools strategically. Begin with the foam roller, spending 20-30 seconds on each major muscle group you’ll be using in your workout. The key is to roll quickly rather than lingering on spots—the goal is increased blood flow, not deep tissue work. Follow immediately with 10-15 seconds of massage gun work on the same areas, using a medium setting with a ball attachment. The entire sequence should take 3-5 minutes total.
This activation approach works because the foam roller first increases general blood flow and tissue temperature, while the brief massage gun application helps wake up the nervous system and prime the muscles for activity. Unlike recovery-focused techniques, this sequence uses faster movements and less pressure to stimulate rather than release. For best results, perform this immediately before your warm-up sets or dynamic stretching routine.
The combination of a vibrating foam roller and massage gun creates the ultimate pre-workout activation system. The Vibra Foam Roller adds vibration therapy to traditional rolling, making it perfect for quickly increasing blood flow before training.
12. Implement Strategic Recovery Days
Dedicated recovery days are essential for long-term progress, and this comprehensive protocol maximizes their effectiveness. On recovery days, implement a 15-20 minute session that systematically addresses your entire body. Start with 5-7 minutes of foam rolling, spending 45-60 seconds on each major muscle group and focusing on slow, deliberate movements. Follow with 8-10 minutes of massage gun work, spending 30-45 seconds on each area and adjusting the intensity based on how sore or tight each muscle feels. The key is to be thorough and methodical rather than rushing through.
This strategic approach works because it dedicates proper time to recovery when your body isn’t also trying to recover from a new training stimulus. The combination of tools allows you to address both surface-level tension and deeper tissue restrictions. For optimal results, perform this protocol on designated recovery days, ideally 24-48 hours after your most intense training sessions when delayed onset muscle soreness (DOMS) typically peaks.
For a complete recovery day system, the Power Plate Pulse massage gun offers professional-grade performance with multiple attachments. Its powerful motor and ergonomic design make it perfect for thorough, full-body recovery sessions.
Foam Rollers vs. Massage Guns: When to Use Each
Foam Rollers Excel At:
- Covering large muscle groups efficiently
- Providing broad pressure across entire muscles
- Cost-effective recovery solution
- Great for general maintenance and warm-ups
- Easier to use on back and posterior chain
Massage Guns Excel At:
- Targeting specific trigger points with precision
- Delivering deeper tissue penetration
- Reaching difficult areas like shoulders and feet
- Providing adjustable intensity levels
- Requiring less physical effort to use
Both tools have their place in an effective recovery routine. For best results, consider using foam rollers for general maintenance, warm-ups, and larger muscle groups. Reserve massage guns for targeting specific problem areas, deeper tissue work, and hard-to-reach spots. Many athletes find that the combination of both tools—as demonstrated in several techniques above—provides the most comprehensive approach to recovery.
The Science Behind Faster Recovery
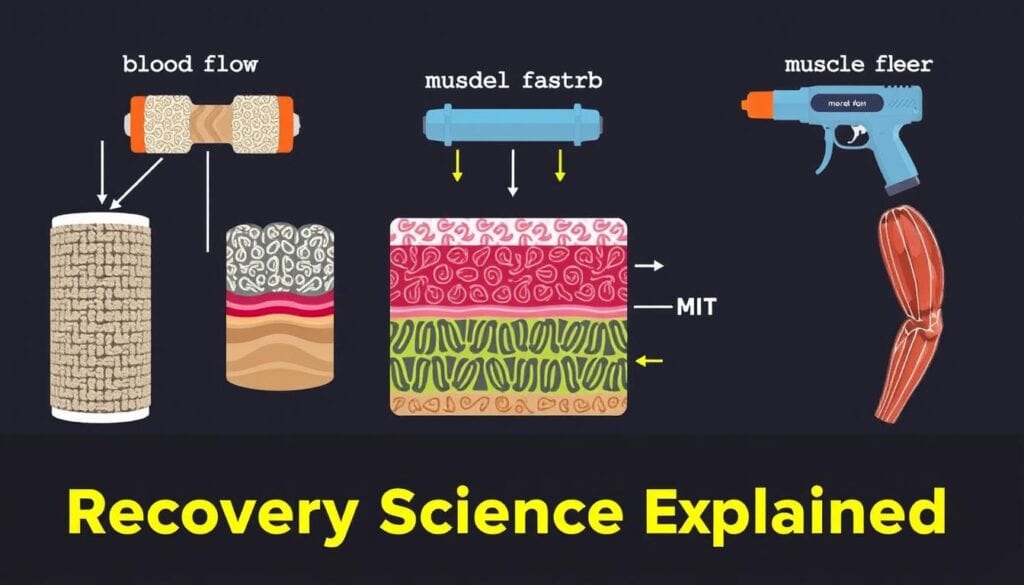
Understanding how these recovery tools work helps you use them more effectively. Foam rollers primarily work through a process called self-myofascial release (SMR), which applies pressure to the fascia—the connective tissue surrounding your muscles. This pressure helps break adhesions between fascial layers, improving tissue mobility and increasing blood flow. Research shows that foam rolling for just 2 minutes can increase range of motion by up to 10% while reducing muscle soreness by 25-50% when performed regularly.
Massage guns operate through percussive therapy, delivering rapid pulses of pressure deep into muscle tissue. These pulses can reach up to 16mm in depth and oscillate at frequencies between 20-53 Hz (cycles per second). This mechanical stimulation increases blood flow, reduces muscle stiffness, and interrupts pain signals to the brain. Studies indicate that just 2 minutes of percussive therapy can reduce perceived muscle soreness by up to 30% and improve range of motion similar to a 15-minute traditional massage.
Both tools stimulate mechanoreceptors in your muscles and skin, which can override pain signals through a process called “gate control theory.” They also trigger the release of endorphins—your body’s natural pain relievers—while reducing levels of cortisol, the stress hormone that can impede recovery. For maximum benefit, consistency matters more than duration—regular short sessions produce better results than occasional long ones.
Your Path to Faster Recovery Starts Now
Recovery isn’t just an optional add-on to your fitness routine—it’s an essential component that determines how quickly you progress and how consistently you can train. The 12 techniques we’ve explored provide a comprehensive toolkit for addressing virtually any recovery need, from targeting specific problem areas to implementing full-body protocols.
Remember that recovery is highly individual—what works best for you may depend on your training style, body composition, and specific areas of tightness. Experiment with these techniques to discover which combinations deliver the best results for your unique needs. Start with 2-3 techniques that address your most pressing recovery challenges, then gradually incorporate others as you build your recovery routine.
By investing just a few minutes daily in these recovery strategies, you’ll likely notice significant improvements in how you feel and perform. Reduced soreness, improved mobility, and faster recovery between sessions aren’t just possible—they’re probable when you apply these techniques consistently. Your future self will thank you for making recovery a priority today.
Ready to Transform Your Recovery?
Start with either a quality foam roller or massage gun based on your primary needs, then add the complementary tool as you develop your recovery routine. The investment in proper recovery tools pays dividends in performance, consistency, and injury prevention.