Keto Chocolate Peanut Butter Cups – A Simple, Low-Carb Treat
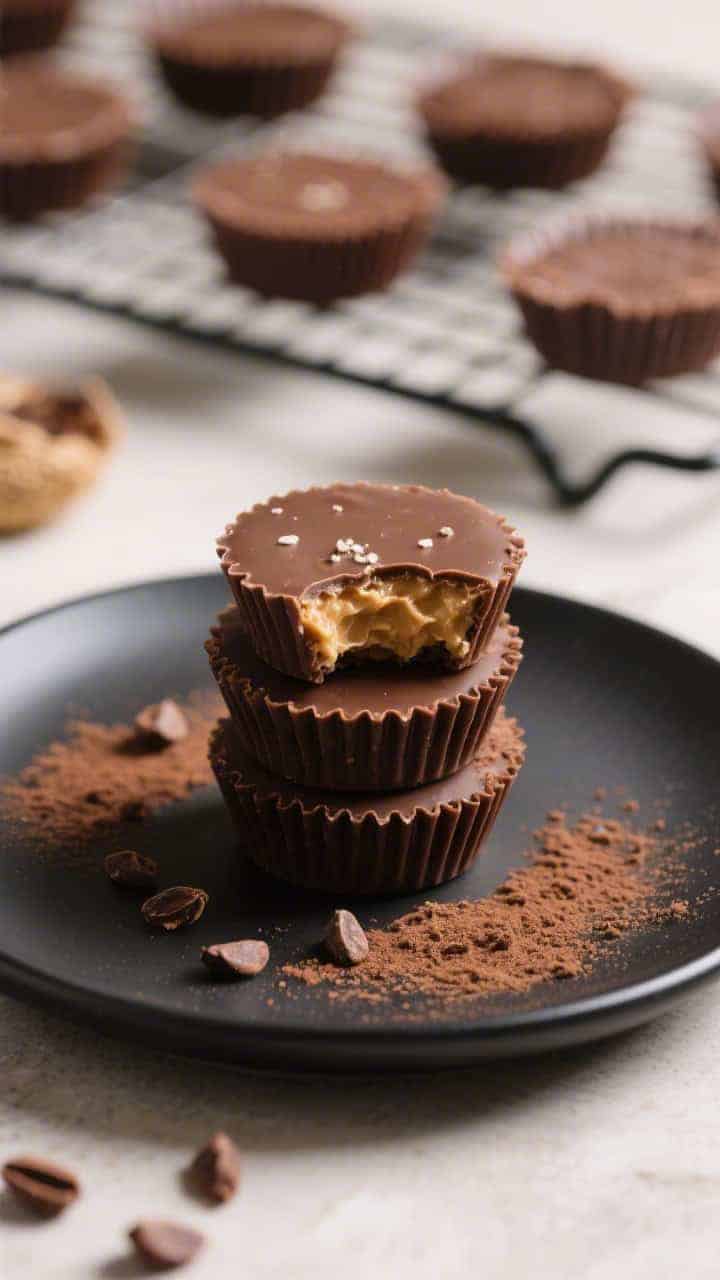
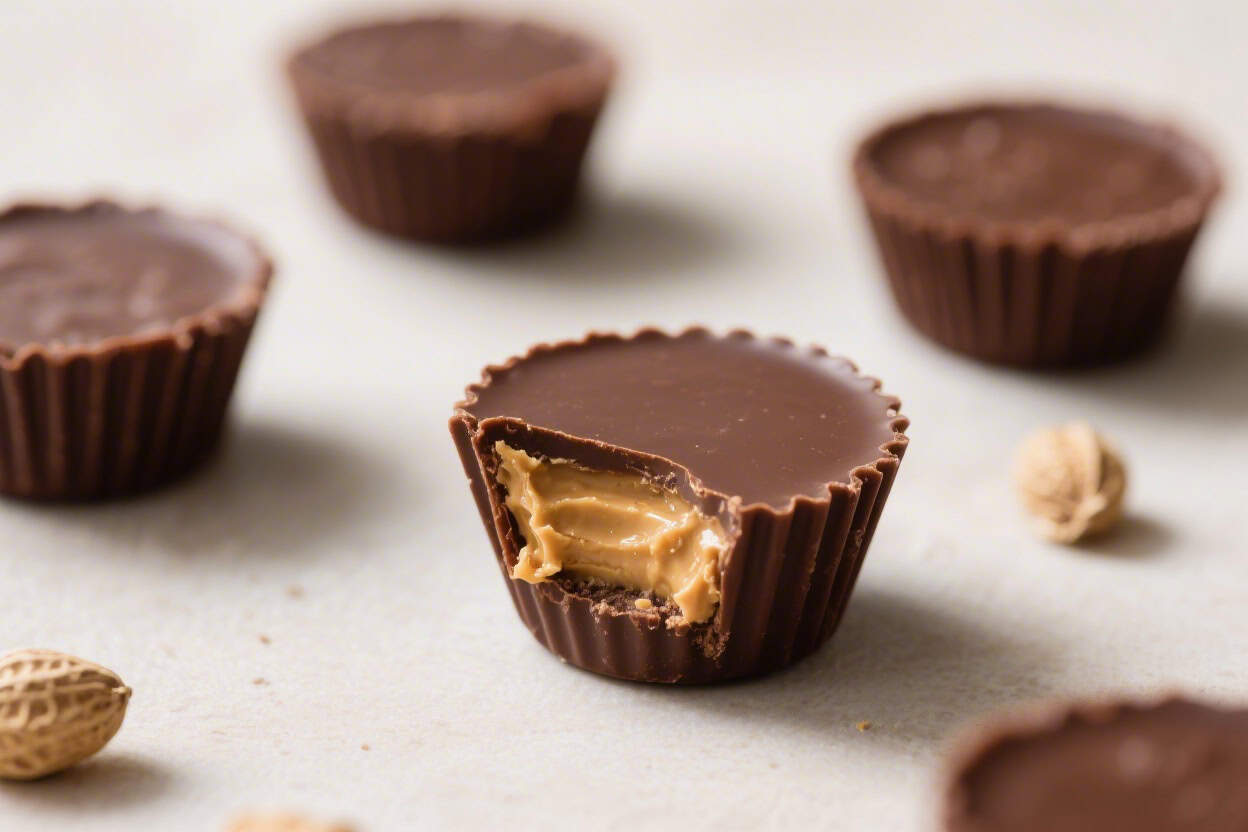
If you’re craving something chocolatey and satisfying without kicking yourself out of ketosis, these Keto Chocolate Peanut Butter Cups hit the spot. They taste like a classic candy aisle favorite but are low in carbs and free of refined sugar. You can make them in under 30 minutes with just a few pantry staples.
They’re great for meal prep, dessert after dinner, or a quick sweet bite with your afternoon coffee. Best of all, you control the sweetness and texture.
Keto Chocolate Peanut Butter Cups – A Simple, Low-Carb Treat
Ingredients
- Chocolate: 1 1/2 cups sugar-free dark chocolate chips (or a chopped 85–90% dark chocolate bar)
- Coconut oil or cocoa butter: 2 tablespoons, to help melt and set the chocolate smoothly
- Peanut butter: 3/4 cup natural creamy peanut butter (no added sugar)
- Sweetener: 2–4 tablespoons powdered erythritol, allulose, or a blend (adjust to taste)
- Vanilla extract: 1 teaspoon
- Fine sea salt: 1/8 teaspoon in the filling, plus flaky salt for topping (optional)
- Paper liners: 12 standard muffin liners or 24 mini liners
Instructions
- Prep the pan: Line a standard muffin tin with 12 paper liners. If you prefer smaller bites, use a mini muffin pan lined with 24 mini liners.
- Make the chocolate base: In a microwave-safe bowl, add the chocolate chips and coconut oil. Microwave in 20–30 second bursts, stirring between each, until smooth. You can also melt using a double boiler over low heat.
- Sweeten if needed: Taste the melted chocolate. If it’s too bitter, stir in 1–2 teaspoons of powdered sweetener until dissolved. Keep it smooth and glossy.
- Layer the first chocolate coat: Spoon about 1–1 1/2 teaspoons of melted chocolate into each liner. Tilt or tap the pan so the chocolate spreads evenly. Place the pan in the freezer for 5–7 minutes to set.
- Make the peanut butter filling: In a small bowl, mix peanut butter, powdered sweetener, vanilla extract, and 1/8 teaspoon fine salt. Stir until creamy and thick but still spreadable. If too stiff, warm it for 10–15 seconds in the microwave.
- Form the centers: Roll or scoop 12 small disks of the peanut butter mixture (about 1 to 1 1/2 teaspoons each). Press them slightly so they sit flat and don’t touch the liners’ edges.
- Add the filling: Place one peanut butter disk into each chocolate-lined cup. Gently press it down so it sits on the chocolate base, leaving room around the edges.
- Top with chocolate: Spoon enough melted chocolate over each center to fully cover it. Tap the pan lightly on the counter to level the tops and remove air bubbles.
- Finish and set: Sprinkle a tiny pinch of flaky sea salt on top of each cup if you like that sweet-salty finish. Chill in the fridge for 20–30 minutes, or in the freezer for 10–15 minutes, until firm.
- Peel and enjoy: Once set, peel off the liners. Store leftovers as directed below to keep them snappy and fresh.
What Makes This Special
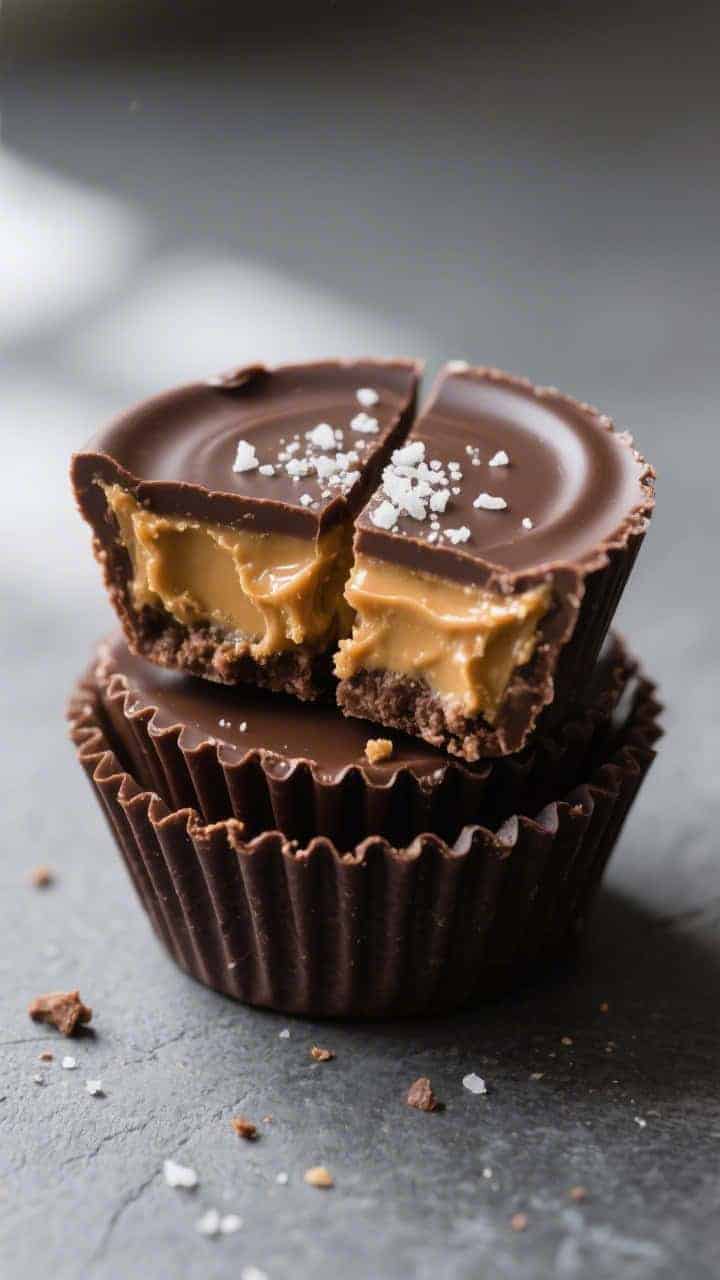
This recipe balances rich, smooth chocolate with a creamy, slightly salty peanut butter center. It’s the kind of dessert that feels indulgent but fits neatly into a low-carb lifestyle.
You won’t deal with complicated steps or unusual ingredients. Each cup is portion-controlled, so you can easily track macros. Plus, the recipe is flexible: you can make it dairy-free, nut-free, or sweeter to taste without sacrificing the classic flavor.
What You’ll Need
- Chocolate: 1 1/2 cups sugar-free dark chocolate chips (or a chopped 85–90% dark chocolate bar)
- Coconut oil or cocoa butter: 2 tablespoons, to help melt and set the chocolate smoothly
- Peanut butter: 3/4 cup natural creamy peanut butter (no added sugar)
- Sweetener: 2–4 tablespoons powdered erythritol, allulose, or a blend (adjust to taste)
- Vanilla extract: 1 teaspoon
- Fine sea salt: 1/8 teaspoon in the filling, plus flaky salt for topping (optional)
- Paper liners: 12 standard muffin liners or 24 mini liners
Step-by-Step Instructions
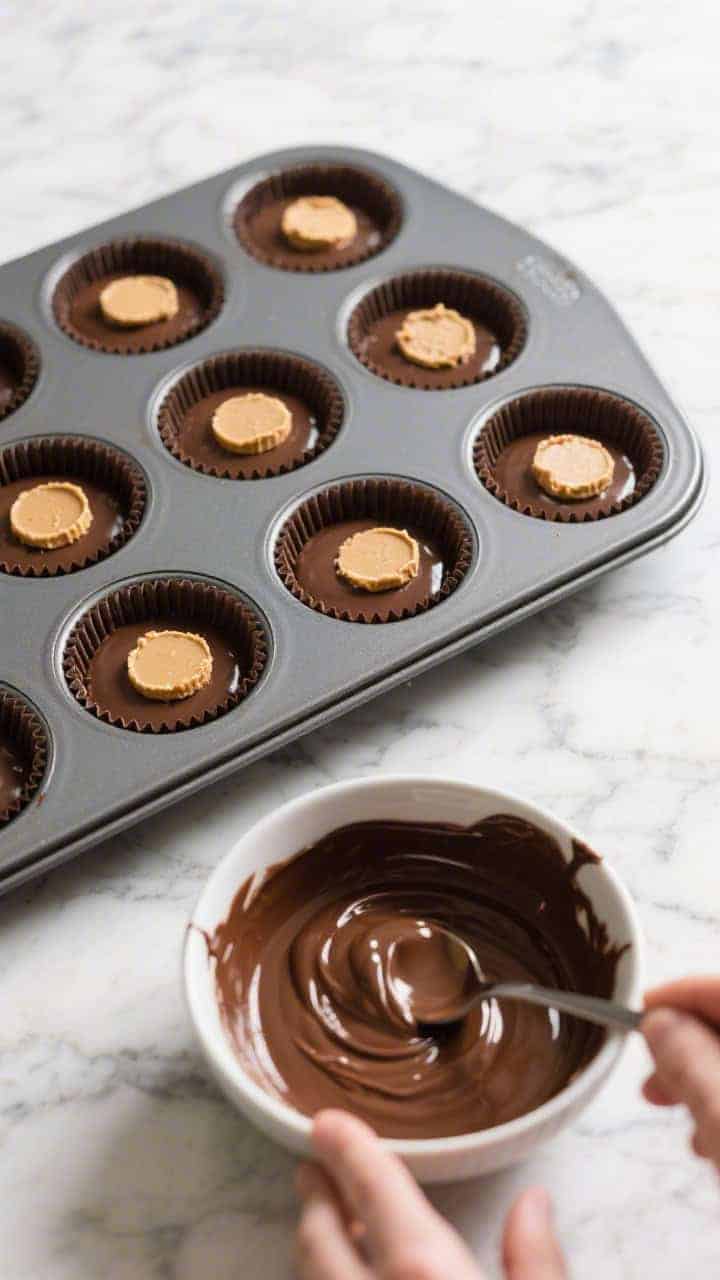
- Prep the pan: Line a standard muffin tin with 12 paper liners. If you prefer smaller bites, use a mini muffin pan lined with 24 mini liners.
- Make the chocolate base: In a microwave-safe bowl, add the chocolate chips and coconut oil.
Microwave in 20–30 second bursts, stirring between each, until smooth. You can also melt using a double boiler over low heat.
- Sweeten if needed: Taste the melted chocolate. If it’s too bitter, stir in 1–2 teaspoons of powdered sweetener until dissolved.
Keep it smooth and glossy.
- Layer the first chocolate coat: Spoon about 1–1 1/2 teaspoons of melted chocolate into each liner. Tilt or tap the pan so the chocolate spreads evenly. Place the pan in the freezer for 5–7 minutes to set.
- Make the peanut butter filling: In a small bowl, mix peanut butter, powdered sweetener, vanilla extract, and 1/8 teaspoon fine salt.
Stir until creamy and thick but still spreadable. If too stiff, warm it for 10–15 seconds in the microwave.
- Form the centers: Roll or scoop 12 small disks of the peanut butter mixture (about 1 to 1 1/2 teaspoons each). Press them slightly so they sit flat and don’t touch the liners’ edges.
- Add the filling: Place one peanut butter disk into each chocolate-lined cup.
Gently press it down so it sits on the chocolate base, leaving room around the edges.
- Top with chocolate: Spoon enough melted chocolate over each center to fully cover it. Tap the pan lightly on the counter to level the tops and remove air bubbles.
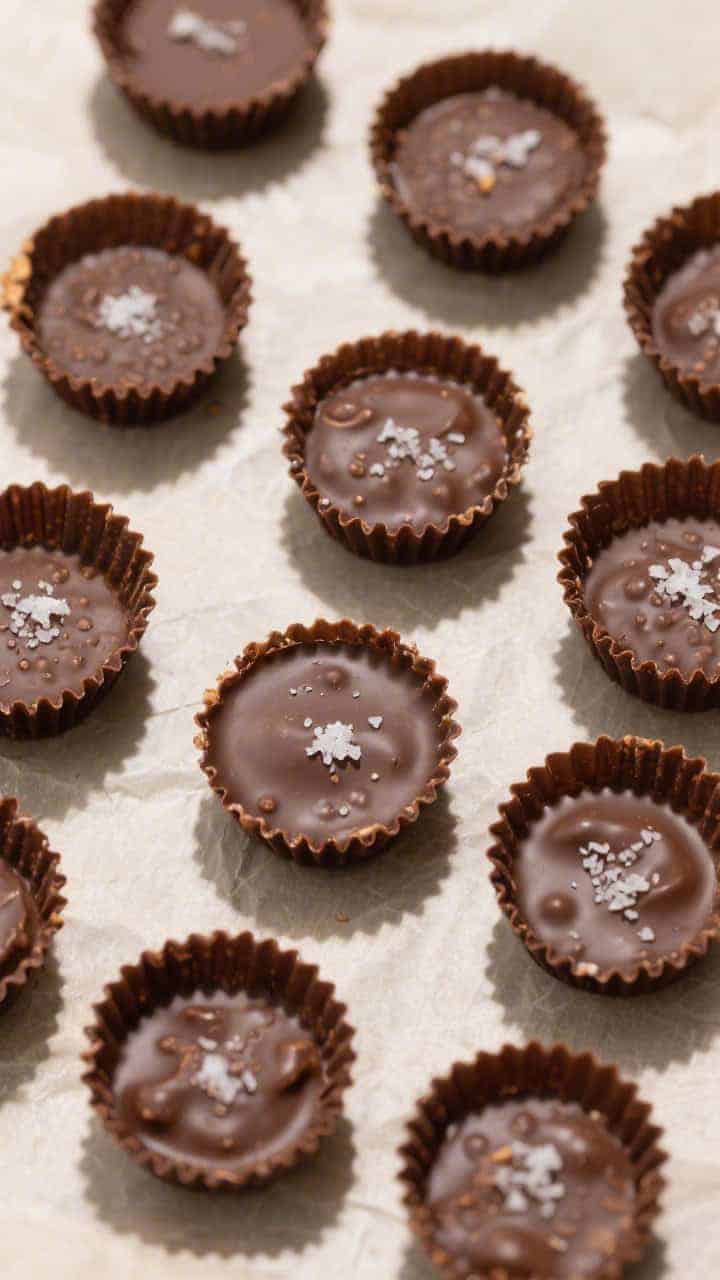
- Finish and set: Sprinkle a tiny pinch of flaky sea salt on top of each cup if you like that sweet-salty finish. Chill in the fridge for 20–30 minutes, or in the freezer for 10–15 minutes, until firm.
- Peel and enjoy: Once set, peel off the liners.
Store leftovers as directed below to keep them snappy and fresh.
Storage Instructions
- Refrigerator: Store in an airtight container for up to 2 weeks. Keep layers separated with parchment so they don’t stick.
- Freezer: Freeze for up to 3 months. Thaw at room temperature for 5–10 minutes before eating for the best texture.
- Room temperature: If your kitchen is cool (68°F/20°C or below), they may hold for a day.
In warmer spaces, the chocolate can soften, so refrigeration is safer.
Benefits of This Recipe
- Low in net carbs: Using sugar-free chocolate and keto sweeteners keeps carbs down while delivering classic flavor.
- Healthy fats: Peanut butter and chocolate offer satiating fats that help curb cravings and keep you fuller longer.
- Customizable sweetness: You control how sweet they are, which is especially helpful if you’re sensitive to sweeteners.
- Batch-friendly: Easy to double for parties, gifts, or weekly meal prep.
- No baking: Simple process with minimal cleanup and quick chill time.
Pitfalls to Watch Out For
- Grainy texture: If your sweetener isn’t powdered, it may stay gritty. Use a powdered keto sweetener for a smooth bite.
- Melting issues: Overheating can seize chocolate. Melt gently and stir often.
If seizing happens, whisk in 1 teaspoon coconut oil to recover.
- Runny filling: Natural peanut butter can separate. Stir well before using, and chill briefly if it’s too loose.
- Too sweet or not sweet enough: Taste as you go. Adjust sweetness in both the chocolate and filling before assembling.
- Sticking to liners: Ensure cups are fully set before peeling, and use good-quality paper liners or silicone molds.
Variations You Can Try
- Almond or cashew: Swap peanut butter for almond or cashew butter for a different nutty profile.
- Sunflower seed butter: Nut-free and school-friendly, with a toasty flavor that pairs well with dark chocolate.
- Creamy-crunchy mix: Stir in crushed toasted nuts, cacao nibs, or unsweetened coconut flakes to the filling for texture.
- Dairy-free: Use dairy-free sugar-free chocolate and coconut oil instead of butter or ghee.
- Mellow mocha: Add 1/2 teaspoon espresso powder to the melted chocolate for a subtle coffee note.
- Maple-vanilla vibe: A few drops of maple extract with vanilla in the filling adds warmth without sugar.
- Mini cups: Make bite-sized treats using a mini pan—great for portion control and party trays.
FAQ
How many net carbs are in each cup?
It depends on your ingredients and serving size, but a standard cup made with sugar-free chocolate and powdered erythritol typically ranges from 2–4 net carbs.
Always check your labels and calculate based on the exact brands you use.
Can I use stevia drops instead of powdered sweetener?
Yes, but go lightly. Liquid stevia is potent and can turn bitter if overused. Start with a few drops in the filling, taste, and adjust.
For the chocolate, powdered sweeteners usually blend more smoothly.
What if I don’t have coconut oil?
You can skip it, though the chocolate will be a bit firmer and may not spread as easily. Cocoa butter is a great substitute if you have it. A small pat of unsalted butter also works for non-dairy-free versions.
My peanut butter is too stiff.
What should I do?
Warm it briefly in the microwave for 10–15 seconds or stir in 1–2 teaspoons of coconut oil. This loosens the texture and makes it easier to shape without cracking the chocolate layers.
Can I make these without muffin liners?
Silicone molds are a good alternative. If using a bare metal pan, lightly grease it, but be prepared for more careful removal.
Liners are the easiest option for clean edges and quick release.
Do these taste like regular peanut butter cups?
They’re very close, especially if you use a quality sugar-free chocolate. The sweetness is more balanced and less intense than store-bought, which many people prefer.
Can I add protein powder?
Yes. Mix 1–2 tablespoons of unflavored or vanilla protein powder into the peanut butter filling.
If it gets too thick, add a teaspoon of coconut oil to smooth it out.
Why is my chocolate turning gray or streaky?
That’s likely chocolate bloom from temperature changes. It’s still safe to eat, but for the best look, let the cups set in the fridge (not the freezer) and avoid repeated warming and cooling.
Final Thoughts
These Keto Chocolate Peanut Butter Cups are a simple, satisfying way to enjoy a classic flavor combo without the sugar crash. They come together fast, store well, and feel special enough for company.
Keep a batch in your fridge or freezer, and you’ll always have a low-carb treat ready when the craving hits. Adjust the sweetness, swap the nut butter, and make them your own—this recipe is as flexible as it is delicious.