
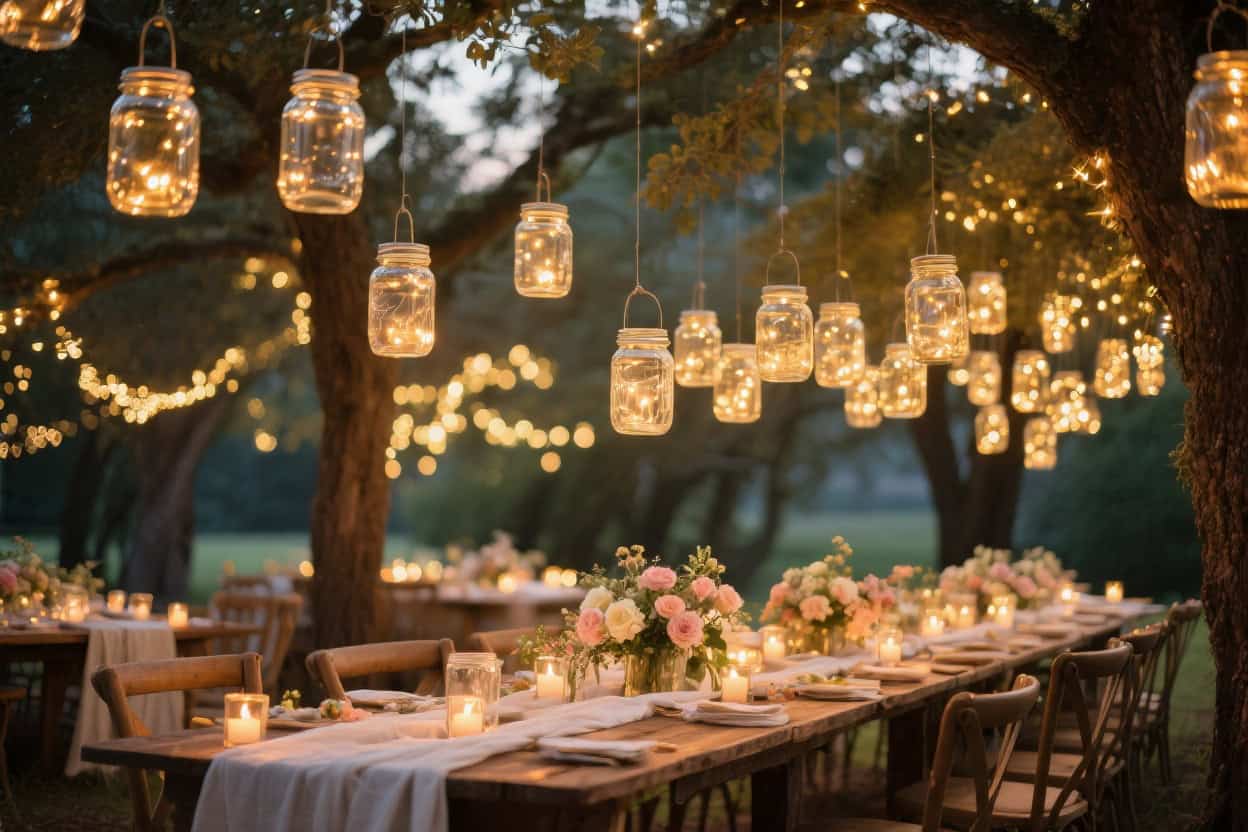
12 Fairy Light Mason Jar Lanterns for Evening Weddings You’ll Totally Obsess Over
You know that instant magic when the sun dips, music floats, and everything feels a little sparkly? That’s what fairy light mason jar lanterns do for an evening wedding. They’re simple, romantic, budget-friendly, and insanely photogenic. Consider this your glam-yet-chill guide to making them look custom, not crafty.
1. Glow Goals: Pick The Right Jars
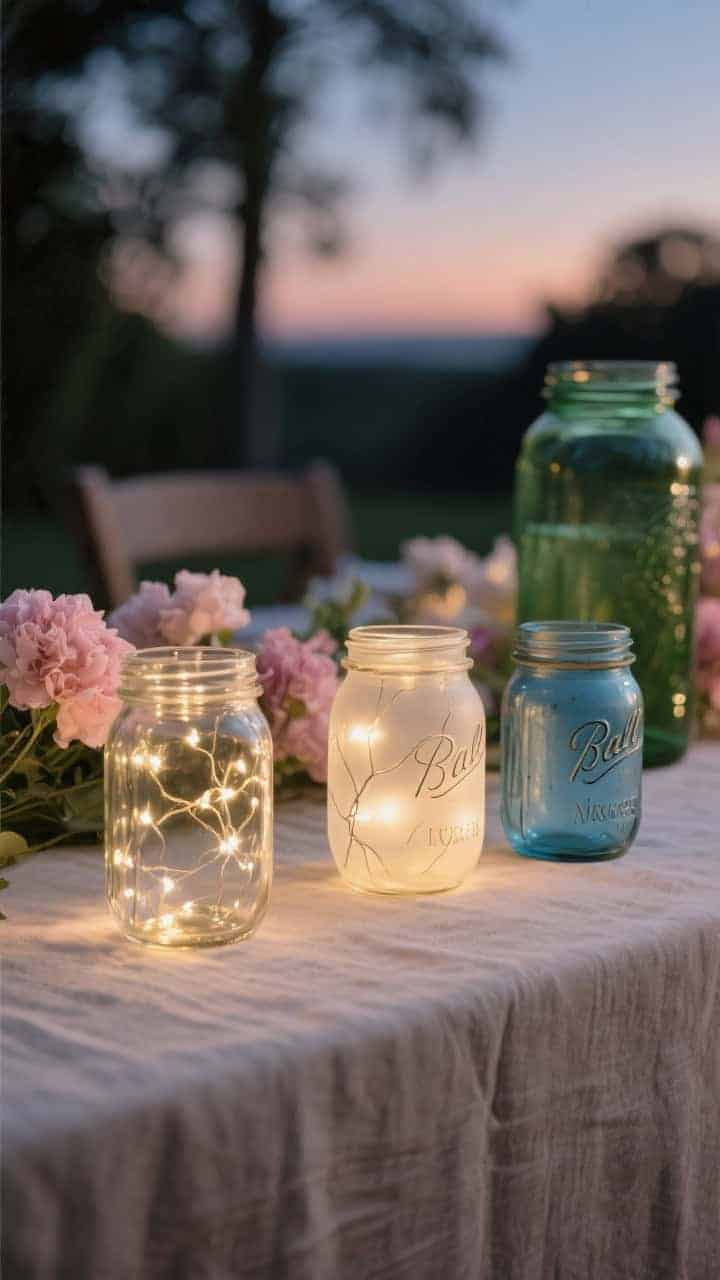
Not all mason jars are created equal. Some glow like a dream; others look muddy once the lights go in. The secret? Glass clarity, jar size, and a little texture.
What To Choose
- Clear glass for maximum sparkle and a clean, modern look.
- Frosted or etched jars for soft, diffused light that hides the wire.
- Vintage blue or amber jars for a warm, nostalgic vibe that flatters skin in photos.
- Sizes: Mix standard pint jars (16 oz) for tables and quart jars (32 oz) for pathways or hanging.
FYI: Avoid super-thick, green-tinted glass. It can dull the fairy lights and make everything feel a tad swampy.
2. Fairy Lights 101: Battery, Solar, Or Plug-In?
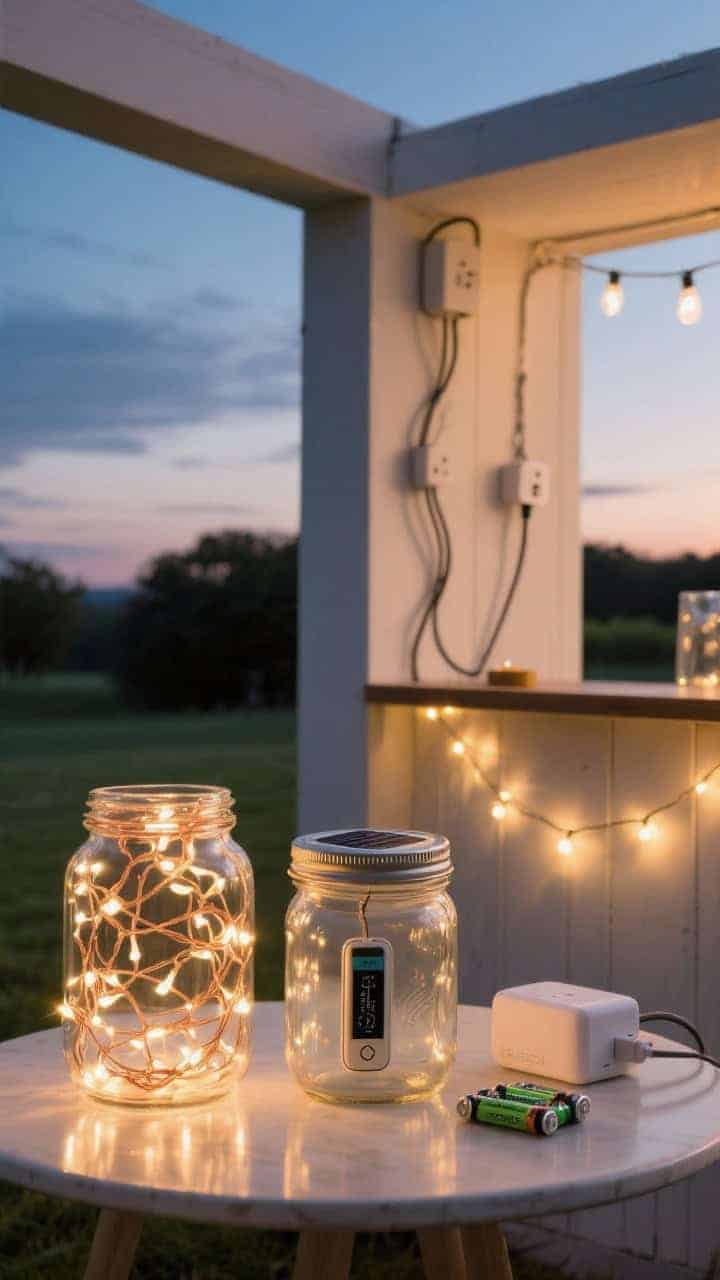
You’ve got three power paths—each with pros and cons. Choose based on your venue layout and how hands-on you want to be on wedding day.
Power Options
- Battery-operated (most popular): Easy, cordless, and flexible. Look for warm white LEDs and thin copper wire. Bonus if there’s a built-in timer (6 hours on/18 off) so they turn themselves off.
- Solar lids: Great for outdoor setups. Charge during the day, glow at night. Make sure they’re charged in direct sunlight for 6–8 hours. Keep backups for cloudy days.
- Plug-in: Super bright and reliable, but you’ll need cable management. Works best for a dedicated photo backdrop or bar area.
Pro tip: If you go battery, buy rechargeable AAs and a bulk charger. Your wallet (and the planet) will thank you.
3. Signature Style: Choose Your Light Color Temperature
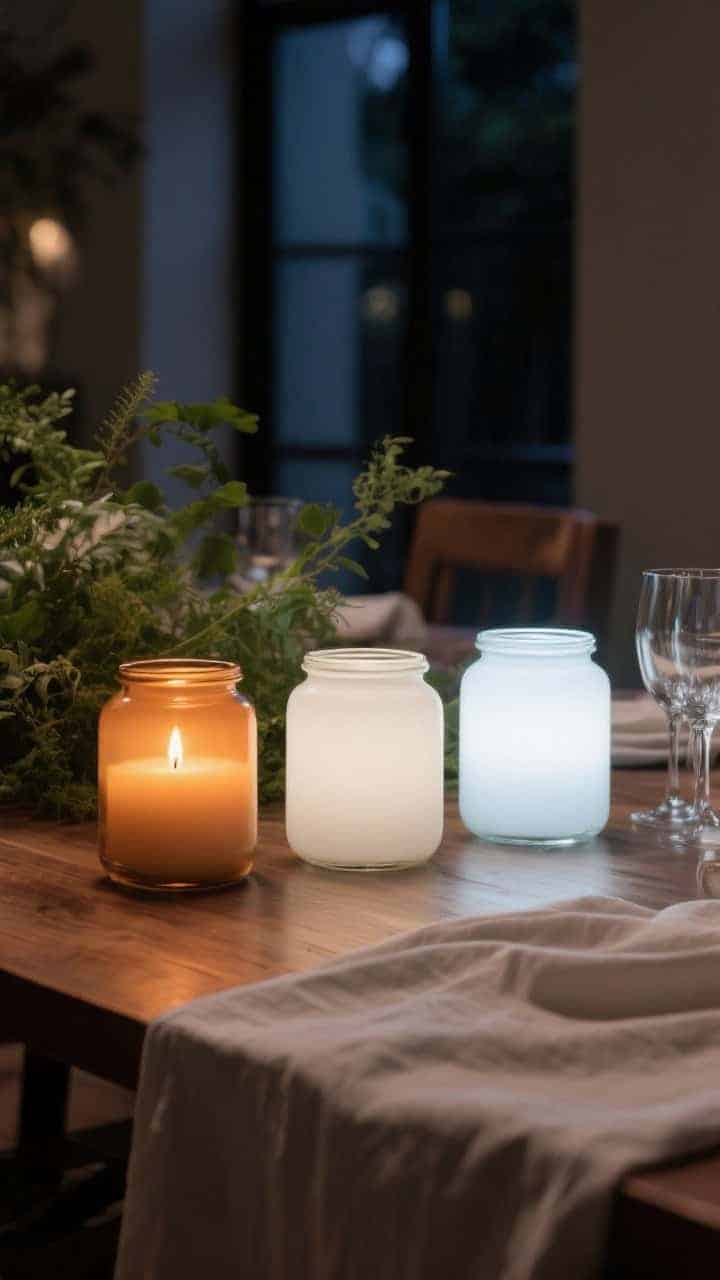
Nothing changes the mood like color temperature. It’s the difference between cozy glow and dentist’s office vibes.
- Warm white (2200–2700K): Romantic and candle-like. Perfect for woodsy, boho, or classic aesthetics.
- Neutral white (3000–3500K): Clean, flattering, and still soft. Works with modern or coastal themes.
- Cool white (4000K+): Crisp and icy. Use sparingly unless you’re going for a celestial or winter look.
IMO, warm white is your best friend for evening weddings. It plays nicest with skin tones and florals.
4. Dress The Jar: Filler Ideas That Look Luxe
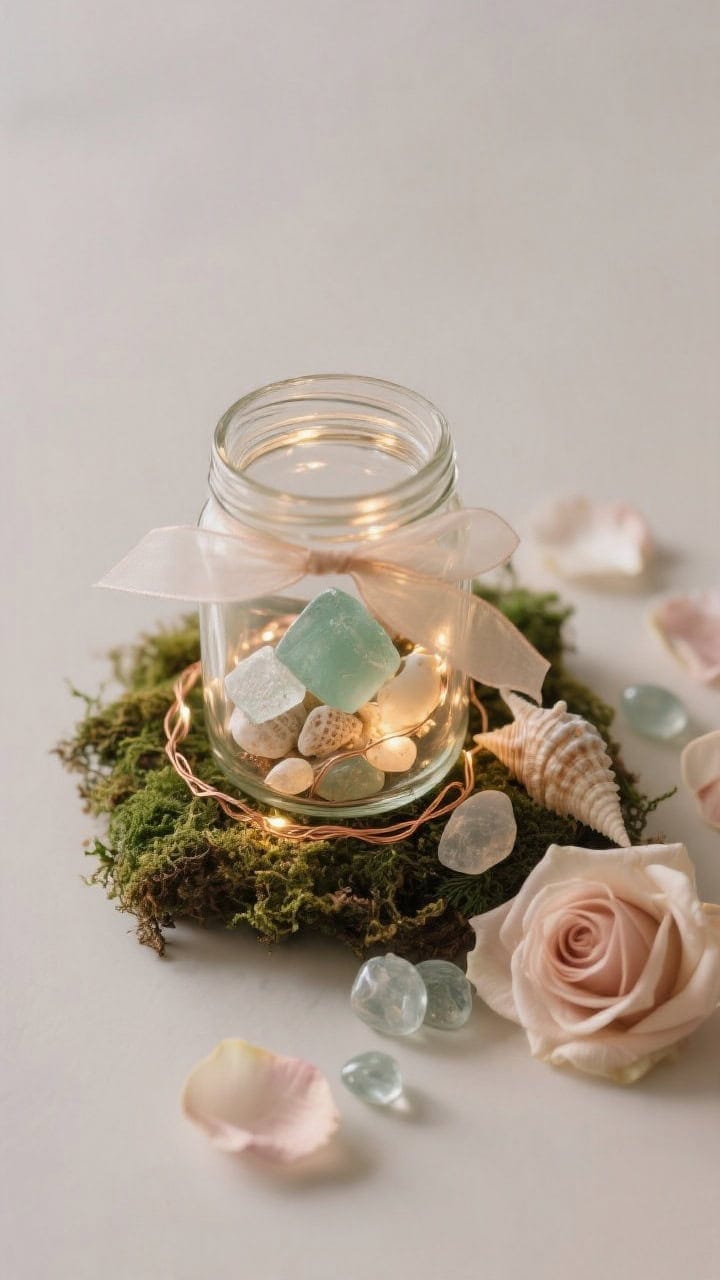
Want that “Pinterest but make it grown-up” feel? Add subtle fillers inside the jar to elevate the light without cluttering it.
Chic Fillers
- Faux moss: Add at the base with lights woven through—earthy, organic, and not messy.
- Seashells or sea glass: Dreamy for beach weddings, especially with neutral or pale blue lights.
- Silk petals: Rose or peony petals for a soft, romantic layer (real petals can wilt and brown).
- Glass pebbles: Weight the jar and amplify the sparkle.
- Sheer ribbon: A few loops inside soften the glow. Avoid dark colors that block light.
Keep it minimal. The point is the glow, not a terrarium project.
5. The Finish: Lids, Rims, And Pretty Little Details
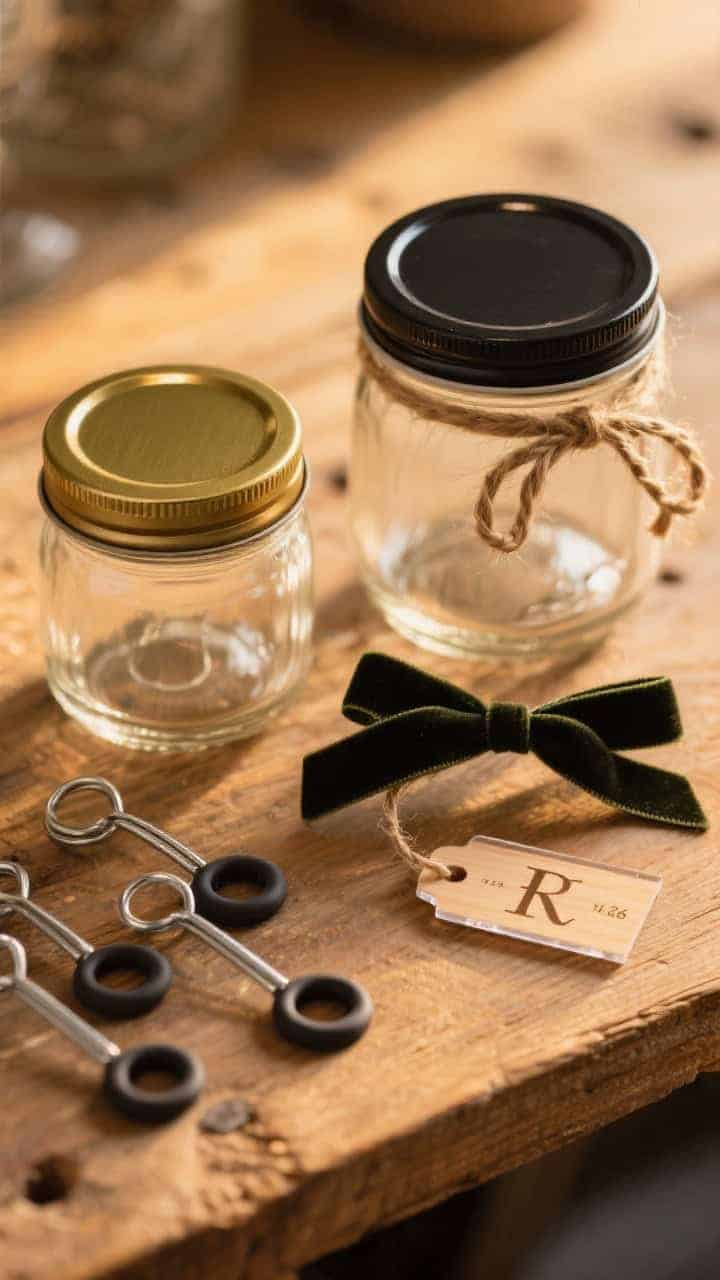
Top it off right and your jars instantly look styled, not slapped together. Focus on the rim and the handle situation.
- Brushed gold or matte black lids add a modern accent.
- Twine or velvet ribbon tied around the rim looks thoughtful—keep tails short so they don’t dangle into flames if mixing with candles nearby.
- Metal handles for hanging: Buy pre-made or DIY with wire (14–16 gauge). Add rubber grommets in the lid for a cleaner pass-through.
- Personalized tags: Wood or acrylic discs with initials or table numbers—functional and adorable.
Minimalist look? Skip lids altogether and use a jar ring plus a tidy wire loop to hang.
6. Centerpiece Magic: Layered Heights That Photograph Beautifully
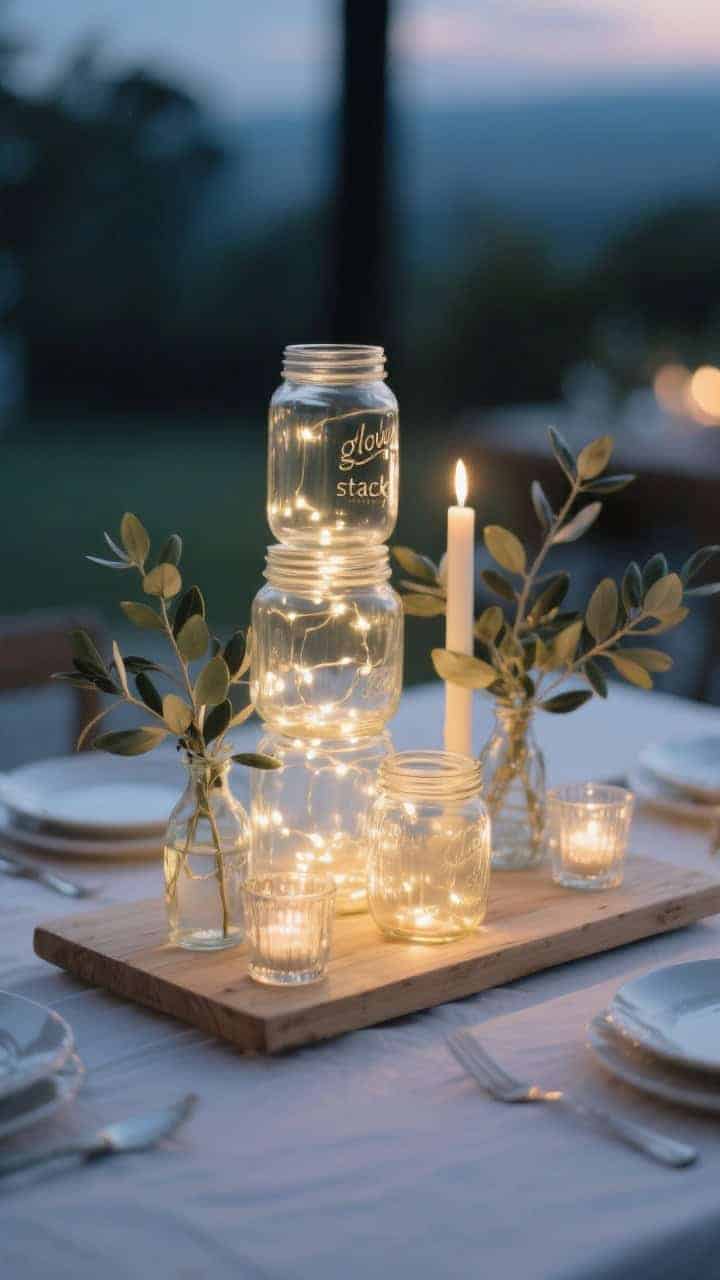
Flat centerpieces disappear after sunset. Go for layers that sparkle at eye level and in photos.
How To Build A Glow Stack
- Base: Light wood board, marble tile, or a low greenery garland.
- Heights: 1 tall quart jar, 1 medium pint jar, 1 short mini jar. Cluster them, don’t line them up.
- Accents: A few bud vases, votives, or a single pillar candle for contrast.
- Finish: Tuck in sprigs of eucalyptus or olive branches. Keep it airy.
Rule of three always wins. And leave negative space. Your guests need elbow room for the bread basket.
7. Aisle And Pathway Lanterns: Safety Meets Drama

Guiding guests with a trail of glowing jars? Chic and practical. But make sure you’re not creating a tripping hazard in heels.
Pathway Tips
- Spacing: Every 4–6 feet for subtle glow. Every 3–4 feet for a bold, runway feel.
- Elevation: Place jars on low stumps, pavers, or shepherd hooks to increase visibility.
- Wind-proofing: Add river stones at the base for weight. Secure with a dot of museum gel if kids are present.
- Weather back-up: Bring clear umbrellas or covered lantern stands for unexpected drizzle.
For the aisle, consider sheer ribbon draping between shepherd hooks with jars hanging on alternating sides. It frames the walk like a dream.
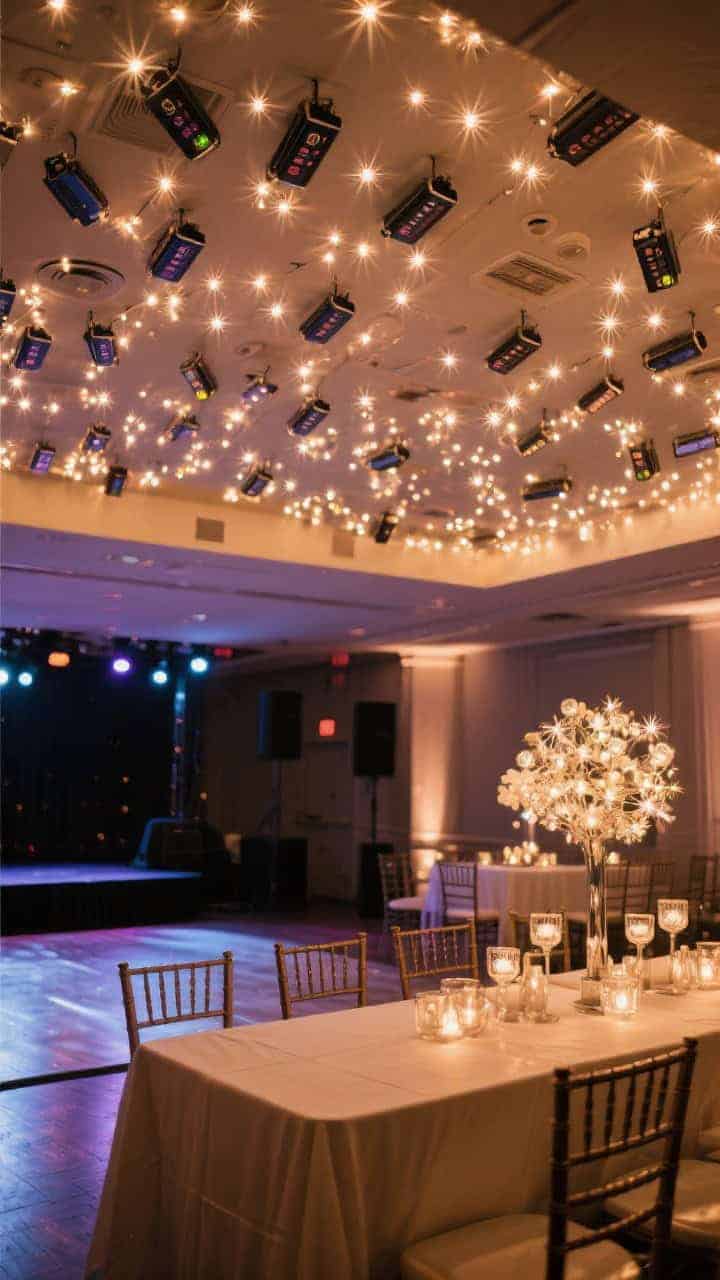
8. Hang Time: Overhead Installs That Wow

Hanging mason jar lanterns overhead looks like twinkle stars fell onto your dance floor. It’s the moment. But do it safely.
Ceiling Setup
- Grid first: Stretch fishing line or black wire across beams, then hang jars from S-hooks or short chains.
- Mix lengths: Vary 10–20 inches to create depth. Keep lowest jars above 6.5 feet for tall guests.
- Weight check: Max 1–1.5 lbs per jar. If using lots of stones or pebbles, consider lightweight acrylic jars that read like glass.
- Power plan: Battery packs are easiest overhead. Use timer lights to reduce the climb-ladder chaos.
Over the head table, hang a tight cluster for intimacy. Over the dance floor, spread them out for sparkle in every spin.
9. Photo-Op Backdrops: Frame The Magic
Want those viral wedding pics? Build a dedicated backdrop with jars that glow like a constellation.
Backdrop Blueprints
- Arch or arbor: Drape greenery, then hang a curtain of mini mason jars at staggered heights.
- Freestanding frame: Use a wooden rectangle and staple chicken wire to the back. Hook jars to the wire grid—clean and secure.
- Macramé meets glass: Hang a few jars in macramé slings for a boho flourish.
- Sheer curtain + jars: A layer of chiffon or voile behind the jars softens the scene for portraits.
Keep the center of the frame jar-free at face height so the couple’s features aren’t blocked. Your photographer will kiss you (figuratively).
10. Personalization Station: Make Them Double As Favors

Decor that guests can take home? Yes, please. Turn your lanterns into personal mementos without losing your cohesive look.
Smart Favor Ideas
- Name tags: Tie a mini tag to the rim—place them at each setting as escort “cards.”
- Custom lids: Engraved or printed with your date. Cute, useful, and not too kitschy.
- Mini kits: Include extra batteries and a note: “A little light for your cozy nights.”
- Color coding: Use ribbon shades to indicate meal choices—stylish and practical.
Set out a pretty sign: “Please Take Your Lantern Home.” Otherwise, your best decor will end up lonely at the venue on Sunday morning.
11. Styling Themes: Match The Vibe, Not Just The Venue

Fairy light jars work with almost any theme—just tweak the materials and colors. Here’s how to keep it cohesive.
Theme Pairings
- Rustic Barn: Clear jars, warm white lights, twine bows, wood slices, eucalyptus sprigs.
- Modern Minimal: Frosted jars, matte black lids, no ribbons, neutral table runners.
- Garden Romance: Vintage blue jars, silk petals, soft greenery, blush accents.
- Coastal Chic: Sea glass fillers, sand-pebble base, linen ribbon, driftwood accents.
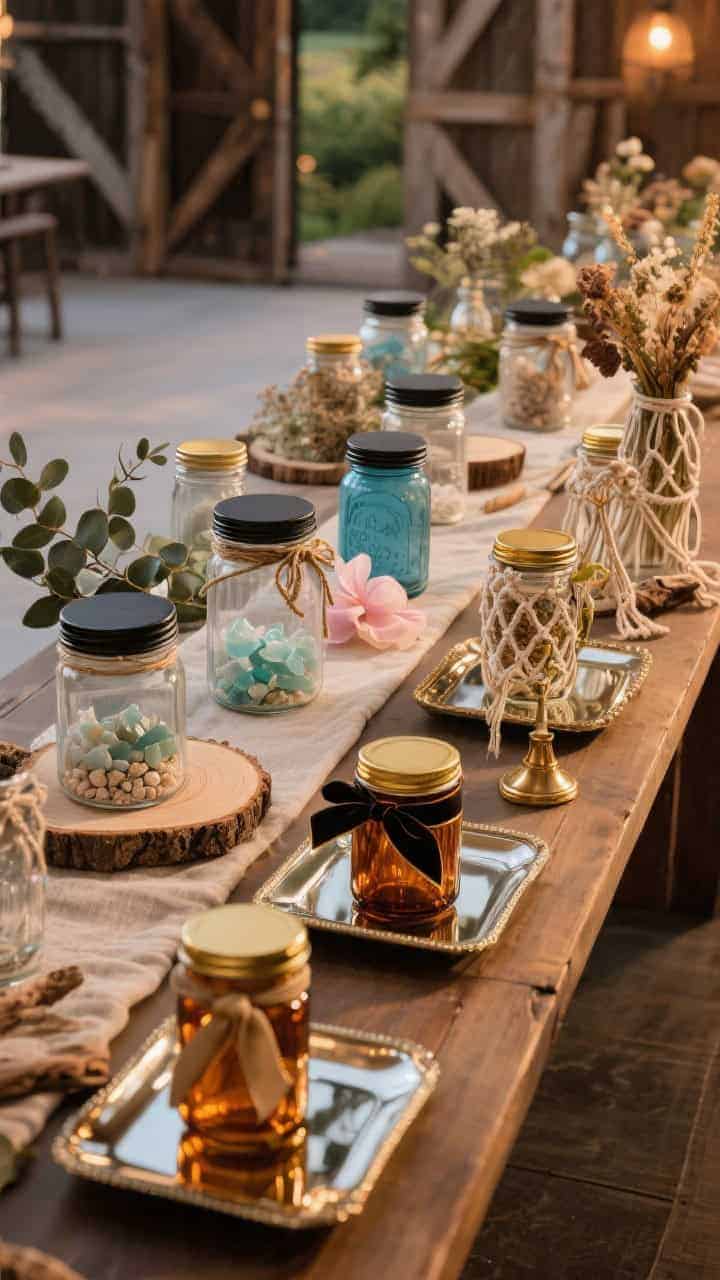
- Glam Evening: Amber jars, gold lids, velvet ribbon, mirrored trays for extra shine.
- Boho Luxe: Mixed jar sizes, macramé hangers, brass details, dried florals.
Anchor everything with two consistent elements—like lid finish and light color—so the scene feels curated, not chaotic.
12. Logistics You’ll Be Glad You Planned (Trust)
Here’s the unsexy stuff that makes everything look effortlessly magical—because chaos isn’t a wedding theme, last I checked.
Pre-Event Prep
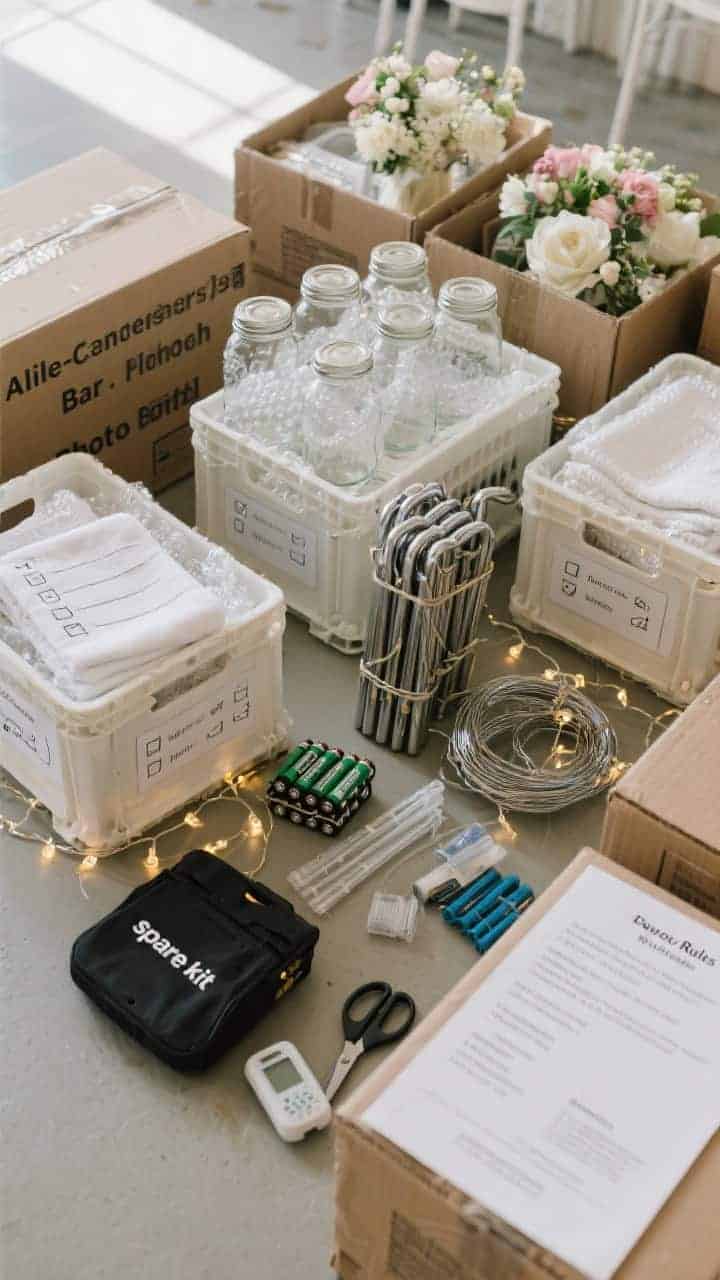
- Assembly line: Build jars a week early. Label boxes by area (aisle, centerpieces, bar, photo booth).
- Battery check: Fresh or fully charged batteries go in the day before. Use timer lights where possible.
- Transport: Pack jars vertical in milk crates with dish towels or bubble wrap between layers. Keep handles detached until onsite to avoid tangles.
- Venue rules: Confirm flames policy, ceiling weight limits, and power access. Some venues prohibit hanging from rafters—plan alternative stands.
On The Day
- Lighting crew: Assign 2–4 friends or coordinators to switch lights on 30–45 minutes before dusk.
- Spare kit: Bring extra batteries, 2–3 extra string lights, floral wire, museum gel, zip ties, and scissors.
- Weather watch: If wind picks up, move hanging jars to tables and weight them. Flexibility keeps the look polished.
Cleanup plan: Provide guests with tote bags for favors, then collect any left-behind jars. You’ll thank yourself during brunch.
Conclusion
Fairy light mason jar lanterns are the little black dress of evening weddings—timeless, flattering, and endlessly customizable. Keep the glow warm, the styling simple, and the setup smart, and you’ll get that swoony, golden-hour magic all night long. Go on, light it up and let the photos do the bragging for you.