
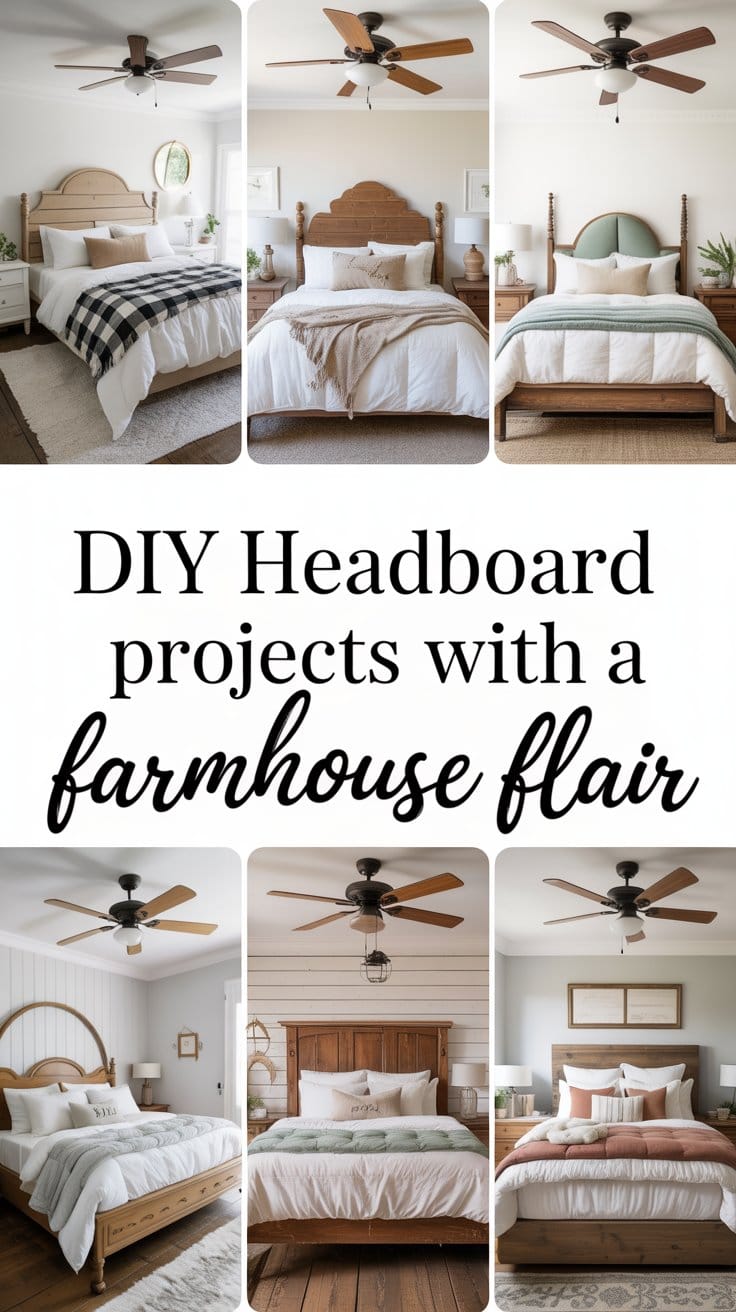
25 DIY Farmhouse Headboard Projects to Transform Your Bedroom
10 Creative Farmhouse Headboard Ideas
Ready to bring some farmhouse charm into your bedroom? These creative headboard ideas combine rustic elements with practical designs that anyone can build. Each project uses readily available materials and basic tools, making them perfect for DIYers of all skill levels.

Reclaimed Barn Wood Headboard
Materials: Weathered barn boards, wood screws
Tip: Leave the natural patina intact for authentic rustic charm. No two boards will look alike, creating a truly unique piece.

Classic Shiplap Headboard
Materials: Pine boards, white chalk paint
Tip: Use a nickel as a spacer between boards for perfect shiplap gaps. Distress edges slightly for that lived-in farmhouse look.

Pallet Wood Transformation
Materials: Reclaimed pallets, orbital sander
Tip: Sand thoroughly to avoid splinters, and consider a whitewash technique for a softer farmhouse aesthetic.

Repurposed Vintage Door
Materials: Salvaged door, mounting brackets
Tip: Keep original hardware and paint chips for authentic vintage character. Clean thoroughly but avoid over-restoration.

Storage-Smart Headboard
Materials: Pine boards, pocket hole jig
Tip: Add built-in shelving for books and decor. Use pocket holes for clean, professional-looking joints.

X-Frame Statement Piece
Materials: 2×4 lumber, weathered oak stain
Tip: Create dramatic X-patterns for visual interest. Use a pre-stain conditioner for even color absorption on pine.
Step-by-Step Tutorial: How to Build a Farmhouse Headboard
Ready to create your own farmhouse-inspired headboard? This comprehensive tutorial walks you through building a classic X-frame design that combines rustic charm with solid construction. Perfect for a queen or king bed, this project uses readily available materials from your local home center.

Reclaimed Wood Headboard DIY: Salvage & Style
Materials You’ll Need:
- 3 – 1x6x8 pine boards
- 2 – 2x6x8 boards for frame
- 1 – 2x4x8 for support
- 3 – 1x2x8 for trim
- Wood screws (1¼” and 2½”)
- Wood stain (weathered oak recommended)
- Clear polyurethane finish
- Wood filler for nail holes
Tools Required:
- Miter saw or circular saw
- Drill/driver
- Pocket hole jig
- Random orbital sander
- Measuring tape
- Level
- Finish nailer (optional but helpful)
Construction Steps:
- Measure and cut your boards according to your bed size. For a queen bed, cut the top 2×6 board to 66″ and the side legs to 58″ tall.
- Sand all boards thoroughly before assembly, working up to 220-grit for a smooth finish. This is easier before the pieces are joined.
- Create the inner frame using 1×6 boards for the horizontal slats. Space them evenly and secure with pocket hole screws.
- Assemble the outer frame by attaching the 2×6 legs to the top and bottom rails. Use pocket holes for clean joints.
- Add decorative X-braces by cutting 1×4 boards at matching angles. Secure with wood glue and finish nails.
- Attach trim pieces to frame the headboard and add visual interest. Cove molding under the top cap creates a finished look.
- Fill nail holes with wood filler and sand smooth once dry.
- Apply your chosen finish – stain, paint, or a combination for a weathered look. Seal with polyurethane for durability.
- Mount to your bed frame using bolts or secure to the wall using a French cleat system for stability.

Shiplap Headboard Project: Nail the Farmhouse Look
For a classic farmhouse look, shiplap creates that perfect horizontal planked aesthetic. This simplified approach uses standard pine boards with small gaps between them to create the distinctive shiplap appearance.
Quick Steps:
- Mount a 1×6″ board horizontally at your desired headboard height.
- Cut pine boards to fit from baseboard to the top board.
- Install boards vertically with small gaps between each.
- Add a 1×4″ cap board across the top with overhang.
- Finish with decorative molding and paint in your chosen color.

Pallet Wood Headboard DIY: Budget-Friendly Rustic Vibes
Transform free pallet wood into a stunning headboard with this budget-friendly approach. The varied tones and textures of pallet wood create instant character and rustic appeal.
Pallet Wood Pros
- Often free or very low cost
- Pre-weathered appearance
- Sustainable reuse of materials
- Each piece has unique character
Pallet Wood Considerations
- Requires thorough cleaning
- May need extra sanding for safety
- Check for stamps indicating chemical treatment
- Varied thicknesses require careful planning
Farmhouse Bedroom Styling Tips
Your new DIY farmhouse headboard deserves the perfect bedroom styling to complement its rustic charm. Here are some simple ways to enhance your farmhouse bedroom aesthetic:
Bedding & Textiles
- Layer neutral linens with different textures – think crisp white sheets, a chunky knit throw, and linen pillow covers.
- Add a vintage quilt folded at the foot of the bed for authentic farmhouse charm.
- Mix pillow patterns like ticking stripes, grain sack designs, and simple plaids.
Lighting & Accessories
- Install wall-mounted swing arm lamps on either side of your headboard to free up nightstand space.
- Add vintage-inspired elements like enamelware pitchers or mason jars as vases.
- Incorporate natural materials with woven baskets, wooden frames, and ceramic pieces.

Frequently Asked Questions
How much does it cost to build a DIY farmhouse headboard?
Most DIY farmhouse headboard projects cost between $50-150 depending on materials. Using reclaimed or pallet wood can reduce costs significantly. The most expensive components are typically the lumber and finishing materials like quality stain or paint.
What tools do I absolutely need for a farmhouse headboard project?
At minimum, you’ll need a saw (circular or miter), drill/driver, measuring tape, and sander. A pocket hole jig makes construction much easier but isn’t strictly necessary. For finishing, you’ll need basic painting/staining supplies and sandpaper in various grits.
How do I attach my DIY headboard to the wall or bed frame?
For wall mounting, a French cleat system provides secure support while allowing for easy removal. For bed frame attachment, use bolts that match your frame’s mounting holes, typically with 2-3 inches of space between the floor and bottom of the headboard.
Ready to Transform Your Bedroom?
Creating your own DIY farmhouse headboard is a rewarding project that adds instant character and charm to your bedroom. Whether you choose reclaimed wood for authentic rustic appeal, classic shiplap for timeless style, or budget-friendly pallet wood for eco-conscious design, your custom headboard will become the focal point of your farmhouse bedroom retreat.

Remember that imperfections add character to farmhouse style, so embrace the knots, grain patterns, and slight irregularities in your finished piece. They’re not flaws—they’re what make your headboard uniquely yours!
Want More DIY Woodworking Projects?
If building your own farmhouse headboard got you hooked, you’ll love exploring more creative ideas. Ted’s Woodworking offers 16,000+ step-by-step plans — perfect for beginners and hobbyists looking to take on more projects at home.