Did you know 78% of pro woodworkers started with no training? They began just like you: as beginners wanting to make something. You don’t need years of learning or expensive tools to make beautiful furniture.
This post contains affiliate links. If you purchase through these links, I may earn a small commission at no extra cost to you. Learn more here.
Woodworking is really simple. It’s about cutting wood into pieces and putting them together in new ways. With basic tools and some knowledge, you can make things that look like they came from a store.
My neighbor Tom made a beautiful coffee table in just one weekend. He used a circular saw, drill, and clamps. What amazed me was how quickly he went from beginner to expert.
In this guide, you’ll learn how to pick the right tools and materials for your first projects. We’ll show you how to do it step by step, no matter your experience.
Key Takeaways
- Most professional woodworkers started with no formal training
- Creating furniture requires only basic tools and fundamental techniques
- Woodworking is basically cutting and rejoining wood in new ways
- Beginners can make professional-looking pieces with little money
- Simple projects help you learn more advanced skills
- Even for simple projects, safety is very important
Getting Started with DIY Woodworking
You don’t need fancy tools or years of experience to start woodworking. Today, it’s easier than ever to make beautiful wooden pieces. You can make your own coffee table or custom shelving.
Learning woodworking starts with a few basics. With simple tools and patience, you can create amazing things. Even if you’re new, you can make something special.
Why Woodworking is Accessible to Everyone
Woodworking for beginners is now easier than before. Online tutorials, YouTube, and guides help you learn. It’s never been simpler to start.
You only need a few tools to begin:
- A circular saw for basic cutting
- A cordless drill for assembly
- A sander for finishing
- Measuring tools and clamps
Home improvement stores offer wood cutting services. This means you don’t need big saws at first. You can also start with pre-cut lumber and kits.
Setting Realistic Expectations for Beginners
Remember, mastering woodworking takes time. Your first projects won’t be perfect, and that’s okay. Each project helps you get better.
Begin with simple projects. Try making a small shelf, a cutting board, or a stool. These projects teach you the basics.
Don’t worry about mistakes. Even pros make errors. The key is to learn from them.
As you get better, add more tools and try harder projects. Woodworking is about the journey, not just the end result. Every piece you make shows your growth.
Essential Tools for Beginner Woodworkers
Before starting your first woodworking project, know which tools to pick first. This saves time, money, and stress. You don’t need a lot of tools to begin. A few key tools can help you start many projects.
Think of building your tool collection as a journey. You’ll learn about new tools with each project. But, there are some basic tools that you’ll use a lot.
Must-Have Hand Tools to Start With
Hand tools are very important in woodworking. They give you control and precision. Plus, they are often cheaper, making them great for beginners.
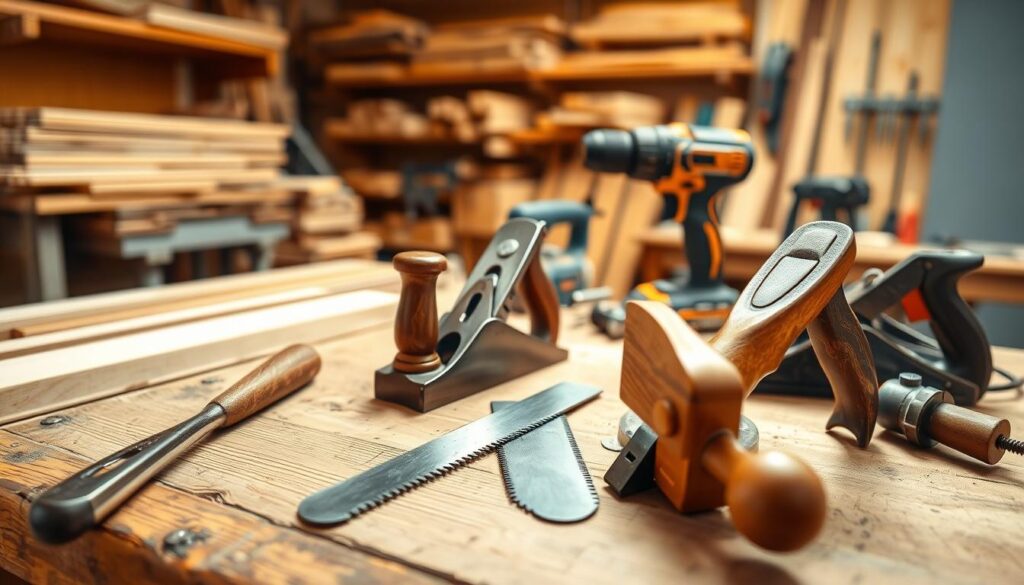
- Measuring and marking tools – A good tape measure, combination square, and marking knife are key for precise work
- Hand saw – A versatile backsaw or Japanese pull saw can do many cutting jobs
- Chisels – A set of three basic sizes (¼”, ½”, and 1″) will cover most needs
- Hammer and mallet – For driving nails and gently pushing wood joints together
- Screwdrivers – Both Phillips and flathead in various sizes
These tools help you measure well, cut accurately, and make basic joints. These skills are key for many simple woodworking ideas.
Basic Power Tools Worth Investing In
While hand tools are key, some power tools can help a lot. For beginners, choose tools that can do many things.
The power tool trinity for new woodworkers includes:
- Cordless drill/driver – Very versatile, great for drilling holes and driving screws
- Circular saw – With a good blade and straight edge guide, it can do most cutting jobs
- Random orbital sander – Makes sanding faster and more even
With just these three tools, you can make a lot of furniture. Many woodworkers say they use these tools for 80% of their projects, even after years.
Budget-Friendly Tool Alternatives
Quality tools are important, but they don’t have to be expensive. Here are ways to build your workshop without spending a lot:
- Buy used tools – Look online, at garage sales, and estate sales for tools at lower prices
- Rent for specific projects – Tool libraries and rental centers offer tools for one-time use
- Start with combo kits – Power tool sets are often cheaper than buying tools separately
- Improvise when possible – Use a straight board instead of an expensive straightedge guide
When buying used tools, check for rust, missing parts, and if they work well. Older tools can be better than new ones, making them good choices for beginners.
Woodworking should be fun, not stressful. Start with the basics, use what you have, and add tools as you need them. This way, you learn which tools are really important for your workshop.
Safety First: Protecting Yourself During Projects
Before you start, knowing how to stay safe is key. Woodworking can be fun, but it’s dangerous without safety steps. Sharp tools and strong machines can hurt you if you’re not careful. Let’s talk about how to stay safe while making things.
Personal Protective Equipment Essentials
Your safety is very important when working with wood. Getting the right safety gear is cheaper than going to the hospital.
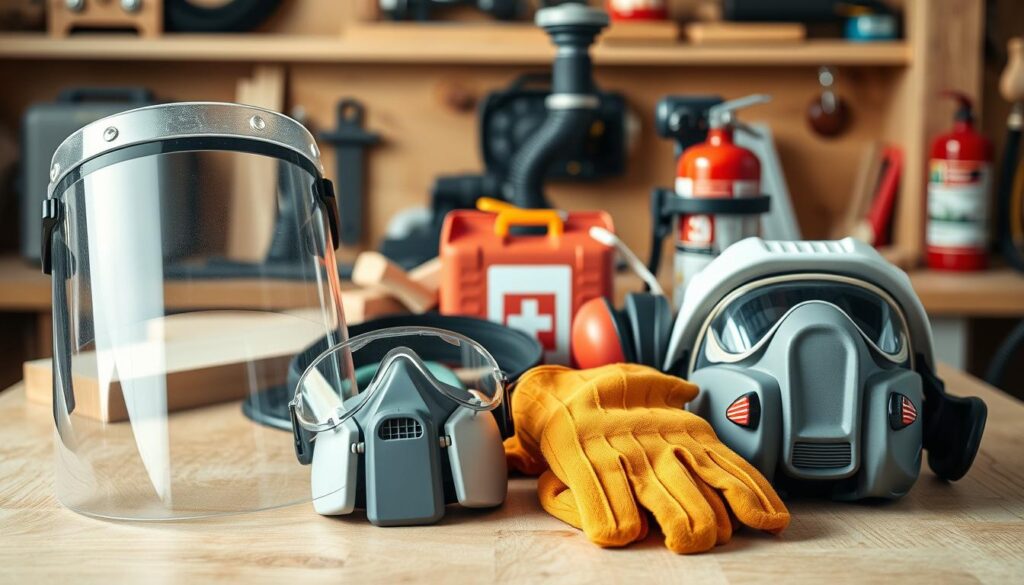
Eye protection is a must. Safety glasses keep your eyes safe from wood chips and dust. For more danger, use wrap-around glasses or face shields.
Your ears need protection too. Tools like routers and saws are very loud. Use earmuffs or earplugs to protect your hearing.
Don’t forget about your lungs. Wood dust can hurt your breathing. A dust mask is good for light work, but a respirator is better for more.
Wear the right clothes too. Avoid loose clothes that can get caught. Wear sturdy shoes and gloves when needed, but not near moving parts.
Safe Workshop Practices and Habits
Good habits and the right gear are key for safe woodworking. Step-by-step guides help you learn safety first.
Always read tool manuals before using them. It might seem boring, but it’s important to know how to use tools safely.
Keep your workspace clean and organized. A messy workshop is a danger. Put tools away and clean up wood scraps often.
Use tools only for their job. Don’t use a chisel as a screwdriver. This can damage tools and hurt you.
Electrical safety is very important. Check cords for damage and avoid using tools in wet places. Know where your circuit breakers are.
Stay focused and alert. Never work when tired or distracted. Keep kids and pets away from your work area.
With time, safety habits become second nature. What feels hard at first becomes easy. This lets you enjoy making things without worrying about safety.
Understanding Wood: Materials for Your First Projects
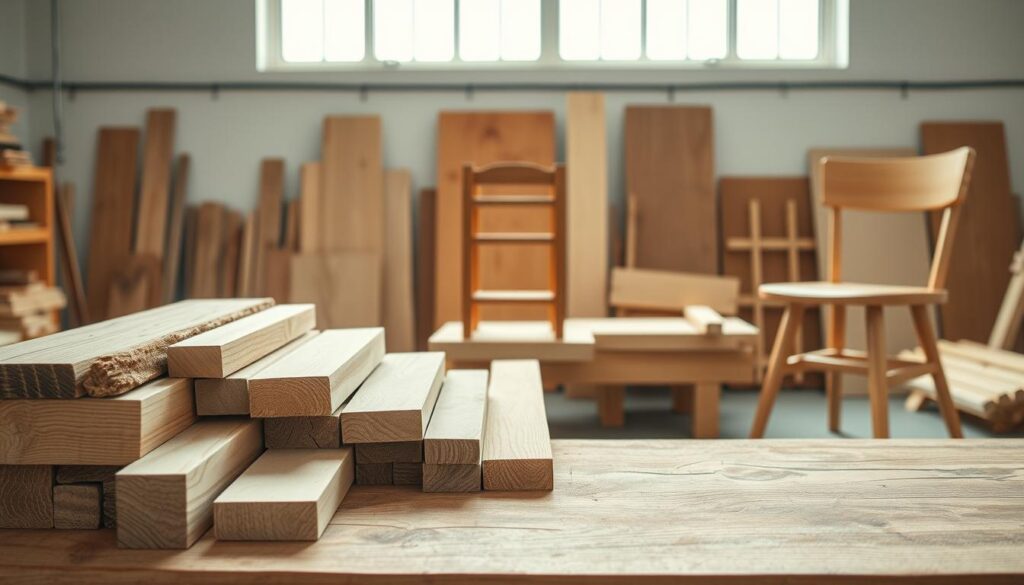
Learning about different wood types is key for beginner woodworking projects. The wood you choose affects your tools, techniques, and the look of your piece. You don’t need to be a tree expert to make great furniture!
Types of Wood for Beginners
Beginners will find two main types: hardwoods and softwoods. These names come from the tree’s type, not how hard it is.
Softwoods like pine and cedar are good for beginners. They are:
- More affordable than most hardwoods
- Easier to cut and shape with basic tools
- Lightweight and readily available
- Great for practice projects and rustic furniture
Hardwoods like oak, maple, and poplar are durable for lasting furniture. Poplar is beginner-friendly because it’s cheap but works well.
Don’t forget about plywood and MDF. They are stable, consistent, and good for many projects. Plywood is great for shelves and cabinets because it doesn’t warp.
Where to Source Affordable Materials
Finding quality wood doesn’t have to cost a lot. Here are some places for beginners:
- Big box home improvement stores – Good for small projects with pre-dimensioned lumber
- Local lumberyards – Better selection and services like S3S milling
- Habitat for Humanity ReStores – Find reclaimed wood at low prices
- Online marketplaces – Look for leftover materials on Facebook Marketplace or Craigslist
- Woodworking clubs – Members often sell extra wood at low prices
At a lumberyard, ask for S3S lumber. It’s already surfaced on three sides, making your work easier.
Save money by using cheaper woods for frames and practice pieces. Use expensive hardwoods for visible parts. For example, a bookshelf can have a pine frame with oak on the edges. This looks expensive but costs less.
Remember that wood has personality. Each piece tells a story through its grain pattern, color variations, and natural features. Embracing these characteristics is part of the joy of furniture making.
DIY Woodworking: Build Furniture Without Prior Experience
Building your own furniture is easier than you think. It just takes learning a few key skills. Making a dining table or bookshelf might seem hard at first. But, breaking it down into simple steps makes it easy for anyone to learn.
The joy of making something with your own hands is amazing. With these basic skills, you can make your home look great with custom furniture.
Simple Joinery Techniques for Beginners
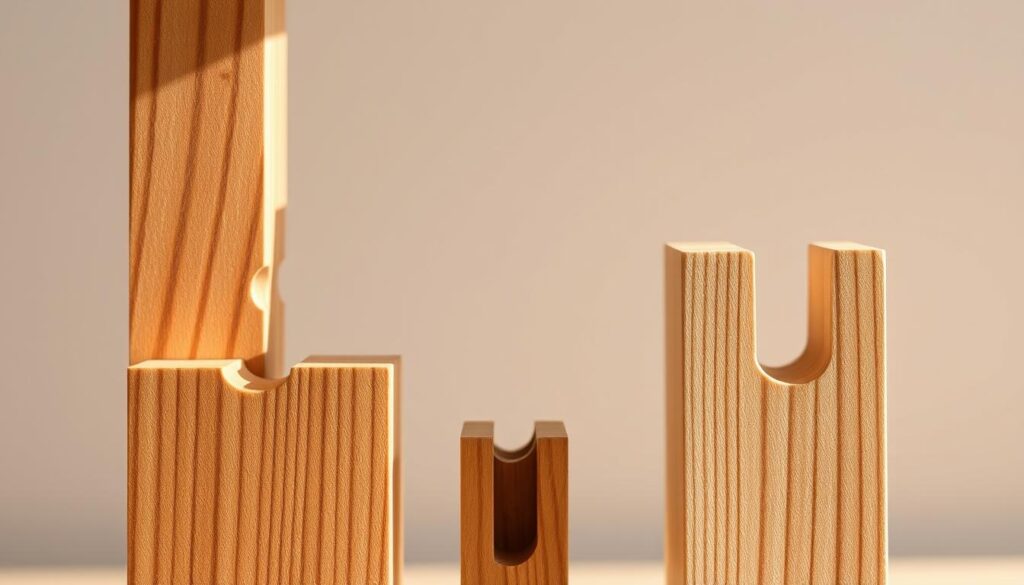
Joinery is how wood pieces connect to make strong bonds. For beginners, there are easy methods that look professional. Biscuit joinery is great for beginners. It uses small wooden pieces to connect and strengthen joints.
Pocket hole joinery is another easy option. It uses a special jig to drill holes for screws. This makes pieces join securely without being seen. For simple projects, butt joints with screws work well. Just place pieces at right angles and screw them together.
Dowel joints are a traditional method that needs little special tools. By drilling holes and using dowels with glue, you make strong connections. These canimprove outdoor furniture projectsand indoor pieces.
Measuring and Cutting Accurately
Woodworking is about being consistent, not perfect. Start with a good measuring tape and combination square. When marking wood, use a sharp pencil for thin, precise lines. Always remember: measure twice, cut once.
For straight cuts, use a speed square or cutting guide. Set up power tools well before cutting. A table saw with the right fence makes cuts more accurate.
Use a stop block for cuts of the same length. This keeps pieces consistent. Don’t worry about millimeter precision. Most furniture has some room for error, and small gaps can be filled later.
Assembly and Finishing Basics
Always do a “dry fit” before gluing. This ensures everything fits right. When ready, apply wood glue carefully to surfaces. Have damp cloths ready to wipe away excess glue.
Clamps are essential during assembly. They hold pieces in place while glue dries. If you lack clamps, use weights, tape, or ratchet straps as substitutes.
For finishing, sand thoroughly with finer grits. Apply stain in thin coats, following the grain. After drying, protect with polyurethane or wax. Each coat needs time to dry properly. With these basics, your woodworking projects will turn out great.
Beginner-Friendly Furniture Projects
Ready to turn your woodworking skills into real furniture? Start with these easy projects. They help you build confidence and skills. Each project teaches new techniques and makes useful items for your home.
The best part? These easy woodworking projects are kind to beginners. Even small mistakes won’t mess up your project!
Simple Shelf Project: Step-by-Step Guide
A floating shelf is a great first project. It’s useful, easy, and fun. You’ll need:
- 1×8 pine board (length depends on desired shelf size)
- Wood screws
- Wall anchors
- Wood stain or paint
- Sandpaper (120 and 220 grit)
First, cut your board to the right length with a circular saw. Sand all surfaces. Start with 120-grit sandpaper and finish with 220-grit for smoothness.
Then, apply your chosen finish and let it dry completely.
To mount it, mark level spots on your wall. Install anchors and attach the shelf with screws. This project costs under $30 and takes 2-3 hours, including drying time. You’ll learn to measure, cut, sand, and finish, which are key skills for many projects.
Basic Side Table Construction
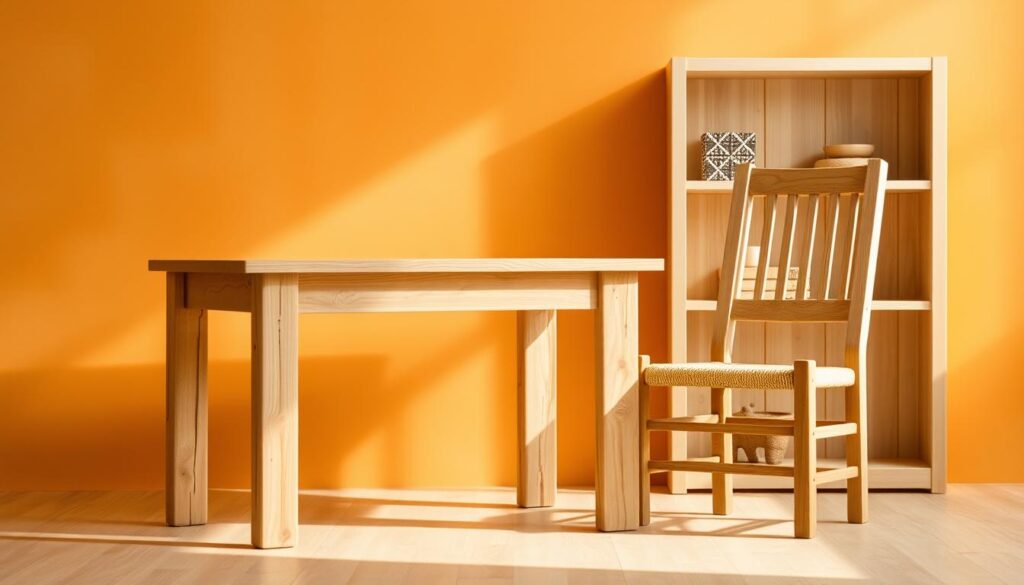
A side table teaches you about leg making and complex joinery. Gather:
- 1×12 board for the tabletop
- 2×2 lumber for legs (four 18″ pieces)
- 1×3 lumber for aprons (four pieces)
- Wood glue and screws
- Finish of your choice
Cut your tabletop to size, usually 16″×16″ for a side table. Cut four equal pieces from the 2×2 lumber for the legs, about 18″ tall. Cut four apron pieces to connect the legs just below the tabletop.
Attach the aprons to the legs using pocket holes or simple butt joints reinforced with screws. Then, secure the tabletop to this base. Sand everything well and apply your finish. This simple woodworking idea costs about $40-50 and takes 4-5 hours to finish.
Creating a Rustic Bench
A rustic bench is perfect for beginners. It loves imperfections. You’ll need:
- 2×10 or 2×12 lumber for the seat (about 4 feet long)
- 4×4 posts for legs (four 16″ pieces)
- 2×4 lumber for supports
- 3″ wood screws
- Sandpaper and finish
Cut your seat board to the right length. Cut four equal pieces from the 4×4 posts for the legs. Cut two pieces of 2×4 for support under the seat.
“The beauty of rustic furniture is that it doesn’t need to be perfect to be beautiful. Each imperfection tells a story and adds character to your piece.”
Attach the support pieces to the underside of the seat board. Then, secure the legs to the corners, making sure they’re square. Sand to your desired smoothness. For rustic pieces, you don’t need to sand too fine. Apply a finish that highlights the wood’s natural beauty.
This bench costs about $50-60 and takes 3-4 hours. It’s strong enough for daily use. As you get better, you can make dining benches, entryway seating, or garden furniture.
Conclusion
Woodworking is easy to start, even if you have no experience. You can make beautiful furniture with simple tools and techniques. Just start small and learn a little at a time.
Every great woodworker was once a beginner. Projects like a simple shelf or a rustic bench are great for beginners. They teach you important skills and make you feel proud of what you’ve made.
Woodworking is for everyone because it’s easy to get started. You don’t need a lot of tools or a big workshop. Just a few basics and a desire to learn are enough.
Use the step-by-step woodworking guides in this article to make your first piece. It’s rewarding to say, “I made that” about something in your home. Each project teaches you something new and helps you get better.
Don’t worry if your first projects aren’t perfect. It’s okay to make mistakes. Every mistake teaches you something new. The most important thing is to start.
Get your basic tools, find some wood, and start building this weekend. Your woodworking journey is waiting for you.
