
How to Paint Mason Jars for a Vintage Look
Vintage mason jars have that soft, timeworn charm that feels collected rather than crafted. The goal is not a perfect paint job. It is a finish that looks gently faded, slightly imperfect, and full of character.
This post includes affiliate links. If you make a purchase through them, I may earn a small commission at no extra cost to you. More details here.
Once you lean into that idea, the process becomes much easier and a lot more fun. You stop worrying about brush strokes and start embracing the natural texture that makes painted glass jars feel authentic.
This guide walks you through eight simple steps to transform ordinary mason jars into pieces that look like they have been part of your home for years.
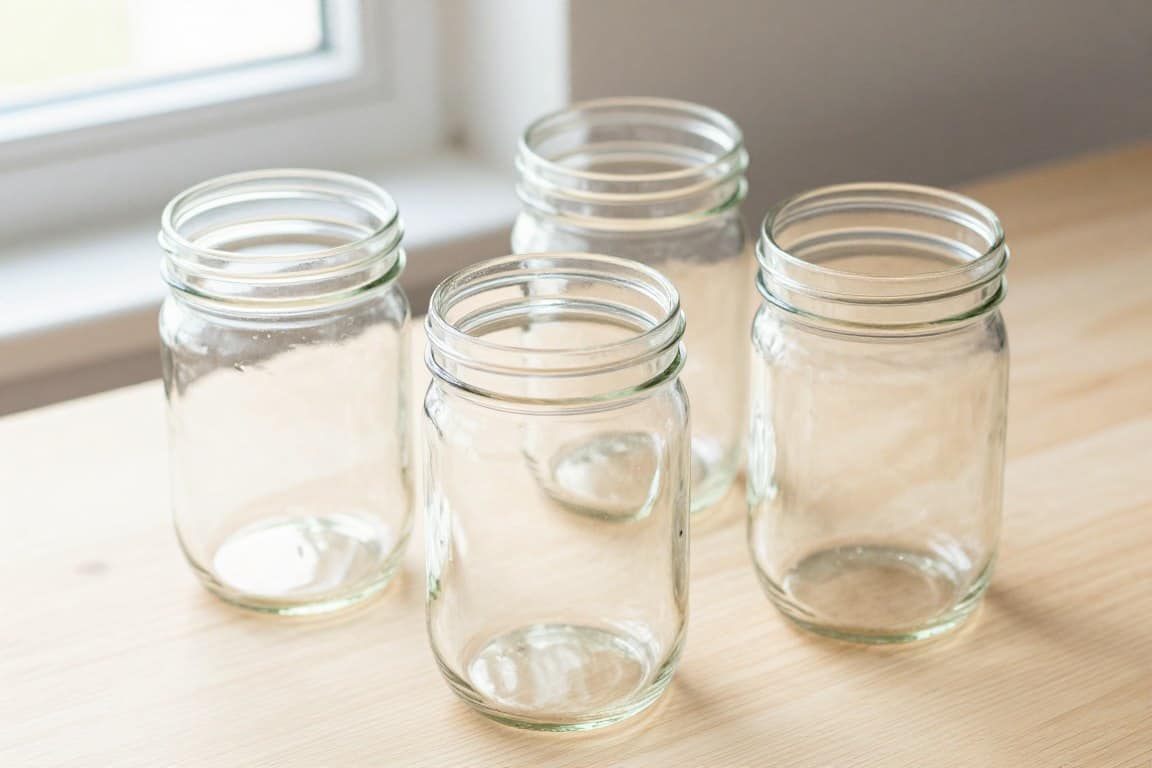
1. Start with the Right Base Jar
Clear jars work best because they let you control the final look from scratch. Make sure they are clean, dry, and free from any residue so the paint goes on evenly.
The preparation stage matters more than most people realise. Any oil, dust, or fingerprints can stop paint from sticking properly to the glass.
Wash each jar with warm soapy water first. Then wipe it down with rubbing alcohol if needed. Let everything dry completely before painting.
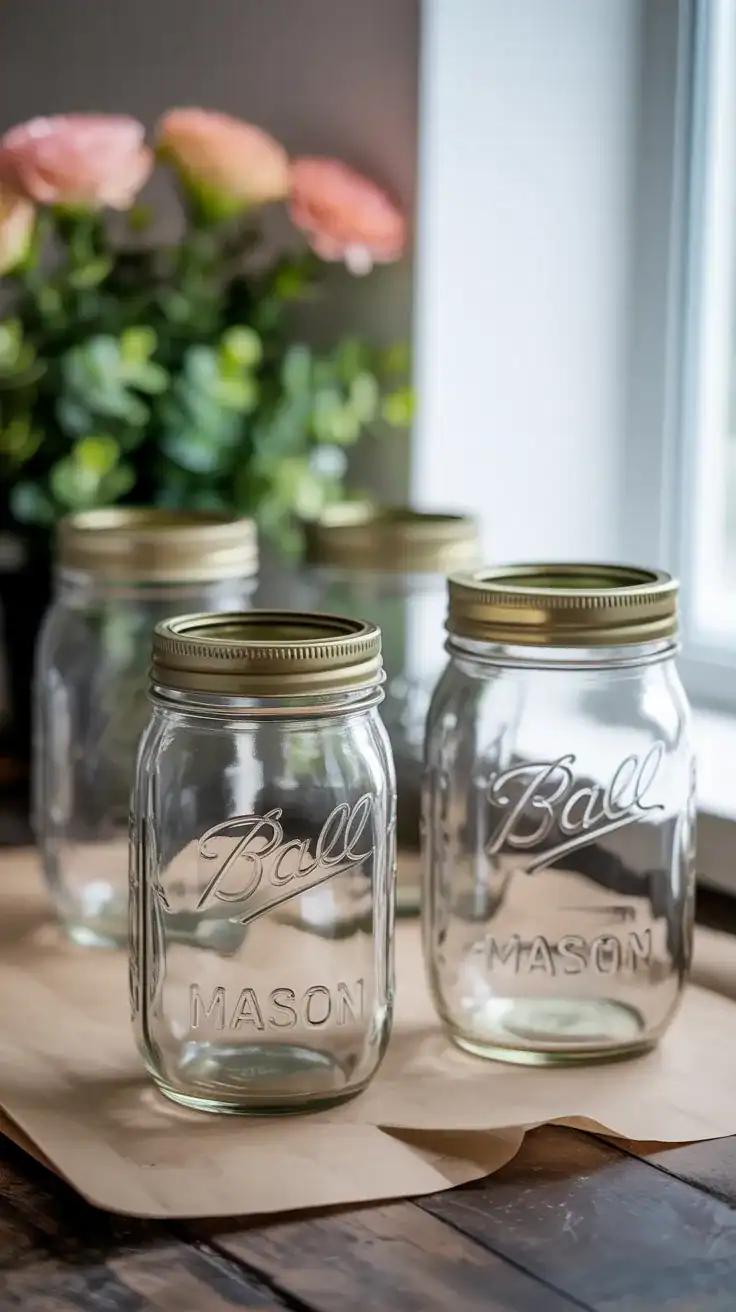
You can use vintage Ball mason jars, Kerr jars, or simple glass mason jars from any store. The important part is starting with a completely clean surface.
Quick tip: If your jars have sticky label residue, use a paste of baking soda and oil. Let it sit for ten minutes, scrub gently, rinse well, and dry fully.
2. Choose Soft, Muted Vintage Colors

Vintage style is all about calm, faded tones. Think sage green, dusty blue, off white, soft grey, pale blush, or warm cream. Avoid anything too bright or glossy.
The paint color sets the entire mood for your finished jars. Modern bright colors can make the project look more crafty, while muted tones create that soft aged look.
Matte or chalk style paint works especially well because it gives glass a soft, flat finish. Keep your palette simple with two or three colors if you are making a small collection.
- Weathered sage green
- Antique cream or ivory
- Faded blue
- Warm soft grey
- Dusty blush pink
- Muted lavender grey
3. Apply a Thin, Uneven First Coat

This is where most people go wrong. You do not want a thick, perfect coat. Use a brush and apply the paint lightly, letting a little bit of the glass show through in places.
The imperfection is what creates the vintage look. Tiny variations in coverage are not a problem. They are the whole point.
Use soft, loose brush strokes rather than careful, controlled ones. Try not to overwork the paint by going over the same area again and again.
Many beginners worry that the first coat looks too thin or patchy. That is completely normal for this style. The depth comes later.
Technique note: Hold your brush at a slight angle and use long, sweeping strokes. This creates subtle texture that mimics the gentle wear of old painted glass.
4. Build Layers Gradually

Instead of one heavy coat, add a second or third light layer. This builds depth while keeping that slightly worn, faded look.
Let each layer dry before adding another one. Rushing this step can make the paint look muddy and uneven in the wrong way.
Each coat should still be thin. You are building gentle colour, not trying to cover the glass completely in one go.
Most jars need two or three coats. Stop before the finish looks too solid or opaque. A little softness and variation keeps the vintage charm intact.
Drying tip: Let each coat dry for at least thirty minutes. If the room is cool or humid, give it longer.
5. Lightly Distress the Edges

This step creates that aged, lived in feel. Use fine sandpaper to gently rub areas where natural wear would happen, such as the rim, raised lettering, and bottom edges.
Keep it subtle. You want the jar to look gently worn, not attacked by a sanding block during a crafting emergency.
Step back and check your progress as you go. It is easy to remove too much paint, so start lightly and add more distressing only if needed.
- Sand the rim and threading
- Lightly rub raised lettering
- Soften the bottom edges
- Use fine sandpaper for a gentle finish
6. Add a Soft Whitewash Effect

For extra softness, lightly brush diluted white paint over your base color. It tones everything down and gives the jar that faded, antique look.
Use a dry brush technique for the best result. Dip your brush into diluted white paint, then wipe most of it off on a paper towel before applying it to the jar.
The whitewash should be barely there. It is meant to soften the color, not cover it completely.
If it looks too heavy, gently blend it with a clean cloth before it dries. A soft, cloudy finish is exactly what you want here.
Simple mix: Start with one part white paint to three parts water. Test it first, then adjust until it looks soft and semi transparent.
7. Seal with a Matte Finish

To protect the paint and keep that vintage look, use a matte sealer. Avoid glossy finishes because they can make the jars look too new and shiny.
A clear matte sealant helps protect the painted surface from chips, moisture, and handling. Apply it in a light coat using smooth, even strokes.
Let the sealer dry fully before styling or using your jars. Most sealers need at least twenty four hours to cure properly.
If the jars are purely decorative, one coat is usually enough. If you plan to use them as vases, two thin coats will give better protection.
Important note: Painted and sealed jars are best used for decorative purposes. Do not use them for storing food or drinks unless every product you use is clearly marked as food safe.
8. Style with Simple, Natural Elements

Once painted, keep the styling just as soft and simple. Dried flowers, twine, cotton stems, eucalyptus, wheat, or a few fresh sprigs help complete the look without overpowering it.
Avoid over decorating your finished jars. The beauty of vintage style is in its simplicity and restraint.
Group several jars together in different heights for more visual interest. Mix your colors gently across the collection so everything feels coordinated but not overly matched.
- Use single stem flowers for a simple look
- Add dried lavender or baby’s breath
- Try cotton stems for farmhouse style
- Use eucalyptus for soft greenery
- Add tea lights for evening glow
- Wrap the neck with simple jute twine
Final Thoughts on Painting Mason Jars for a Vintage Look
Painting mason jars for a vintage look is less about perfect technique and more about gentle restraint. The beauty comes from soft layers, muted colors, matte texture, and a slightly imperfect finish.
When you stop trying to make everything flawless, the jars start to feel much more authentic. The tiny brush marks, faded edges, and uneven tones are what give them character.
Start with one jar as a practice piece. Experiment with color, distressing, and whitewashing until you find the finish you love. Once you get the hang of it, you can create a whole collection that feels charming, timeworn, and beautifully personal.
The best part is that each jar will turn out slightly different. And honestly, that is exactly what makes them look vintage in the first place.
You Might Also Like
Shop Vintage Mason Jar Painting Essentials
Simple clear mason jars are the perfect base for creating soft, vintage-style painted decor.
Shop on AmazonMuted chalk paints help create that soft matte finish that makes mason jars look gently aged.
Shop on AmazonFine sandpaper is ideal for softly distressing raised lettering, rims, and edges without overdoing it.
Shop on AmazonA matte sealer protects the finish while keeping the jars looking soft, aged, and not overly shiny.
Shop on AmazonSimple twine, dried lavender, eucalyptus, or baby’s breath finish painted jars with natural vintage charm.
Shop on Amazon